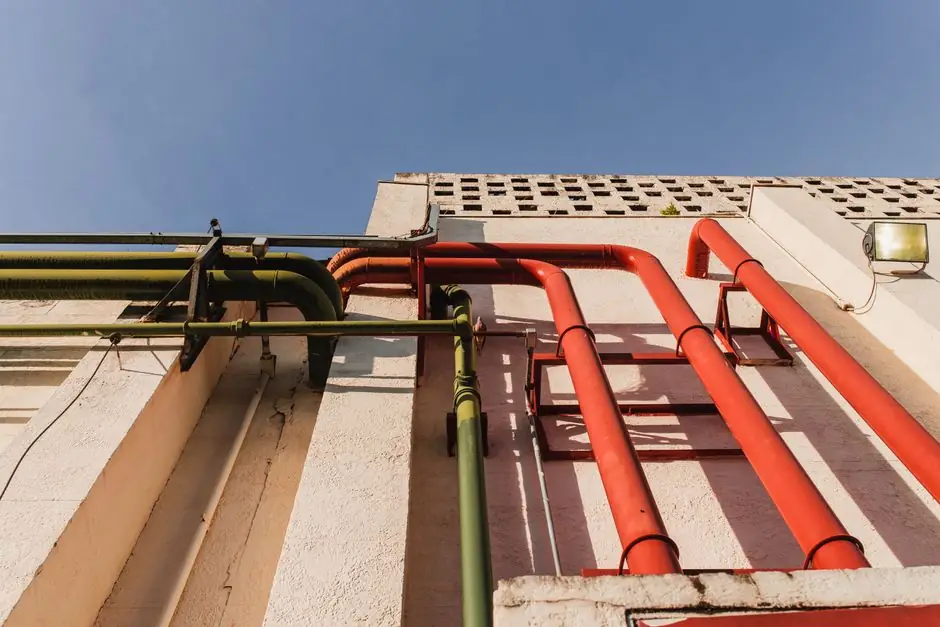
A correct pneumatic tubing install is governed by tube OD tolerance, square cut quality, thread standard, and elastomer compatibility, with leaks on poorly maintained systems running 20-30% of compressor output versus a well-tuned target under 10% [S4]. Push-in connectors are standardised as a product family under ISO 14743, while NPT threads follow ASME B1.20.1 and BSPT/BSPP align with ISO 7-1 and ISO 228-1 [S4]. The four practical gates are: verify size, cut square, deburr, then insert to the fitting shoulder with the air supply locked out and the line fully depressurised [S5].
Compressed air is the most expensive utility per unit of energy in most plants, so a 0.1 MPa pressure drop at the wrong fitting compounds across every actuator on the line. Treat the install as a sealing problem first and a plumbing problem second. If you want the upstream context on the pneumatic system the tubing lives in, start there before sizing the run.
Step 1, Verify tube OD, ID, wall, and material before cutting anything
Read the OD/ID/wall triplet off the tube or its packaging and confirm it matches the fitting spec sheet, not the printed catalogue line, because PU and PA (nylon) tubing commonly ship in metric OD while brass push-in bodies are often quoted in imperial nominal [S5]. PU (polyurethane) is the flexible, kink-resistant default for robotics and short runs, while PA (polyamide / nylon) carries higher pressure with less flexibility for instrument and panel work [S3]. Ester-based PU tube offers excellent pressure resistance plus weather and corrosion resistance, and is sold in coil lengths from 20 m up to 200 m for RND-branded stock [S3].
Confirm pressure rating against working pressure with a 4:1 safety margin as a starting point, then derate for temperature. PU softens well before PA fails, so a hot cabinet near a cylinder will change your material choice. If the run is feeding a pneumatic actuator, oversize the tube by one OD step to keep actuator speed stable at duty cycle, not just at no-load test.
Step 2, Cut square, deburr, and clean, or the O-ring will tell you about it
Use a dedicated tubing cutter, not a hacksaw, to keep the cut within 1-2 degrees of square, then deburr both the outside and inside diameter, because a raised ID burr will chunk off and migrate into a downstream valve seat [S2][S5]. For aluminium compressed air piping the published install sequence is deburr the OD, oil the tube lightly, then insert into the fitting, the same logic applies to polymer tube with a compatible lubricant [S1]. Mark the tube with a sharp pencil using the ferrule as a guide, never a marker pen, because ink migrates into the seal land [S2].
Wipe the cut end with isopropyl alcohol and a lint-free wipe, then let it flash off before insertion; compressed air systems are sensitive to oil and particulate carry-in, and ISO 8573-1 class is the right yardstick for cleanliness [S4]. A quick rule: if you cannot see daylight between the tube end and the fitting shoulder, the cut is either off-square, undersized OD, or the ferrule is wrong.
Step 3, Thread and seal selection, where most mystery leaks actually start

Thread mismatch is the single most common repeat leak source: NPT (ASME B1.20.1) is dry-tapered and seals on thread deformation, BSPT (ISO 7-1) is wet-tapered with a sealant, and BSPP (ISO 228-1) needs an O-ring or bonded seal, they are not interchangeable [S4]. For push-in fittings on polymer tube the seal is almost always the internal O-ring, commonly NBR for general air or FKM for elevated temperature or chemical exposure, and that seal material typically limits the operating envelope more than the metal body [S4].
Cross-check temperature and chemical compatibility against the elastomer data sheet, not the fitting catalogue, before energising the line. Align the design with ISO 4414 (general pneumatics safety) and ISO 8573-1 (air cleanliness) so the fitting is not the weak link in an otherwise compliant system [S4]. If you are routing into a pneumatic conveyor line, derate further for abrasive carry-over and add an in-line filter within 1-2 m of any sensitive valve island.
Step 4, Insertion, pull-test, and routing, the bits you only get right with a checklist
Lock out and tag out the air supply, fully depressurise the line, then push the tube straight in, not angled, until it bottoms on the fitting shoulder and the collet grip is felt [S5]. For Champion quick-lock aluminium pipe the published prep is the same: deburr the OD, light oil, then full insertion to shoulder [S1]. After insertion, do a hand-pull test; any tube that slides back out under modest hand force is the wrong OD or the collet is damaged, replace the fitting, do not crimp the tube to compensate.
Route with a minimum bend radius of roughly 6-8x OD for PU and 8-10x OD for PA, support every 0.5-1.0 m on long horizontal runs, and separate pneumatic lines from electrical drives to avoid abrasion. Re-energise slowly, then walk the line with a soap solution or ultrasonic leak detector; any bubble at the collet or thread means a re-cut, not a re-tighten. For sourcing context on the pneumatic fittings families and how push-in versus compression compare on remake and torque behaviour, the encyclopaedia entry is the next stop.
Comparison: PU vs PA vs aluminium on the four gates that matter
On flexibility, PU wins and aluminium is rigid; on pressure rating at room temperature, aluminium and PA sit well above PU; on chemical/moisture resistance, PU and PA both resist water and many oils while aluminium needs the right coating for washdown; on cut and join, PU and PA use push-in ferrules, aluminium uses quick-lock mechanical couplings or compression [S1][S3][S4]. PU is the right pick for short, moving runs on robot EOAT and grippers, PA is the right pick for cabinet and instrument air up to roughly 1.0 MPa class, and aluminium becomes economic above roughly 50-80 mm nominal bore or where rigidity prevents vibration fatigue at the pneumatic actuator port [S3][S4].
If the application is food, pharma, or outdoor washdown, jump to stainless bodies with FKM seals rather than trying to upgrade a brass fitting with a new O-ring. For a deeper dive on actuator-side sizing that this tubing has to feed, the pneumatic actuator sourcing map is a useful adjacent read. Likewise, OEM vs ODM decisions on the fitting body itself are covered in the OEM vs ODM pneumatic actuator spec map.
When NOT to reuse a fitting, and the safety gates that override the install
Replace, do not reuse, any fitting that has been pressure-cycled past its rated life, shows collet deformation, or has been removed and reinserted more times than the maker's remake limit, typically a small number of cycles for push-in, much higher for compression ferrules [S2][S5]. Do not repair a leaking push-in joint by adding thread sealant, the leak is at the tube OD, not the thread. Do not push PU tube into a fitting rated for PA only, the grip and pressure ratings do not transfer.
Before energising, verify system pressure against ISO 4414 safety rules, confirm air cleanliness against ISO 8573-1 class 7.3.4 or better for general plant air, and confirm the line is protected by a pressure relief per the design code [S4]. If a leak persists after a correct re-cut and full insertion, escalate to the fitting maker with the batch code; the failure is no longer an install problem. For the broader procurement context where this tubing install lives, the SCADA procurement playbook is the right next read when the pneumatic panel sits inside a controlled architecture.