
Pneumatic tools use regulated compressed air and can reduce fatigue during high-volume anchor installation [S2].
Choose between manual and pneumatic dispensing by cartridge format, component ratio, resin viscosity, installation temperature, hole volume, and production rate rather than by tool price alone [S2][S3].
Decision criteria for chemical anchor dispensers
Compatibility starts with the cartridge, not the advertised volume. A dispenser must match the cartridge geometry, coaxial or side-by-side construction, mixing ratio, plunger arrangement, and required thrust; common chemical-anchor cartridge sizes include 300, 330, 380, 410, 420, 490, and 600 ml [S3].
The key selection criteria are component ratio, output force, fatigue exposure, resin viscosity, temperature, cartridge capacity, and installation rate. These factors determine whether the dispenser maintains the specified resin ratio and delivers enough force to fully extrude the anchor system [S2][S3].
Manual dispensers for intermittent installation work
A manual dispenser is appropriate for occasional installations, smaller jobs, and sites without convenient compressed air or battery power.
Manual tools are available for several package formats, including the Simpson EDT22S and DEWALT DFC141103 manual tools for 22 oz epoxy cartridges, the DEWALT DFC141104 for 28 oz epoxy cartridges, and the Simpson ADT30S for 30 oz cartridges [S4].
The limitation is sustained output. A manual dispenser becomes tiring when the crew installs many anchors, and thick, cold, or high-viscosity resin can demand force beyond its practical range [S2][S3]. For structural or safety-critical work, cartridge fit, mixing, cure, and load capacity must follow the adhesive manufacturer’s technical data sheet rather than an assumption that a caulk gun will work [S3].
Pneumatic dispensers for continuous production
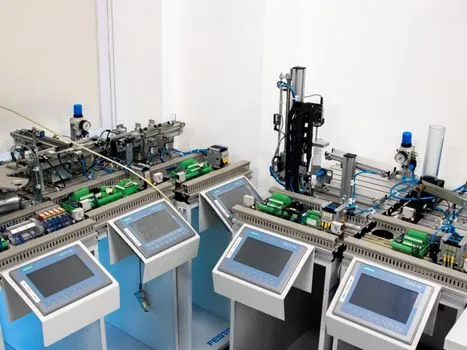
A pneumatic dispenser is the stronger choice for continuous or high-volume anchor installation because regulated air pressure drives the plunger with more consistent output and less operator fatigue [S2][S3]. An adjustable regulator allows the operator to tune discharge for resin viscosity and temperature [S2].
The Simpson ADTA30P is one listed 30 oz pneumatic dispensing tool designed for AT and XP acrylic chemical anchor cartridges [S4]. Its applicability still depends on the exact cartridge, ratio, resin formulation, and operating conditions specified by the anchor manufacturer, not on the 30 oz volume alone [S3].
Pneumatic equipment adds a compressor, hose, regulator, and maintenance burden. It is efficient for a dedicated installation area or a site already using compressed air, but less attractive for isolated, low-volume work. A worn or incorrectly adjusted pneumatic gun can also produce inconsistent delivery, so pressure setting and equipment condition belong in the installation quality plan.
Cartridge and resin constraints
Two-component resin requires equal and consistent movement of the resin and hardener before the streams enter the static mixing nozzle. If the dispenser applies unequal pressure to the two components, the mix ratio can be incorrect, resulting in incomplete curing or failure to attain the rated load capacity [S3].
Compatibility must be checked against seven parameters: cartridge shape and diameter, coaxial or side-by-side construction, mixing ratio, package diameter and length, plunger number and spacing, thrust requirement, and the tool’s approved cartridge capacity [S3]. Ratios encountered in 2K anchor systems include 1:1, 2:1, 3:1, 5:1, and 10:1, so cartridge volume alone is not a valid selection basis [S3].
Static mixing nozzles also require attention. The nozzle contains internal baffles that combine the two streams into a homogeneous resin, and a fresh nozzle should be used where specified. A blocked, worn, or incorrectly fitted nozzle changes flow resistance and can compromise mixing, particularly with winter-grade or high-viscosity formulations [S2].
Manual and pneumatic options compared

Compared by operating burden, a manual dispenser needs no compressed-air infrastructure but places output consistency and fatigue control on the operator. A pneumatic dispenser requires an air supply and regulator, yet provides more uniform discharge for repeated installations [S2].
Compared by application rate, the manual tool fits occasional anchors and small batches, while the pneumatic tool fits continuous work with many anchors per session [S3]. Compared by resin behavior, both can dispense standard-viscosity material, but pneumatic output is easier to regulate for thick or cold resin; a dedicated high-thrust 2K gun may be required when viscosity or package geometry exceeds a standard tool’s range [S2][S3].
Catalog examples confirm that manual and pneumatic tools are not interchangeable product classes. Manual examples cover 22, 28, and 30 oz packages, while the listed pneumatic model is a 30 oz AT and XP acrylic-anchor dispenser [S4]. This product distinction is practical evidence that cartridge system, not just drive type, governs selection.
Installation practice and failure controls
A dispenser cannot cure poor hole preparation. Structural adhesive-anchor work requires compliance with the manufacturer’s instructions for hole diameter, cleaning, working temperature, and curing time [S3]. Tool selection supports that process but does not replace it.
Common failure modes include worn manual ratchets, inadequate thrust for viscous resin, restricted static mixers, mismatched plungers, incorrect ratio settings, and pneumatic output affected by supply pressure. Control these variables with a cartridge-specific tool list, manufacturer mixing instructions, fresh nozzles, calibrated air pressure where pneumatic equipment is used, and operator training on complete plunger strokes.
For occasional 380–420 ml installations, select a tool explicitly rated for the cartridge architecture and its 5:1 or 10:1 ratio. For a production run, specify a pneumatic or dedicated 2K dispenser with enough sustained thrust and controlled output, then verify the combination against the anchor product documentation [S2][S3].
Specification checklist before purchase
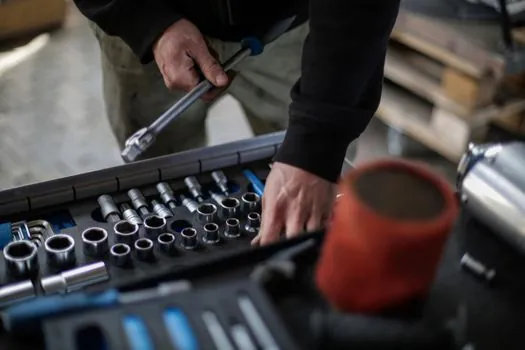
Record the cartridge nominal volume, internal architecture, component ratio, nozzle type, resin viscosity range, permitted working temperature, anchor quantity, and hole volume before selecting either tool. These seven fields distinguish a standard manual dispenser from a professional pneumatic or dedicated 2K unit [S2][S3].
Track three verification points after selection: confirm that the cartridge markings match the dispenser configuration, test the first shot through the specified static mixer, and record the settings used for the approved resin and temperature range. For 2K systems, these controls protect the ratio-dependent cure and load performance on which the anchor design depends [S3].
For more detail on package architecture, see Coaxial vs Side-by-Side Chemical Anchor Dispensers.