Diamond core drilling creates a smooth, round hole that usually needs mechanical roughening before adhesive anchoring, while hammer drilling produces the rough, trilobular bore normally assumed by many adhesive designs [S3][S4].
The decision hinges on the anchor manufacturer's approved hole method, diameter, cleaning procedure, cure condition, and design capacity, not on drill speed or surface appearance alone [S1][S4].
Decision criteria for chemical anchor holes
For a conventional hammer-drilled chemical anchor, the bit rotates while percussion breaks the concrete or masonry, producing an irregular hole that provides more surface texture for adhesion [S2][S3][S5]. Core drilling instead removes a cylindrical plug with a diamond-tipped hollow bit, yielding smoother, more accurate walls with less vibration than hammer drilling [S2][S5].
Adhesive performance depends on several measurable controls: the approved hole diameter, drilled depth, cleaning method, substrate type, annular gap, installation temperature, and full cure before loading. A core-drilled hole is not interchangeable with a hammer-drilled hole merely because both have the same nominal diameter [S3][S4].
Use a hammer drill when the selected adhesive-anchor system expressly permits it, the required diameter is appropriate for percussion drilling, and the installer can reproduce the specified hole geometry and cleaning cycle. Use diamond core drilling only when the product evaluation or engineer of record expressly supports that installation condition.
How the two hole geometries affect bond
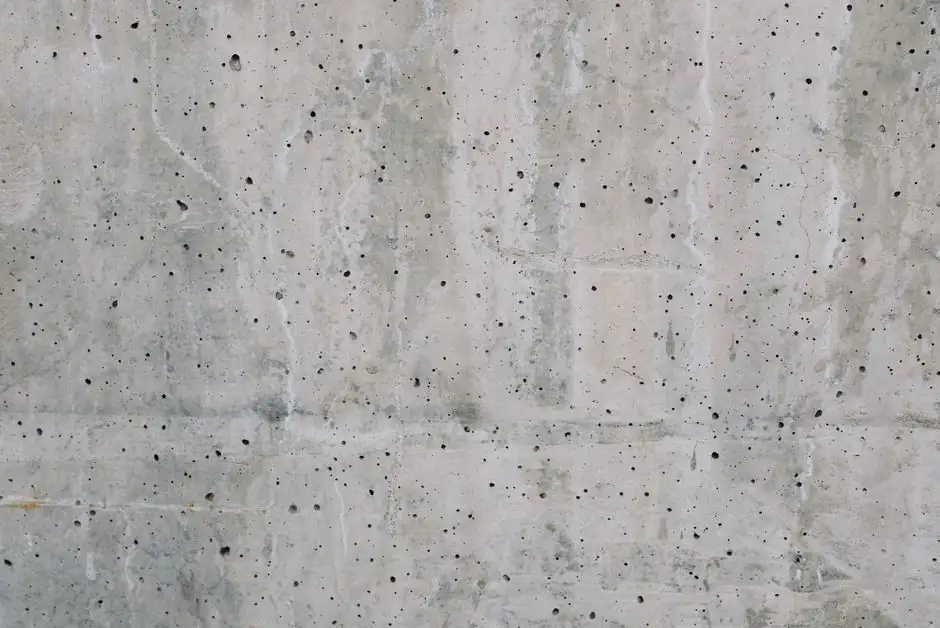
A hammer-drilled hole is typically trilobular, while a core-drilled hole is perfectly round and smooth; the core-drilled surface lacks the microscopic irregularities and fissures that can support mechanical and chemical bonding [S3].
Fastenal explains that core-drilled replacement holes have smooth surfaces and round geometry that reduce mechanical and chemical bonding areas, generally reducing bond strengths, while the generally oversized holes expose the adhesive to a larger shrinkage area [S3]. That example explains why an oversized core hole cannot be accepted by analogy with a standard installation.
Mechanical roughening can restore texture, but it does not make an unapproved installation automatically compliant. The anchor system must recognize the final hole condition, and the engineer must confirm geometry, cleanliness, bond capacity, and any annular-gap limitation before load use.
Explicit comparison of drilling methods
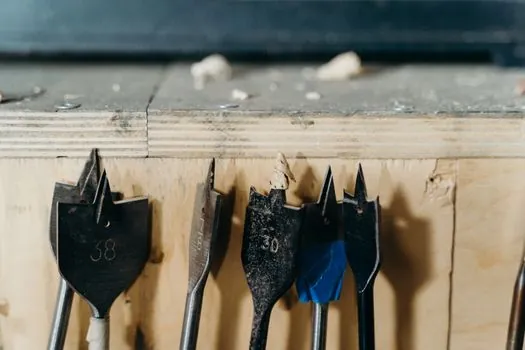
Hammer drilling is normally faster for smaller anchor holes and provides the rough surface expected by many conventional adhesive-anchor installations [S1][S2]. Core drilling gives a smoother, more circular hole, supports deeper holes and larger diameters, creates less vibration, and may contain dust when wet drilling [S1][S2][S5]. Those tool advantages do not establish higher adhesive capacity.
On installation speed, a Simpson Strong-Tie URM field comparison used 22.5-degree holes and found the approved diamond-core method much faster than carbide drilling in rotation-only mode [S1]. The comparison was specific to Simpson ET-3G epoxy and unreinforced masonry, so its result does not transfer automatically to every resin, anchor, substrate, diameter, or depth [S1].
On capacity, a partially core-drilled and hammer-roughened hole has no specific test basis in the cited engineering discussion [S4].
Where core drilling is justified
Core drilling is justified when the anchor evaluation expressly permits it, the required diameter is large or difficult to produce with percussion, the substrate could be damaged by hammering, or access and alignment demand a precise cylindrical hole [S1][S2]. In unreinforced masonry retrofit, the cited field work used 22.5-degree holes so adhesive could cross as many brick wythes and mortar layers as practical while the pre-bent rod and washer remained aligned with the wall [S1].
Simpson Strong-Tie provided options for installing ET-3G epoxy into URM holes drilled with either diamond core drill bits or carbide drill bits operated in rotation-only mode [S1]. Core drills are also used for structural testing holes, plumbing penetrations, conduit openings, and geotechnical or concrete sampling [S2][S5]. These uses demonstrate tool suitability, not automatic approval for adhesive anchoring.
The chemical anchor selection record should therefore identify the resin system, anchor assembly, diameter, depth, substrate, and approved drilling method. If a diamond-cored installation is contemplated, document the roughening tool, hole cleaning procedure, and final condition against the product evaluation before procurement.
Limits, defects, and corrective actions
Three common site failures can invalidate an adhesive anchor: an incorrect hole diameter, incomplete removal of drilling debris, and installation before the resin has reached its specified cure state. Core drilling raises the risk of an unnoticed smooth wall or residual slurry, while oversizing increases the quantity of adhesive required to fill the annulus [S3].
For a replacement anchor, Fastenal proposes roughening the smooth core wall with a hammer drill and, where practical, selecting a larger anchor that better suits the oversized hole [S3]. It also advises consulting the adhesive manufacturer for an oversized-hole system when anchor upsizing is not feasible [S3].
Do not treat these workarounds as a blanket approval. The final anchor must remain within the published limits for diameter, depth, edge distance, spacing, load direction, substrate, and adhesive volume. Cure-time selection also matters where work continues before the anchor is loaded; the comparison between epoxy and vinyl ester cure time is relevant when the installation schedule depends on early loading.
Installation workflow and quality checks
Begin with the approved anchor system, not the available drill. Confirm whether the product evaluation permits diamond core drilling and whether it requires subsequent roughening. Specify the nominal bit diameter, drilled depth, hole cleaning brush and blow or vacuum procedure, injection direction, and cure time before drilling begins [S1][S3].
During inspection, verify hole geometry, diameter, depth, wall texture, cleanliness, and absence of standing water or slurry. Record the drill type and bit size for each anchor. For the URM comparison, holes were drilled at 22.5 degrees with a guide, and the pre-bent threaded rod was selected so the nut and washer would align parallel with the wall [S1].
Load testing or proof installation should follow the project specification and anchor evaluation, not an informal comparison between tools. If no evaluation supports the final core-drilled condition, use the conservative engineered result or redesign with a fully permitted hammer-drilled installation [S4].
The two trackable controls are the product-specific approval and the field record: one must identify the permitted hole method, and the other must show the drilled dimensions and clean, correctly roughened surface before resin injection.