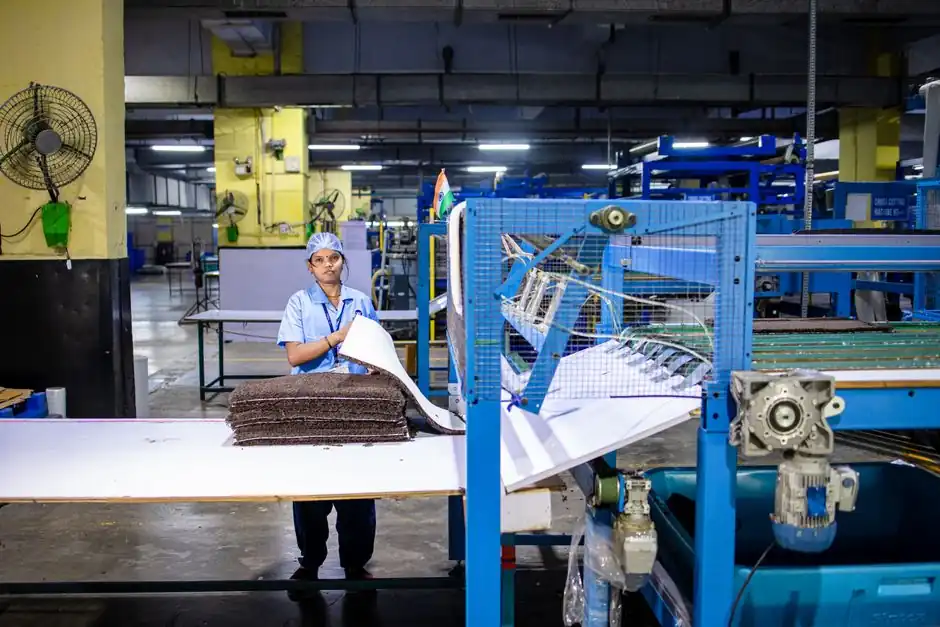
Set the label applicator tamp-pad angle to 20° to 45° relative to the product surface, with shorter labels requiring the steeper end of that range, per the Diagraph 7000 Series operations manual [S3]. The angle window is the single most-cited acceptance band in OEM setup guides, and getting it wrong is the root cause of most mis-applied or skewed labels on a new line.
During installation, the conveyor itself is typically adjustable from 32 to 39 inches off the floor, with product handling widths up to 6 inches and applicator heads offering vertical, horizontal, and swivel adjustments per the US Packaging Equipment ST2 specification [S4]. The applicator label feed position should be set to the expected median article height, not the tallest case, so the head does not chase the product through its full vertical range, as described in the Accu-Sort label applicator patent US5954913A [S1].
Define the Two Adjustment Axes Before Power-On
Height adjustment controls where the label first contacts the product; angle adjustment controls how the leading edge wipes onto the surface. The Diagraph 7000 Series manual specifies a 20° to 45° angle range, with shorter labels set to the steeper end of the band to keep the wipe stroke short and controlled [S3]. Most pneumatic tamp applicators expose both axes through a single mounting block with a vertical slide, a horizontal slide, and a swivel collar; locking the swivel set screw before any trial run is mandatory, because vibration from a 600 to 3100 inches per minute dispense cycle will drift an unlocked head within minutes [S4].
The printer/applicator feed height is set first to the median article height, with a tolerance band sized to the actual product-height distribution, not the conveyor's full range, per the Accu-Sort US5954913A description [S1]. Panther's tandem print-and-apply system, by contrast, moves the entire applicator on a vertical axis to cover cases, trays, and pallets at varying heights, eliminating a fixed height setpoint when product mix is wide [S2]. The choice between a fixed setpoint and a moving head is the first install-time decision, driven by product-height variance rather than by line speed.
Set the Conveyor to Median Product Height, Not Maximum
A conveyor adjustable from 32 to 39 inches gives a 7-inch vertical window, and the median product should sit roughly mid-band so the tamp stroke has equal upward and downward travel available [S4]. Setting to the tallest SKU is a common installer mistake: it forces the tamp cylinder to fully extend on every cycle, accelerating seal wear and starving the head of margin when a slightly shorter pallet shows up. The Diagraph 7000 Series Quick Start sequence lists "align tamp pad height" as a discrete step ahead of dispense-position and rewind-tension calibration, putting the geometric alignment ahead of electronic trim [S3].
For mixed-height lines, Panther's variable-height print-and-apply architecture moves the applicator on its own vertical axis to follow the product, which removes the median-height assumption entirely and shifts the alignment problem to track-following accuracy [S2]. That is the right call when case heights vary by more than roughly 4 to 6 inches, but it is overkill for a single-SKU line where a fixed head at median height runs for years with no adjustment. The decision criterion is product-height variance, not throughput, because a moving head at 30 cycles per minute costs cycle time and adds a servo axis to maintain.
Angle Selection by Label Length and Substrate Stiffness

Use a steeper angle, closer to 20°, for short labels, and a shallower angle, closer to 45°, for long labels, because the wipe stroke length is set by the label length, not the contact force, per the Diagraph 7000 Series manual [S3]. A short label on a shallow angle tends to fold its leading edge, while a long label on a steep angle drags its trailing edge and reads as skew downstream. Paper labels tolerate a wider window; rigid PET or vinyl labels need the steeper end to avoid spring-back at release.
The acceptance test is visual: the label must lie flat with no visible leading-edge curl after the wipe completes, and the trailing edge must be fully transferred before the product clears the head by 1 to 2 label lengths. If either criterion fails, change angle in 5° increments and re-run, rather than chasing pressure or speed. The 20° to 45° band published by Diagraph is a starting envelope, not a guarantee, and field installers routinely narrow it to a 10° working window once a specific label-stock and product combination is characterised [S3].
Lock, Verify, and Re-Check After the First 100 Cycles
All three adjustment axes, vertical, horizontal, and swivel, on the ST2 and ST1 applicator heads are intended to be locked before production release, and locking casters on the conveyor frame prevent the whole station from drifting under vibration [S4]. A short commissioning trial of 50 to 100 cycles at low speed, around 600 inches per minute on the STS single-head baseline, catches loose hardware before the line is signed off [S4].
Re-check the angle any time label length, liner, or substrate changes, because a switch from a 2-inch paper label to a 4-inch vinyl label usually forces the operator back to the steep end of the band [S3]. On Panther tandem print-and-apply cells, the equivalent re-check is the vertical-tracking servo gain, which drifts as wear accumulates on the linear guide, and is usually re-tuned quarterly rather than per SKU change [S2]. Treat the angle as a label-and-substrate property, not a machine property, and document the value on the line setup sheet so the next shift inherits a known setpoint, mirroring the 404011 Rev A Quick Start discipline [S3].
When a Standard Fixed-Head Will Not Work
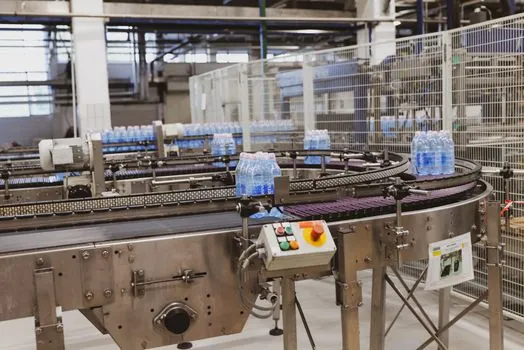
Skip a fixed-height applicator when the product mix includes pallets, where the height jump from a 6-inch case to a 48-inch pallet is beyond any reasonable tamp stroke, and specify a vertical-axis print-and-apply cell instead, matching the Panther tandem architecture [S2]. Also skip a fixed-angle head when label length varies by more than 3x across SKUs, because no single angle in the 20° to 45° band will serve both a 1-inch flag label and a 6-inch panel label, and a second head on a swivel mount is cheaper than the reject rate from a forced compromise [S3].
For conveyor widths above 6 inches, the ST2 platform is also out of spec, and a wider belt or a side-belt conveyor must be substituted before the applicator geometry is even set, per the US Packaging Equipment specification table [S4]. Working through these go/no-go checks before the installer rolls the cart to the line saves a re-installation visit, which is the most common downstream cost on new labeler projects.
Track the locked angle value on the line setup sheet, the conveyor height in inches, and the dispense speed in inches per minute, as a minimum commissioning record; the 110 VAC supply, 6-1/2 inch web width, and 12 to 18 inch label roll capacity documented for the ST1/ST2 platforms are the other reference numbers to keep on the same sheet [S4]. Re-verify the angle after any label-stock change, and re-verify conveyor height after any caster or floor-level change, since the geometric alignment drifts first and shows up as a reject-rate climb before any electronic fault fires. For a wider view of how conveyor geometry interacts with other automated handling, see this AGV guidance methods comparison.
The underlying component specifications are covered under angle grinder, height gauge, and self aligning bearing.