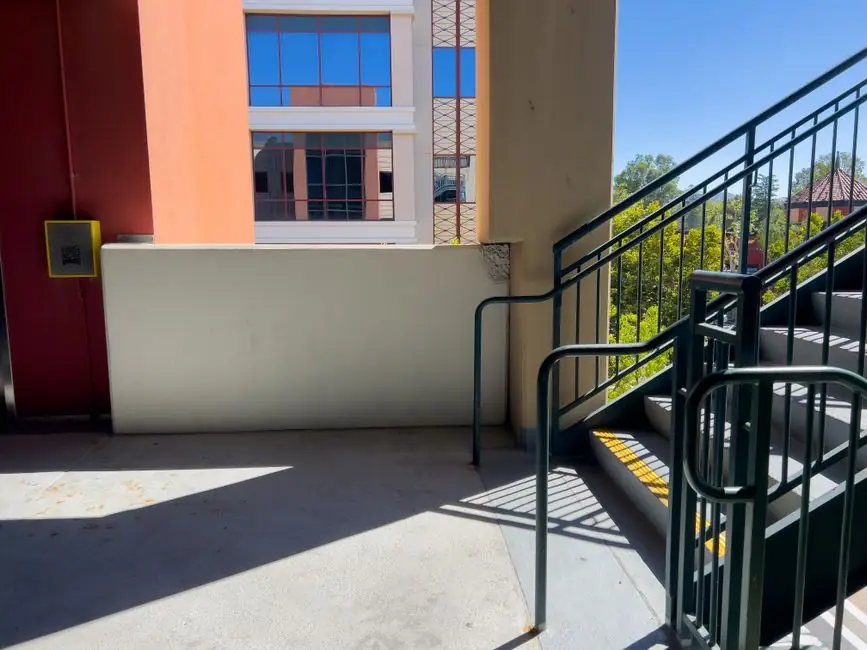
At a deck-to-wall transition, the waterproofing membrane must run continuous across the field, turn up the vertical face, and terminate into a protected edge so water cannot wick behind the cut end, per RCABC Part 10 membrane flashing rules [S4].
Termination failures show up as capillary paths, reverse laps, and UV-cured exposed edges, and most leak calls trace to that 75 to 200 mm (3 to 8 in) zone where field membrane, base flashing, and wall WRB must overlap in a defined order [S2][S3].
Upstand height and the 200 mm (8 in) rule
RoofStar-style practice and the RCABC SBS template both require membrane flashing to extend at least 200 mm (8 in) above the finished waterproofing system wherever a field membrane meets a wall or parapet [S4]. That upstand is not decorative. It gives the vertical seal enough height to clear a typical design rain build-up at the base of the wall and gives a secondary self-adhered flashing or termination bar enough engaged area to clamp the membrane without cracking it.
Low parapets, low door, and low window conditions are carved out of that 200 mm rule, but for the standard deck-to-wall transition, treat 8 in as the floor, not the ceiling. Anything shorter and the wind-driven rain that gets past the cladding has a clean shot into the side lap. Anything taller is fine if the wall covering still laps over the top termination in the right direction.
Lap dimensions to the wall WRB and cladding
Wall membranes and exterior finishes must positively lap the roof or deck membrane at the transition, and RCABC spells the dimension out: at least 75 mm (3 in) when the deck membrane goes UNDER the wall WRB, and at least 50 mm (2 in) when the deck membrane goes OVER the wall material [S4]. That positive lap, water-shedding layer on top of water-resistive layer, is the single most common error in multifamily deck CD sets, because the detail is usually split across the architectural and waterproofing drawings [S3].
On a fluid-applied membrane, the same upstand still applies, but the lap onto the wall is onto a compatible self-adhered flashing like DuPont StraightFlash rather than raw sheathing, per the Tyvek WRB balcony and deck installation guide [S1]. That detail keeps the fluid-applied layer from terminating on a substrate it cannot adhere to long-term, and it keeps the wall WRB continuous above the deck line.
Termination bar, fasteners, and the 89 mm offset
Wherever the deck membrane turns up a wall, the top edge has to be physically secured, and the fasteners used to do it cannot be the weak point of the assembly. RCABC sets a minimum 89 mm (3 1/2 in) offset between the finished waterproofing system and any mechanical fastener used to secure a metal flashing or wall finish [S4]. For adhered wall base flashings, fastener spacing at 12 in on center is the typical published rhythm, with the bar then covered by a counter-flashing, a separate self-adhered strip, or a fleece-reinforced 2-component liquid membrane flashing [S4][S5].
That 89 mm offset matters more than it looks. A fastener punched 20 mm above the membrane edge and driven through a counter-flashing into sheathing is a pinhole leak waiting for the seal to age out. Push the fastener row up, cover the bar, and the same hole is now draining on the outside of the membrane instead of through it.
Edge profile: drip edge, covered membrane, and the outside-face wrap
A deck-to-wall transition is only as good as the outside edge. The RCABC template is explicit: on parapets, low roof edges, and walls, the membrane must be fully adhered, wrap onto the outside face of the parapet or roof edge, and extend downward to overlap any cold joint by at least 50 mm (2 in) [S4]. The intent is to keep the cut edge of the membrane out of standing water and out of the UV.
Wood-framed balcony repair work has shown what happens when that wrap is missing: covered membrane applications that terminate flush with the outside edge of the deck keep the cut edge wet on every rain event, and the sheathing below it slowly rots even when the field looks sound [S2]. A drip profile at the bottom of the upstand, or a metal edge that breaks the surface tension, is the cheaper insurance policy. Multifamily CD coordination guides call for the membrane to terminate into a drip profile at the outside edge for exactly this reason, alongside field and transition continuity [S3].
Substrate, drainage, and slope at the interface

Upstand height does nothing if the field membrane is sitting in a pond. The structural deck has to be sloped to a drain, and the membrane has to be continuous from the high point at the wall down to the outlet without a reverse lap. Bridges and elevated slabs solve the same problem with preformed sheet systems like MEL-DEK, which is a high-performance bridge deck waterproofing system designed to withstand hot asphalt placement and provide a seamless membrane under the overlay [S6].
For blindside applications where the deck waterproofing turns up a shoring wall, the principle is the same: terminate on the vertical face, transition the horizontal deck waterproofing up that face, and lap the wall system over the deck membrane in the water-shedding direction [S7]. The detail names change between blindside, plaza, and balcony, but the order does not: deck membrane first, then wall membrane or WRB lapped on top, then cladding, then drip edge, then protected exposed edge.
Comparison of the three common termination treatments
Three ways to protect a deck-to-wall membrane termination show up across the referenced sources, and the choice comes down to maintenance access, wall finish, and whether the deck is at-grade or elevated: [S3]
Adhered-to-wall with self-adhered WRB overlap: lowest maintenance, the wall membrane and sheathing cover the exposed membrane edge, suitable for stucco, fiber-cement, or rainscreen claddings over a Tyvek-style WRB [S1][S4].
Fleece-reinforced 2-component liquid membrane flashing over the cut edge: moderate maintenance, good where the wall finish does not provide its own cover strip, often used at low parapet or low door conditions where the 200 mm upstand is waived [S4].
Mechanically secured with a termination bar plus counter-flashing: highest maintenance but easiest to inspect and re-seal, common at re-cover and recovery work, on parapet caps, and where the wall finish is metal panel or through-wall flashing that needs a reglet [S4][S5].
Failure modes and inspection points
Forensic work on wood-framed balconies keeps turning up the same five defects at the deck-to-wall transition: missing wall flashing, reverse lap between the deck membrane and wall WRB, railing post penetrations sealed only with sealant, no drip edge at the outside face, and the covered membrane cut flush with the outside edge where it stays wet [S2]. The fix for any one of them is straightforward; the fix for all five at once is the kind of repair scope that pulls ceilings and soffits out by square meter, not by linear foot.
A field QA pass on a new install should verify four numbers before the cladding goes on: upstand at least 200 mm (8 in), wall lap at least 75 mm (3 in) or 50 mm (2 in) depending on layer order, fastener offset at least 89 mm (3 1/2 in) above the finished waterproofing system, and a continuous drip profile at the outside face with the membrane wrap extending at least 50 mm (2 in) past the cold joint [S4]. Compare that against the as-built detail and most deck-to-wall leaks are caught on day one, not five years into the warranty.
The CD coordination lesson from multifamily deck projects is that the membrane, the structural deck, the drainage path, the surface finish, the wall-to-deck interface, and the railing anchorage all share the same tight zone, and that zone is the one most likely to be drawn on six separate sheets [S3]. For spec-side continuity at the foundation-to-wall side, the same discipline around waterstops and membranes at cold joints is laid out in a footing-to-wall transition reference. On the waterproofing material itself, the working vocabulary of sheets, modifiers, and field membranes is in the modified bitumen membrane encyclopedia entry, and the broader sheet-applied category is covered by the waterproof membrane encyclopedia entry. The general theory of keeping water out at terminations and penetrations is laid out in the thermal and waterproofing encyclopedia entry.