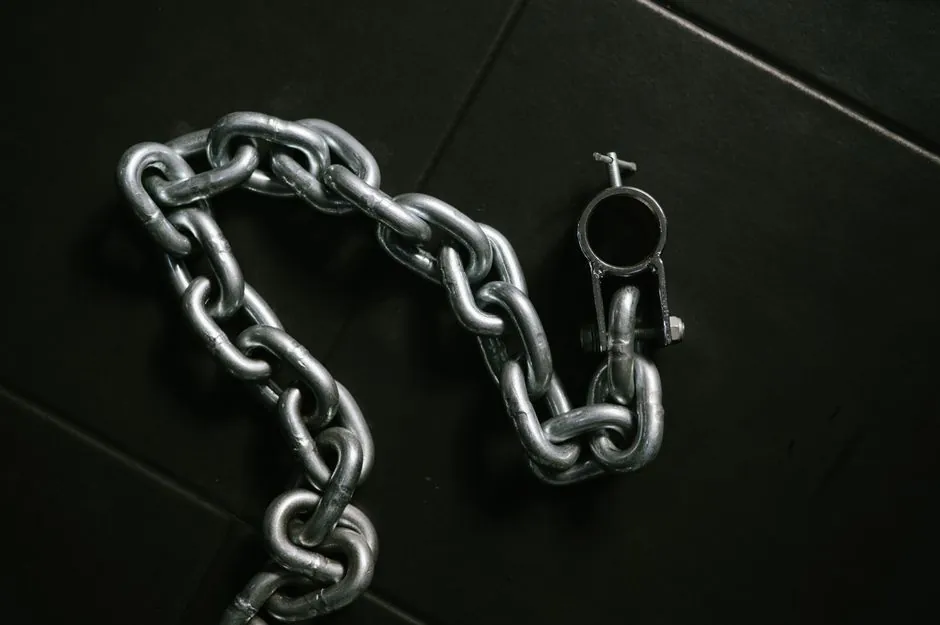
A correctly specified pipe clamp is a 2-bolt or U-bolt assembly that wraps the pipe OD, fastens to a shoe/clevis/threaded rod, and carries the static load plus thermal growth, with three failure paths that drive every install rule: galvanic attack at the clamp/pipe interface, sag from over-wide spacing, and fatigue from under- or over-torqued fasteners [S3].
Common shop sizes for steel pipe clamps pair with 1/2 in. and 3/4 in. threaded black pipe as the drawbar/extension, and the same 1/2 in. / 3/4 in. NPS is widely stocked as 10 ft precut lengths at big-box suppliers, with free cut-and-thread on request [S1]. The rules below translate that hardware into a working install, and they sit on top of the same pipe clamp reference that ships in most plant QA binders.
Step 1: Confirm pipe OD, clamp size, and service envelope before you unbox
Match the clamp inner diameter (or shoe bore) to the pipe OD before lifting anything overhead, and confirm the service envelope: temperature, fluid, indoor/outdoor, and any insulation wrap that grows the effective OD [S3]. Suspension pipe clamp kits for residential-style 1/2 in. copper/PEX runs ship with 4 screws or nails and expect a wood or concrete anchor behind the drywall, because the hanger is only as strong as the substrate it lands on [S4].
On the industrial side, two bent steel halves bolted across the seam form a full 360° capture; clevis + threaded-rod hangers drop the pipe from an overhead beam, while shoe-welded clamp halves let you undo bolts, lift the outer half, lay piping in, and re-secure without breaking the support [S3]. Decide suspension vs shoe-mounted first, because that drives whether you spec a pipe fitting clevis, a U-bolt, or a 2-bolt saddle.
Step 2: Pick the clamp finish so it does not eat the pipe
Steel-on-steel is the silent killer of pipe supports, because the clamp is doing the same isolating job in reverse if you let galvanic couples form between the strap and the pipe wall [S3]. Common OEM finish options are carbon steel (paint/primed), hot-dip galvanized per ASTM A153-style zinc coating, and stainless (typically 304 or 316), and the specifier should pick the one that matches the pipe material and the surrounding atmosphere rather than defaulting to the cheapest [S3].
A working rule: stainless pipe with stainless clamp or non-metallic isolator; copper tube with copper or plastic-coated strap to avoid galvanic attack on the tube; carbon steel pipe in a dry interior with a painted or galvanized strap; and any outdoor, coastal, or chemical exposure upgraded to 316 SS or a galvanized + isolator sleeve. Plastic suspension clamps (the residential type from Oatey) are intentionally non-metallic and are stretched fully around the pipe before fastening, so they trade load capacity for zero corrosion risk on potable lines [S4].
Step 3: Spacing by weight, with thermal growth in the loop
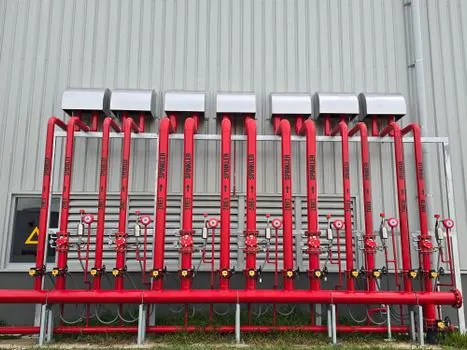
Spacing is not a rule of thumb you inherit, it is a load/sag calculation that the clamp manufacturer should publish as a chart per clamp size and per pipe material/schedule, and the install crew should have that chart in hand before the first hanger goes up [S3]. A loose clamp lets the pipe sag or bend, accelerating wear at the support and at every joint within roughly 1 m either side; a too-tight clamp starves thermal growth and transfers load into the pipe wall [S3].
Two anchors that move with the operating envelope: (1) anchor one end of a run and let the rest slide on roller/shoe clamps so thermal growth runs in one direction instead of buckling the line, and (2) treat any insulated line as having a larger effective OD and re-check the manufacturer's load chart against the larger size, because the clamp sees the same pipe mass at a larger lever arm. The reference pipe fitting page covers how hanger spacing interacts with the valve and elbow schedule, and a 2-bolt pipe shoe pipe clamp spec sheet is the document to anchor those numbers to.
Step 4: Torque the bolts to a standard, not by feel
Bolt tightening is the single step most likely to fail in service, because under-torque lets the clamp walk under vibration and over-torque strips the nut or cracks the bolt, both of which look fine at sign-off [S3]. Use the clamp maker's published torque value cross-checked against an online torque calculator, and apply it with a calibrated wrench on every fastener, not a 1/2 in. impact on the floor below [S3].
Acceptance test after torque: a properly snugged U-bolt or 2-bolt clamp shows no visible gap between the strap halves, the pipe cannot be rotated by hand, and a 0.05 mm feeler gauge will not slide under the strap at the seam. Replace, do not re-torque, any fastener that clicks, snaps, or takes a full additional quarter-turn past the spec torque value, because the threads have already yielded. The same torque discipline applies to the threaded-rod/clevis combo on overhead hangers, where a failed nut drops the line straight onto whatever is below [S3].
Common install mistakes and what they cost
Four mistakes show up on almost every post-install audit, and each one maps to a measurable acceptance criterion that the crew can check before sign-off. The table below lines the failure up against the symptom a process engineer will see during a walk-down: [S2]
Wrong-finish clamp on a stainless or copper line: white/green corrosion product at the strap within weeks, pitting of the pipe wall within 1–2 service cycles. Fix is removal, isolator sleeve, or upgrade to 316 SS strap; do not paint over the galvanic couple, it returns [S3].
Over-wide hanger spacing on a water-filled steel line: visible sag at the mid-span within the first hot cycle, water hammer amplifies, threaded joints start weeping. Fix is to insert additional hangers at the manufacturer's published spacing and re-level, not to re-torque the existing strap [S3].
Impact-driver torque on 2-bolt clamps: stripped nylock or cracked bolt, clamp appears tight at install, slips within days under thermal cycling. Fix is full fastener replacement, not re-use, and switch to a calibrated click-style or digital torque wrench for the rest of the line [S3].
Anchoring a residential plastic suspension clamp into drywall rather than the stud: clamp pulls out under the first full-pipe event (a pressure spike, a slug of cold water), and the line drops. Fix is to refasten into the stud or add a backing plate, because the clamp rating is meaningless without the substrate rating behind it [S4].
When to stop and call engineering instead of tightening one more turn
Escalate, do not improvise, when the pipe shows ovality beyond roughly 3% of nominal OD, when the clamp is rated below the calculated hydrotest load plus 1.5× safety factor, or when the line ties into a stainless or alloy pipe fitting whose galvanic behaviour you have not mapped. Escalate also when the manufacturer has not published a torque value and a load chart for the exact clamp/pipe combination in the service envelope you are working in, because installing outside published data is the same as installing without a spec [S3].
For residential-style 1/2 in. suspension runs, the cut-off is simpler: if the anchor does not bite solid wood or rated concrete, the line does not hang; the clamp cannot fix a bad substrate [S4]. For a parallel read on how the upstream procurement and grade decisions feed into install quality, see the stainless steel pipe TCO and 2026 procurement signals write-up, which lines grade choice against the same corrosion and load risks the clamp sees on day one.
For component-level specifications, see clamp meter.