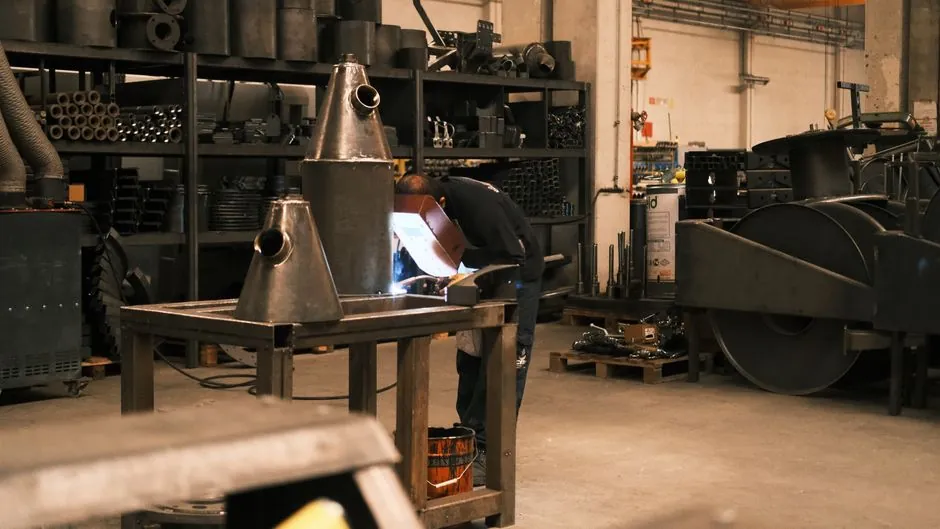
For a pit-style dock leveler, the OEM installation sequence is consistent across manufacturers: position the unit in the pit, shim level, then weld the rear transition angle to the rear pit steel with a continuous structural weld at floor level [S7][S8].
The bolted-only option belongs to a different geometry, the edge-of-dock leveler, which mounts to the face of the dock rather than sitting inside a formed pit [S5]. Inside an actual pit, mechanical, hydraulic, and air-powered levelers all converge on welded anchorage because the rear hinge carries the live forklift impact load on every cycle.
Welding the Pit-Style Leveler: Where, How Long, and How Thick
The dominant weld on a pit-style leveler is a continuous structural fillet along the rear angle where the leveler frame meets the pit steel, and the rear hinge tube must be fully welded because it absorbs the impact of every forklift transition [S8]. After the leveler is shimmed, the shims themselves are welded to the leveler frame so they cannot migrate under cyclic load [S7].
On smaller and lower-capacity units, 6-inch stitch welds are accepted in lieu of a full continuous bead, provided all welds are ground smooth to remove stress risers and trip hazards [S6]. For reference, the pit pan form kit itself arrives with the steel side walls pre-welded to the dock face angle, but the leveler inside is a separate bolted or welded install per the OEM's own manual [S1][S3].
Why Bolting Alone Fails Inside a Pit
Bolt-only anchorage in a pit fails for one reason: the rear hinge tube sees repeated impact loading, and field experience shows the initial cracking almost always starts at the plate side of the hinge tube weld, with the bead on the tube itself still intact [S4]. That is a fatigue signature, not a one-shot overload, and it points straight at the joint detail between the frame plate and the hinge tube.
Welds in this joint also crack from residual stress, which is why installers are told to confirm electrode storage (low-hydrogen E7018 kept in a 250 deg F holding oven), use preheat, and document the base-metal chemistry before any field repair [S4]. A bolted joint cannot be re-tensioned easily after the surrounding concrete has been poured and the leveler has been load-cycled, so the OEM default in a formed pit is weld, not bolt.
Where Bolting Is Actually Correct: Edge-of-Dock Levelers

Edge-of-dock (EOD) levelers are the legitimate bolt-on case, because they sit on the face of the dock, not in a pit, and they can be installed five different ways depending on what the dock face is made of [S5].
Comparison of the five EOD install options against dock-face condition:
Weld to dock only: best for new construction where the dock edge vertical steel is 8 inches tall or more. Tack weld ends of base plate, continuously weld both bump blocks and base plate, then spot weld the pre-punched holes to prevent moisture build-up [S5].
Weld to dock and bolt: best where dock edge steel is securely anchored but not adequate for a full weld. Complete the weld steps above, then bolt through the pre-punched holes [S5].
Bolt on with approach plate: best where the dock edge has no steel, is poorly anchored, and the dock face is adequate for bolting. Anchor bolts need a minimum 10,000 lb shear strength and 6,000 lb pullout in uncracked concrete, with bolt heads welded and ground smooth to a dome [S5].
Weld on and raise the approach plate, or formed-angle weld on and raise the approach plate: used when extra height is needed over an existing steel plate on the dock [S5].
Mechanical pit-style units, by contrast, are typically specified for capacities starting around 25,000 lb (light duty) and going up to 60,000 lb or more, which is why the rear hinge weld must be continuous and not just stitch-welded [S7][S8].
Pit Preparation: The Variables That Decide Weld vs Bolt
The pit itself controls the install method. Common OEM pit dimensions: a 10-foot leveler requires a 24.5-inch deep opening, the pit floor is poured 6 inches wider and 3 inches longer than the finished pit, and the pan is pitched forward 0.5 inches for drainage [S1].
Pour-in pit pans differ from pit kits: pit kits arrive with the steel walls already welded to the dock face, the leveler drops in on top; pour-in pans are set, tied down with rebar, and the leveler is anchored by the initial concrete pour itself, so any later relocation is more invasive [S3]. In both cases the leveler-to-pit steel interface is still welded at the rear transition angle, which is the load-bearing joint [S1][S7].
Standards, Failure Modes, and Material Notes

There is no single industry-wide welding procedure spec for dock levelers, but field practice converges on low-hydrogen electrodes such as E7018, kept dry, with preheat per the base-metal thickness, because the failures in service are fatigue cracks at the hinge tube toe and along the weld toe against the steel frame [S4]. Material on most levelers is standard mild steel, although freezers and salt-warehouse sites often get upgraded hinge materials specified at order entry [S4].
A broader reference for the leveler category itself is the dock leveler encyclopedia entry, which covers hydraulic, mechanical, air-powered, and vertical-storing variants in one place.
Field Checklist Before the Welder Strikes an Arc
Confirm pit dimensions against the OEM chart before pouring concrete, including the 24.5-inch depth for a 10-foot leveler and the 0.5-inch forward pan pitch for drainage [S1]. Confirm the leveler is square, the pan angles sit flush with the finished floor, and the front curb angle is centered in a 12-inch-wider-than-pit stem-wall opening [S1].
Weld sequence on a mechanical pit leveler per OEM manual: weld shims to the frame, then weld the rear transition angle to the rear pit steel at floor level, then complete the rear hinge weld as a continuous bead, with 6-inch stitch welds acceptable only on smaller, lower-capacity units [S6][S7].
Trackable signals for the next decision node: (1) the OEM manual revision for the specific leveler model, since weld length and electrode spec vary by capacity; (2) the base-metal chemistry at the hinge tube, since mild steel, upgrade steel, and stainless hinge options all behave differently in cyclic loading and require different low-hydrogen weld procedures [S4][S8].
Spec-level background on the components involved: pressure transmitter, and flow meter.