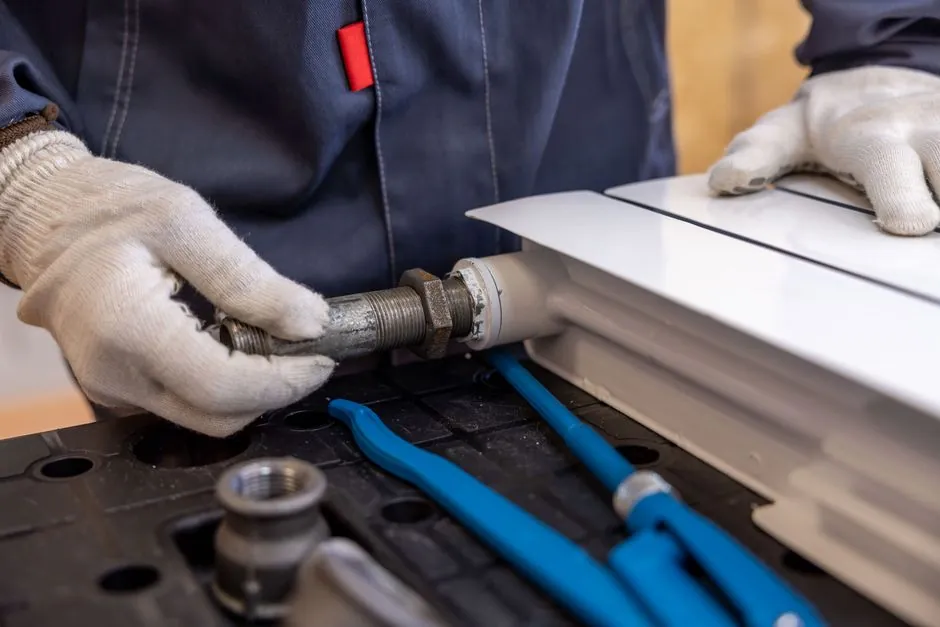
A work bench installation is selected first by duty cycle and load, then by footprint and accessory needs: Pro Series steel frames use 18 gauge steel for heavy shop duty, while a budget solid-core-door build from a 36 by 80 inch blank and ten 8 ft 2x4s lands near $80 in materials [S1][S2].
Three reference paths exist in current vendor and DIY documentation: NewAge Pro Series bolt-together steel workbenches in 48, 56, 62, 72, and 84 inch widths [S1]; the Instructables solid-core-door-and-2x4 frame build at 80 in long by 36 in wide by 34 in tall [S2]; and the BLACK+DECKER Workmate Plus WM825 portable fold-flat workbench (2026-07) [S3]. Each path implies a different anchoring, leveling, and accessorising workflow.
Steel Cabinet-Style Workbench: 18 Gauge Frame, Bolt-Together, Leveling-Critical
NewAge Pro Series 3.0 cabinet frames are specified at 18 gauge steel, with the Bold Series 3.0 line at 24 gauge for lighter garage storage [S1]. Installation manuals cover 48, 56, 72, and 84 inch Pro Series workbenches plus 62 and 72 inch Pro Series workstations, with separate documents for electric and manual adjustable-height worktables [S1].
Steel-frame installation is the most leveling-sensitive of the three paths. Manufacturer installation services for these products include moving the unit, unpacking, mounting, leveling, and packaging cleanup, with cost scaled to the number of pieces in the set [S1]. Pro Series 3.0 and Bold Series 3.0 cabinets share a common key, but the lock cylinder turn differs: 180 degrees on tool cabinets versus 90 degrees on other cabinets, so a single-key multi-cabinet install needs that detail verified before final lockup [S1]. For shops pairing the bench with a standard bench vise, the vendor publishes a dedicated vise-installation video on the same worktop system [S1].
Wood-Frame Build: 2x4 Skeleton, Door Slab Top, Drywall-Screw Joinery
The Instructables reference build is a fixed wood workbench at 80 in long by 36 in wide by 34 in tall, with a solid-core wooden door as the benchtop and ten 8 ft 2x4s as the frame, fastened with 2 1/2 inch coarse-thread drywall screws for the structural joints and 1 1/4 inch #6 drywall screws for the sheathing, plus six steel angle brackets at the corners [S2]. Total materials were reported at roughly $80, with the door sourced for $30 from a Habitat for Humanity ReStore and 2x4s at about $3 each at a big-box homecenter [S2].
Lumber selection drives the install: 2x4s must be straight, without twists, splits, or large knots, or the frame racks during assembly and the door slab will not sit flat [S2]. A 1/2 inch or thicker plywood lower shelf sized 76 by 32 inches is the standard optional layer for this geometry [S2]. A power mitre saw, a cordless screw gun, and a cordless drill for pilot holes are the minimum toolset, which matches the workflow of other home-center DIY references such as the Home Depot workbench guide that walks through measure-and-cut, frame assembly, shelf install, and pegboard/caster attachment [S4]. For commercial spec-driven facilities, a bench scale is often co-located on the benchtop, so plan a 300 by 300 mm clear footprint before final fastening.
Portable Workmate Path: WM825 Fold-Flat, No Anchoring, Vise-Ready Clamp Frame
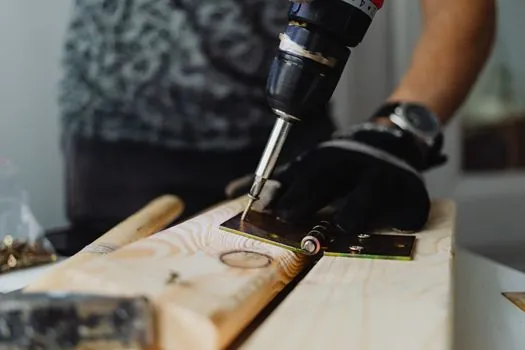
BLACK+DECKER published the Workmate Plus assembly walkthrough on 2026-07-11 for the WM825 model, with the manufacturer directing users to the model-specific User Manual on the same support portal [S3]. The article was last updated 9 months prior to the publish date and explicitly notes that the printed in-pack instructions assume a partially assembled unit, a recurring complaint in user reviews that has dragged overall product ratings down [S3].
Portable workmates skip floor anchoring entirely: the install is fold-out leg engagement and clamp-jaw alignment rather than leveling. A common use pattern is the WM825 as an assembly-and-clamp station next to a fixed steel workbench, with the vise-style clamping jaws substituting for a permanently mounted bench vise. For shops that need a permanently mounted vise instead, the NewAge bench-vise-installation video covers standard vise mounting to a steel-frame or wood-top worktop at typical 4-bolt through-bolt patterns [S1].
Selection Criteria: Load, Footprint, Fixed-vs-Portable, Accessory Integration
Four decision criteria separate the three paths cleanly:
1. Load and duty. Steel Pro Series at 18 gauge supports rolling tool-chest loads and repeated vise impacts; the 24 gauge Bold Series 3.0 is built for storage-class loads, not fabrication [S1]. The 2x4-and-door wood build is hand-tool and light assembly duty; the WM825 is clamping and portable-assembly duty [S2][S3].
2. Footprint. Steel Pro Series spans 48, 56, 72, and 84 inch widths, with separate 62 and 72 inch workstation configurations [S1]. The reference wood build locks in at 36 by 80 inch benchtop on a 34 inch tall frame [S2]. The WM825 footprint is the folded-out clamping bed, much smaller than a fixed bench.
3. Fixed-vs-portable. Steel and wood paths are anchored installations, with the steel path requiring floor leveling and the wood path requiring a flat, dry floor to prevent the door slab from warping [S1][S2]. The WM825 is grab-and-go, with no anchoring or leveling [S3].
4. Accessory integration. Steel Pro Series supports matched cabinet stacks with a shared key ecosystem and manufacturer vise-installation videos [S1]. Wood builds accept a built-in lower shelf, casters, and pegboard per the Home Depot four-step sequence: measure and cut wood, assemble the frame, install the shelves, attach pegboard and casters [S4]. Portable workmates integrate vise-style clamping jaws directly into the frame [S3]. For pneumatic-tool-driven benches, a pneumatic actuator hosed to the worktop demands a stable, non-resonant base, which favors the 18 gauge steel frame over a hollow-core door slab.
Installation Acceptance: Leveling, Fastener Torque, Lock-Cylinder Verification
Acceptance criteria differ by path. Steel Pro Series: confirm cabinet frame is plumb and level before driving final frame-to-frame fasteners, and verify the lock-cylinder turn direction: 180 degrees on tool-cabinet drawers versus 90 degrees on other cabinets, since a single key will not operate both correctly if the cylinders are mixed across product lines [S1]. The drawer-disengagement fallback (turning the cabinet upside down) is the documented recovery if a key is locked inside a drawer [S1].
Wood-frame build: confirm the door slab sits flat on the 2x4 frame with no rocking, and pre-drill all screw pilot holes to prevent the 2x4 from splitting at the end-grain joints; the documented fastener schedule is 2 1/2 inch coarse-thread drywall screws for the structural frame and 1 1/4 inch #6 drywall screws for the sheathing and shelf, with six steel angle brackets at the corner joints [S2]. The Home Depot four-step sequence adds caster attachment as the final step, which is the correct order so the bench can be rolled into position for final leveling [S4].
Limitations and Failure Modes: Cabinet Lock Mixing, In-Pack Instructions, Hollow Slabs
Three failure modes recur across the three paths. First, mixing Pro Series 3.0 tool-cabinet locks with non-tool-cabinet locks on a shared key leaves some locks at 90 degree turn and others at 180 degree turn, so the shared key turns only half of them; the manufacturer explicitly flags this as a 90 vs 180 degree cylinder-turn difference across cabinet types [S1]. Second, the BLACK+DECKER Workmate Plus printed in-pack instructions assume a partially pre-assembled unit, a packaging choice that has drawn repeat negative reviews and dragged ratings; the workaround is to follow the on-line video walkthrough for the WM825 instead of the leaflet, and to keep the relevant User Manual on hand for non-WM825 models [S3]. Third, the wood-frame path is intolerant of twisted or knotted 2x4s and hollow-core doors; the documented material spec is solid-core door only, with straight-grain 2x4s without large knots, or the frame racks and the slab deflects under vise load [S2].
When NOT to install a workbench yourself: heavy steel Pro Series installations where floor leveling cannot be verified to within the cabinet manufacturer's tolerance, and multi-cabinet shared-key installs where the 90 vs 180 degree lock-cylinder turn difference is not understood up front. In both cases, the manufacturer offers Standard and Premium Installation Service packages with bonded and insured local contractors trained on the specific product line [S1]. For shops retrofitting a stainless worktop, the procurement signals tracked in the stainless steel procurement brief inform whether a 304 vs 430 benchtop sheet is on realistic lead-time.
Spec-level background on the components involved: linear guide, and aerial work platform.