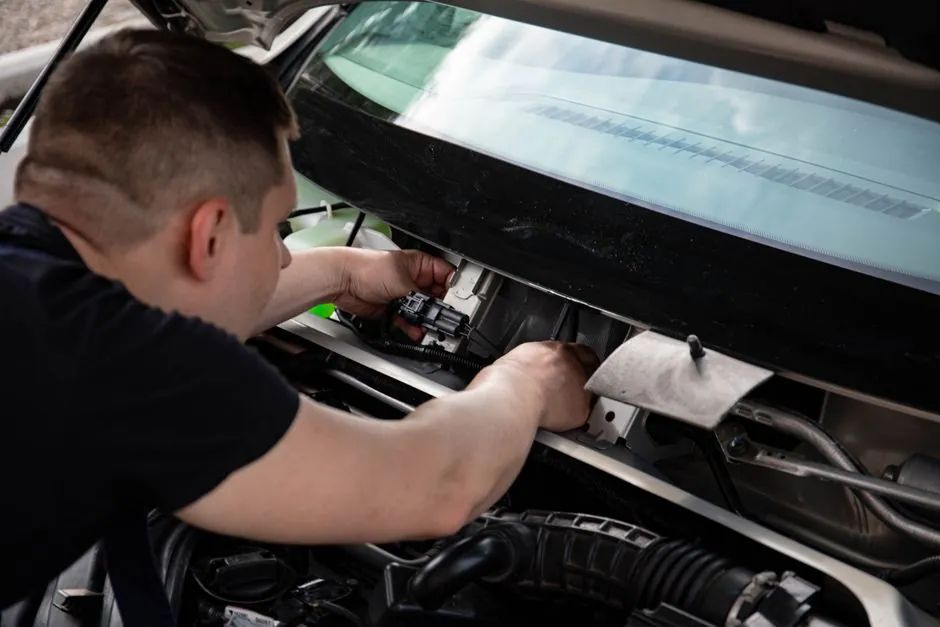
AC motor installation requires nameplate verification, mechanical alignment, protective grounding and controlled startup, with insulation resistance checked before energization [S1][S3].
The procedure applies to single- and three-phase induction motors, including adjustable-frequency drive installations, and must be adapted to the motor manual, driven equipment and electrical code [S1][S2][S3].
Verify the motor, supply and driven load before installation
Record the motor model, serial number, frame, rated voltage, frequency, phase, current, speed, duty and enclosure from the nameplate, then compare every value with the incoming power supply and the drive output rating [S1]. A mismatch is a stop condition, not a field adjustment.
For an adjustable-frequency installation, the motor must be rated for the drive, and its wiring, insulation system, bearings and cooling arrangements must remain compatible with the planned speed range [S1]. The motor manual identifies Class H insulation, 1.0 service factor, 40°C ambient and continuous duty for its L180–L440 drive-motor range, but these values are product-specific and must not be transferred to another motor [S1].
Check that the driven machine is designed for the motor’s starting torque, direction of rotation and service duty.
Inspect, store and prepare the motor
Inspect the shipment for damaged enclosure parts, a bent shaft, blocked ventilation openings and contamination before accepting or starting the unit. Record damage on the freight receipt and report transit damage to the carrier [S3]. Rotate the shaft by hand after uncrating; it should move freely, and loose or broken parts must be repaired or replaced before energization [S3].
Store the motor indoors, dry and covered, with ventilation and conduit openings protected against dust and animals. Limit temperature swings because condensation can damage windings; space heaters are recommended, unpainted flanges, shafts and fittings should receive rust inhibitor, and the shaft should be rotated monthly to distribute bearing grease [S3].
If storage exceeds one year, add grease before startup, inspect the lubrication condition and measure insulation resistance before service [S3]. A motor exposed to moisture must be thoroughly dried, and windings must be cleaned and dried as necessary before energization [S3].
Mounting and alignment determine bearing and belt life

Mount the motor on a rigid, level foundation and align it with the driven shaft before tightening hold-down hardware. A direct-coupled shaft requires correct axial positioning, a suitable key and controlled shaft engagement, while a belt drive requires the specified minimum sheave diameter and independent alignment of the shafts [S1].
Verify rotation before coupling the load whenever practical. Recheck alignment after final tightening because frame distortion and foot-plane errors can shift the shaft [S1].
Protection limits depend on application: belt, coupling, guard and equipment requirements must be installed before operation. For variable-speed systems, also verify that the VFD output, motor insulation and driven equipment remain suitable for the commanded operating range [S1].
Wire the motor and establish a protective ground
Route conductors through the conduit box or designated terminal enclosure, secure the cable to prevent mechanical loading on terminals, and connect leads according to the wiring diagram on the motor nameplate or enclosure [S1].
Connect the equipment grounding conductor to the designated frame or terminal-ground point and test continuity between the motor frame and the grounding system.
For drive-fed motors, use the drive manual together with the motor manual for power, grounding, control and encoder connections [S1]. Motor and drive manuals can differ in terminal designation, braking arrangements and feedback provisions, so the motor-specific schematic governs lead identification. The VFD Installation Guide covers the complementary drive checks.
Compare installation methods by load and service requirement

The correct installation method follows the mechanical duty, not a universal preference. Use the following comparison when selecting the mounting and control arrangement: [S1]
The electronically commutated option illustrates why the motor manual controls the installation. The Digi-Motor Installation Guide covers the MARS 10860/10861 and includes PSC and X-13 applications, motor-speed adjustment, constant fan mode, and auto-sizing [S4].
Test insulation, rotation and startup behavior
Before energization, verify that the shaft turns freely, the enclosure and terminals are dry, all covers and guards are fitted, the grounding conductor is secure and the load is ready to start. Measure insulation resistance before service and use the motor manufacturer’s acceptance criteria because resistance limits vary with voltage rating, winding condition and test method [S3].
Perform a controlled no-load start and verify direction, current, noise, vibration and cooling airflow. Stop the motor if rotation is wrong, current exceeds the expected range, abnormal noise develops or ventilation is inadequate. Correct the root cause and repeat the test; do not operate a motor repeatedly against a jammed load or an uncorrected phase-sequence error.
After the load is connected, check bearing temperature, shaft vibration, belt or coupling condition and motor current under service load. The motor and drive manuals cover operating limits, balance, lubrication and bearing replacement, including motor-specific safe speed and shaft-load data [S1]. Record the as-left values and the installation date in the maintenance file.
Use motor-specific manuals and electrical requirements
Only qualified electrical personnel should install, adjust, operate or service the motor, and the entire manual should be read before work begins [S1]. Nidec’s US Motors technical library separates horizontal AC motor safety instructions from installation guides for pool, spa and other specialized equipment, which makes model-specific documentation essential [S2].
Standard induction-motor instructions direct installers to follow the National Electrical Code, NEMA MG 2 and local codes for installation, protection and fusing [S3]. That reference is from the 2017 manual [S3], so the project specification and authority having jurisdiction must determine the applicable code editions.
For maintenance, isolate the energy source, verify zero energy, support the motor if work is performed on the shaft or bearings, and follow the lubrication schedule and reassembly limits in the applicable manual [S1][S3]. Replace bearings when the defect calls for replacement rather than regreasing. Escalate repeated bearing noise, overheating, excessive vibration or insulation failure to a qualified repair facility rather than repeating an unproven repair.
Use the motor model and serial number when requesting replacement bearings or parts, and retain the nameplate data, alignment record, insulation results, rotation check and as-left operating readings in the commissioning file [S1][S3].