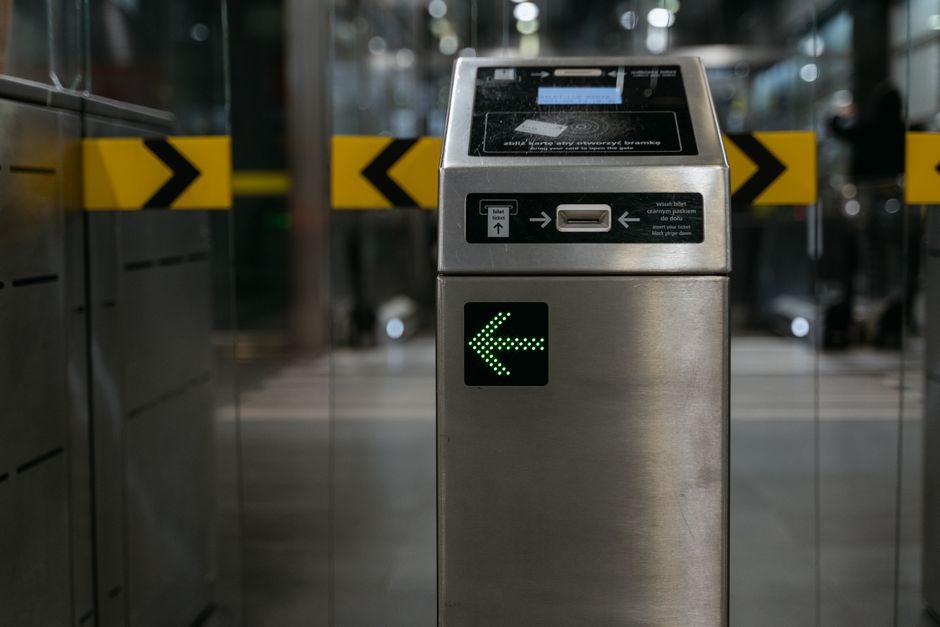
Three concrete install tasks define a working access control system: a 12V magnetic-lock wiring harness with Cat-6/copper runs, a 4-post rack-mount of a CSACS 1120 series appliance, and a per-topic 3DES Message Queue broker with unique connector credentials [S1][S2][S3]. Get any one wrong and the door, the directory, or the audit trail stops working in production.
Scope here is the physical + network install — panel wiring, slide-rail mounting, serial console bring-up, and broker trust — not card-stock policy design. Numbers below (12V SMPS, 3- and 6-pin connectors, 4-post rack kit, 3DES per-topic key) are taken verbatim from manufacturer installation chapters and a 2024 RFID reference build [S1][S2][S3].
Door-side wiring: 12V SMPS, magnetic lock, Cat-6 runs
The reference RFID build wires a magnetic lock with mounting brackets, a 12V SMPS supply, an access control device (RFID reader / face-recognition / fingerprint scanner), an exit push button, and Cat-6 or copper drop cables through 3-pin and 6-pin connectors, with 3-wire and 6-wire colour-coded runs on the harness [S2]. Power budget is set by the 12V SMPS rail, not by the reader — readers typically draw under 500 mA, but the magnetic lock pulls 250–500 mA continuously, so a single 12V/5A SMPS per two-door leaf is a safe sizing rule for a small floor.
Failure mode: voltage sag at the lock when the SMPS is shared with too many readers. Symptom — the door buzzes but does not release. Root cause — undersized supply or daisy-chained lock feeds. Fix — split the 12V rail: one SMPS per door leaf, with 1.5 mm² (16 AWG) copper from SMPS to lock and Cat-6 from the panel to the reader. Acceptance — measured lock voltage under load ≥11.4V (95% of nominal). Replace, do not repair, any SMPS that sags below 11.0V under the inrush of lock release.
Server-side: CSACS 1120 in a 4-post rack
The CSACS 1120 series is a 1U-class rack-mount appliance; the 4-post rack-mount hardware kit ships with slide rails, multi-pin adapters, and cable-management hardware, and the install chapter branches on hole type — square holes use the adapters as supplied, round-hole racks need the multi-pin adapters re-set before the rails will seat [S1]. Skipping the adapter step is the single most common rack-mount failure on round-hole frames and will not be caught until the rail is already torqued, at which point the chassis will not slide home.
Sequence from the install guide: install slide rails into the rack → install the appliance into the slide rails → connect AC power → connect the network interface → connect the console → connect keyboard and video monitor → manage the cable bundle → power up → check front- and rear-panel LEDs → only then establish a serial console session and configure the appliance [S1]. For a clean build, leave 1U above and below empty and route the console cable in the rear cable manager so the front bezel LED remains visible to the operator.
Initial configuration: serial console before GUI admin
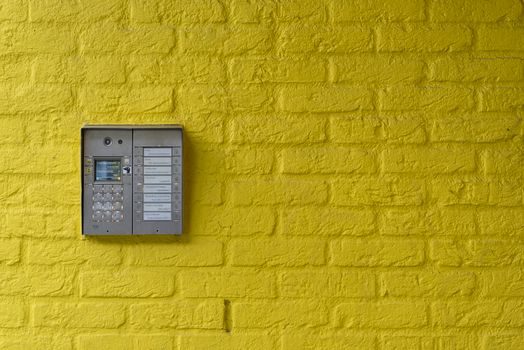
Initial config of the CSACS 1120 is serial-first — establish a serial console connection, run the configuration step, verify the initial configuration, and only then set up a GUI administrator account; the install guide lists this as the order of operations for a clean bring-up, with no skipping of the verification step [S1]. The serial port is the only out-of-band path that survives a misconfigured network interface, so a field engineer who skips straight to the GUI is one bad IP away from a truck roll back to the data centre.
Checklist at power-up, drawn from the same chapter: AC power source connected, network interface connected, console connected, keyboard and video monitor connected, front- and rear-panel LEDs checked against the expected state, and only then serial session opened [S1]. A red or unlit LED on the power or NIC rail during this step is a hard stop — do not proceed to the GUI admin setup until the LED state matches the appliance documentation, or you will be debugging in the dark.
Identity / message bus: per-topic 3DES, unique connector creds
For a Sun Java System Directory Server Enterprise Edition 6.1 install with Identity Synchronization for Windows, Message Queue's access control blocks unauthorized subscription and publishing so each connector can trust the messages it receives — unique username/password pairs known only to Message Queue and the connector are issued for the broker, and every message is encrypted with a per-topic 3DES key that protects contents and prevents outsiders from sending meaningful messages or impersonating a connector [S3]. The two practical countermeasures it enables: (a) an attacker cannot send falsified password-sync messages to a connector, and (b) an attacker cannot impersonate a connector and read actual password updates [S3].
Hardening note from the same chapter: by default, Message Queue clients accept any SSL certificate the broker returns, which is a deliberate trade-off for ease of install and is flagged in the same doc as a place to harden in production — restrict trusted CAs, validate the broker certificate, and rotate the per-topic 3DES keys on a documented schedule [S3]. A pre-deployment acceptance gate: confirm the per-topic 3DES key is unique per connector, confirm the broker rejects an unknown username, and confirm a re-key procedure is written before the system is handed to operations.
When access control is the wrong tool
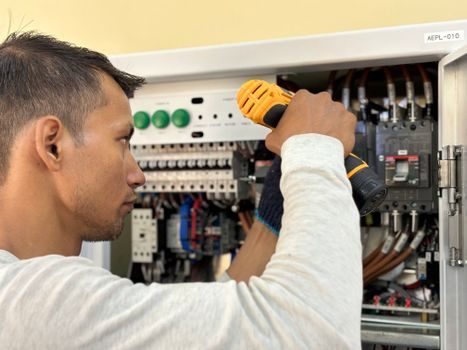
For sites with under two doors and a single tenant, an enterprise CSACS-class appliance is over-spec — a standalone 12V controller with RFID readers and a local log will do the job for a fraction of the cost and a fraction of the install time. For multi-tenant, multi-region identity sync across Windows forests, the opposite is true: a flat access controller without a directory-tier message bus will fail at audit, because there is no broker trust layer enforcing per-connector 3DES on the password-sync stream [S3]. The decision boundary is whether you need central auth, central logging, and broker-mediated trust — if yes, you are in CSACS + Identity Sync territory; if no, a single-panel install is the right call.
For a wider industrial install context, the same rack-and-console discipline shows up in adjacent enclosures — see this industrial surveillance camera install spec-first site acceptance walkthrough for the matching out-of-band console bring-up pattern. A working access control install also has to coexist with the broader control valve and control cable / control cable ecosystem on the plant floor, where 12V rails, conduit routing, and EMC segregation rules are the same as for the door-side harness. The access control encyclopedia page collects the device-side architecture behind the wiring in this article.
Spec comparison: door-side vs server-side vs identity bus
Three install layers, three different acceptance gates. Door-side: 12V SMPS, magnetic lock + reader on Cat-6/copper, 3-pin and 6-pin harnesses, lock voltage under load ≥11.4V [S2]. Server-side: 4-post rack kit, slide rails with the correct multi-pin adapter set for the rack hole pattern, serial-first configuration, LED check before GUI admin [S1]. Identity bus: per-topic 3DES key per connector, unique broker credentials, SSL certificate validation hardened away from the default-everything setting [S3].
For a single-door office, the door-side layer is the entire job. For a multi-site enterprise, the server-side layer is the centre of gravity and the identity-bus layer is what the audit will actually look at — the access controller's job is to authenticate, the directory's job is to log, and the broker's job is to keep the two talking without letting an impersonator in. The install is judged at handover by whether all three gates pass, not just whether the door opens.
Next signals to track: any revision of the CSACS 1120 install chapter (rack kit part numbers, slide-rail adapter sets) and any hardening update to the Message Queue broker's default-SSL behaviour in the Directory Server 6.1 install guide. Both will change the field acceptance checklist above without changing the three-layer architecture.