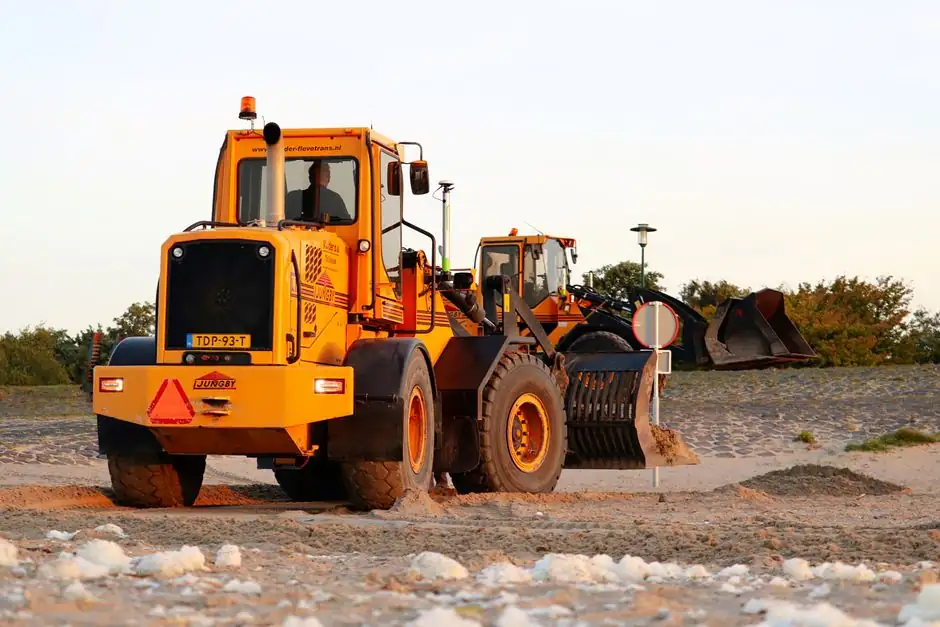
A tractor-mounted backhoe kit installs in two mechanical steps: bolt the loader mid-mount and mounting bracket to the tractor, then back the tractor slowly and parallel toward the subframe until the backhoe pins engage, per the BY85 operator manual sequence [S2]. An OEM integral backhoe loader skips the subframe alignment but demands a serial-number-matched install sheet, because the 6964735 document explicitly warns that parts vary by serial number within the same model family [S3].
The choice between paths hinges on what already sits in the fleet. A farm or rental yard that already owns a compatible utility tractor in the 25-50 hp bracket typically buys a tractor-mount backhoe (BY85-class) to reuse existing iron. Contractors buying a purpose-built machine buy a backhoe loader with the hoe integrated at the factory, accepting a higher purchase price in exchange for factory-set geometry and a single warranty path.
Phase 1: Pre-Install Inspection and Tractor Preparation
Before any bolt turns, the parking brake engages and the operator's seat belt fastens; the BY85 manual treats this as the non-negotiable starting state for both installation and operation [S2]. Hydraulic fluid level, tire inflation on all four wheels, and a clean mid-mount plate surface are the three items the Farmry step-by-step flags as make-or-break for a stable install [S1].
Ground conditions drive the next decision. Soft ground, slopes, or disturbed soil force the installer to lay cribbing under the stabiliser pads before the tractor is moved, because the rear wheels carry the digging reaction load once the hoe is engaged [S1]. Overhead and buried utility confirmation is the legal gate in most US jurisdictions; the Farmry checklist calls it out as item five of eight, and skipping it invalidates most equipment policies [S1].
Phase 2: Mechanical Mounting, Step by Step
For tractor-mount kits, the BY85 procedure is literal: fit bolts and nuts to attach the mid-mount and mounting bracket to the tractor first, then back the tractor slowly toward the backhoe parallel to the subframe until the mounting holes align [S2]. Misalignment at this stage is the most common field failure, because the operator rushes the parallel approach and the subframe pins bind rather than slide.
For OEM frame machines, the Bobcat 6964735 install instructions cover standard-to-severe working conditions and require the dealer or technician to confirm the serial number before torquing any fastener, since part numbers shift mid-production run [S3]. A practical acceptance check after mounting: cycle the boom, stick, and bucket through full travel at idle, listen for hydraulic cavitation, and confirm the hydraulic system reaches operating pressure within the manufacturer's warm-up window (typically 3-5 minutes at moderate throttle) [S1].
Phase 3: Stabiliser Deployment and Load Geometry
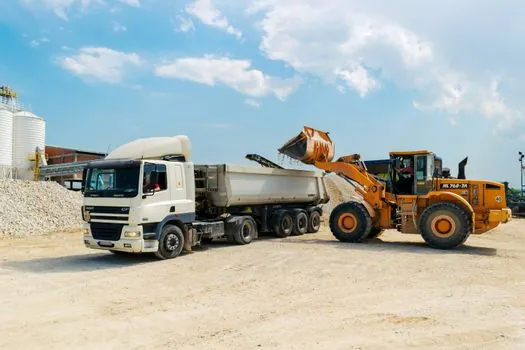
Stabiliser legs lift the machine's working weight off the rear wheels and transfer it to the pads; without them, the rear axle becomes the fulcrum and any swing load tips the unit [S1]. Each pad must seat on ground rated for the machine's operating weight, with cribbing added for soft soils, because a pad that sinks 50 mm during a dig cycle changes the leverage geometry enough to lift the front wheels.
Two operating rules follow from the geometry. First, keep the loader bucket low when positioning, never raised, because a high front bucket raises the centre of gravity and the stabilisers cannot recover it [S1]. Second, swing loads slowly and dump at minimum stick extension, so reaction torque stays within the stabiliser footprint rather than prying at the pad edges. These two rules are the difference between a machine that digs 8 hours a day and one that pins a pad into the mud by lunch.
Tractor-Mount vs OEM Integral: Selection Criteria
Three criteria separate the two paths cleanly. Capital cost favours the tractor-mount kit, because the existing tractor absorbs the engine and chassis cost; the trade-off is install labour and the alignment risk in Phase 2. Duty cycle favours the OEM integral machine, because factory-set geometry and matched hydraulics handle standard-to-severe conditions without the field-tuning step [S3]. Resale favours the OEM machine as well, since a purpose-built backhoe loader sells in a broader used market than a tractor-plus-kit combination.
A short comparison makes the trade-off readable at a glance. Tractor-mount kits win on upfront cost and fleet flexibility, lose on install time and alignment risk. OEM integral machines win on duty-cycle rating and resale, lose on capital outlay and the need to match serial-number-specific install sheets to the exact unit on the yard [S3]. For operations running more than 500 hours per year, the OEM path usually pencils out; below that threshold, the tractor-mount kit is the rational pick.
Failure Modes and When to Stop, Not Repair

Three failure modes should stop the install or the day's work rather than trigger a field fix. Hydraulic fluid that shows milky discolouration during the pre-install check means water ingress; the system must be drained and the source traced before the machine is started, because emulsified oil destroys pump tolerances within hours. A stabiliser pad that will not seat flat against the ground (rock, root, or frozen clump underneath) means cribbing or relocation, not more downward force; forcing the pad twists the leg casting. [S1]
A boom or stick pin that binds during the first full-travel cycle means the subframe is misaligned by more than the manual tolerance; the correct action is to de-mount and re-approach, not to cycle harder. Per the BY85 warranty terms, any product the manufacturer judges to have been modified, altered, or damaged during unauthorised repair is excluded from the 12-month limited warranty that begins on the first of initial purchase, first lease/rental, or six months after factory shipment [S2]. Field-fix a misaligned mount and you have likely converted a warranty claim into a parts bill.
Standards, Manuals, and Sourcing
Two documents govern any install. The BY85 operator's manual (TYM, 52 pages) carries the tractor-mount procedure and the 12-month limited warranty terms, with explicit exclusions on ground-engaging parts, sprockets, digging chain, bearings, teeth, tamping and demolition heads, blade cutting edges, pilot bits, auger teeth, and broom brushes [S2]. The Bobcat 6964735 install instruction sheet is the OEM integral path and is serial-number-specific, with parts varying by serial within the same model designation [S3].
For day-one operation after install, the Farmry operating guide sequences start-up, positioning, controls familiarisation, digging, and swing-and-dump across five steps, with the pre-operation safety checklist covering parking brake, ground inspection, tire condition, hydraulic level, utility clearance, bucket position, stabiliser deployment, and seat belt [S1]. Operators who want a broader view of how the backhoe arm geometry compares to other loader classes can cross-reference the wheel loader and skid steer loader entries, since the boom-stick-bucket kinematics overlap but the stabiliser-vs-wheel-carriage logic differs. Trackable signals to watch over the next quarter: OEM serial-number-specific install sheet updates from major manufacturers as 2027 model-year machines enter the channel, and any revisions to the BY85-class tractor preparation sequence as Tier 4 final emission tractors replace Tier 4 interim units in the used market.
Background reading: Crossed Roller Guide Selection for Agricultural Machinery.