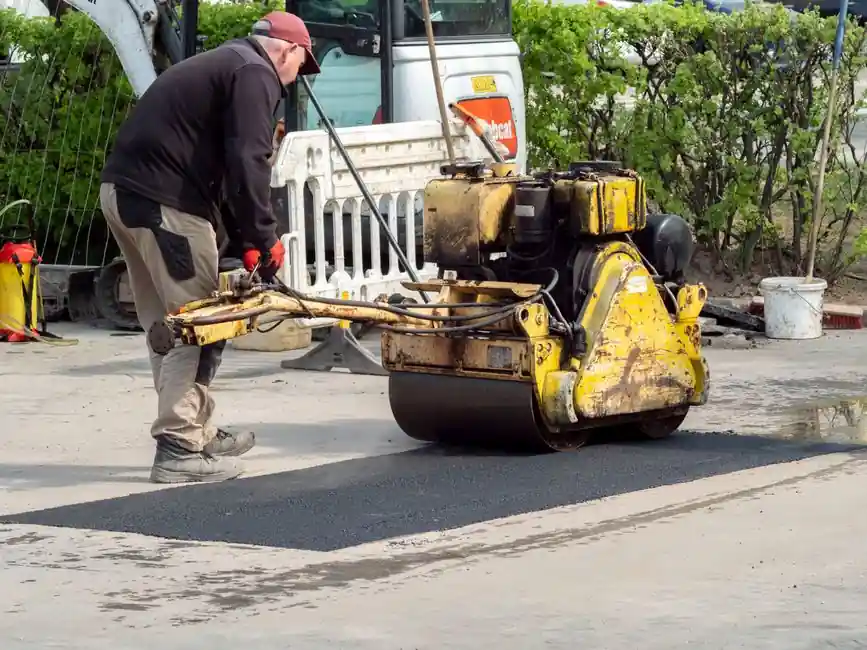
A 36-46 inch walk-behind concrete power trowel is shipped with the handle, throttle linkage, and pan/blade set detached; final assembly of the handle, fluid checks, and a no-load engine run must precede the first slab pass [S1].
Walk-behind units (commonly 24-48 inch rotor diameter) suit slabs up to roughly 1,000-3,000 sq ft per pour, while ride-on models take over from about 3,000 sq ft upward and use twin counter-rotating rotors [S3]. Pre-install planning covers slab size, concrete slump, ambient temperature, and the matching blade-geometry chart for the exact machine brand, not a generic "fits all" assumption [S2][S3].
Unboxing, Handle Assembly, and Fastener Torque
The Tomahawk 36"/46" assembly sequence is representative: the upper handle section mates to the lower handle, the throttle cable and pitch-control rod are routed before the final bolt-up, and the operator's handle is locked at a height that lets the user stand upright with elbows at roughly 90 degrees to reduce fatigue and steering error on a fresh slab [S1].
Honda GX-series and Kohler Command engine variants use near-identical handle geometry on these Tomahawk frames, so the same procedure applies to both engine choices without separate sub-routines [S1]. A pre-start fastener audit should confirm that all four handle-clamp bolts, the spider-arm retainer, and the blade-latch pins are fully seated, because vibration later in the pass will amplify any looseness left at install time.
Pre-Start Fluids, Fuel, and Safety Walk-Around
Engine oil must be filled to the dipstick upper mark with the unit on level ground before the first start; most 5-9 hp walk-behind engines spec roughly 0.6-1.0 L of SAE 10W-30, while ride-on diesels commonly require 2.0-3.5 L of 15W-40 [S1][S3].
Use fresh unleaded gasoline (87 octane minimum) for Honda/Kohler gasoline units, fill to roughly 1 inch below the filler neck to leave expansion room, and verify the fuel shutoff valve is open [S1]. A 5-minute safety walk-around covers: emergency kill-switch function, guard-ring integrity, blade-latch engagement, and a clear work zone free of cure blankets, hoses, and personnel within a 3 m radius of the rotor arc.
First Start, No-Load Run, and Blade Pitch Verification

With the machine on a clean, flat surface (not on the slab), set the blade pitch to zero (flat), choke closed, prime the bulb 2-3 times on a cold engine, and crank for no more than 5 seconds per attempt with 10-second rests to protect the starter [S1].
After start, run the engine unloaded for 60-90 seconds at idle to circulate oil, then ramp to mid-throttle for another 2-3 minutes while observing for oil leaks, abnormal vibration, or clutch slip. Confirm the spider and gear-box run smoothly by gently engaging the throttle lever without engaging the centrifugal clutch, which is the standard pre-slab check on walk-behind models [S3]. If any grinding, knocking, or clutch chatter is heard, shut down and re-inspect before moving onto the slab.
Blade and Pan Fitment by Machine Model
Blade selection is the single largest source of install-time failure: there is no universal power-trowel blade, and MARSHALLTOWN publishes a dedicated fitment chart for each of 22 OEM frames including Allen, Bartell, Edco, MBW, Wacker, Whiteman, Stow, Multiquip, and Husqvarna [S2].
For example, the Allen, Bartell, and Wacker blades share similar latch geometry in some models but differ in finish-pan bolt pattern, so a pan swap requires a cross-check on the specific OEM PDF, not a visual match. Common blade types by pass: float blades (wide, flat, used for the first pass on stiff concrete), combination blades (used for both floating and finishing), and finish blades (narrow, high pitch, used for final burnishing) [S3]. This mirrors the same model-specific fitment discipline used when selecting diamond tooling for a concrete grinder by machine serial range.
Slab Timing, Pitch Sequence, and Operating Method
First floating pass begins when the slab supports an operator plus the machine without heel-and-toe sink of more than about 3-5 mm, typically 30-90 minutes after the pour depending on temperature, slump, and mix design [S3].
The standard pitch sequence is: flat (0 degrees) for the first floating pass to press the aggregate and bleed water, then 5-10 degrees of pitch for intermediate passes as the surface tightens, and 15-25 degrees for final burnishing once the slab will take a thumbprint with only slight residue [S3]. On a walk-behind, steering is reversed from intuition: pulling up on the handle steers left, pushing down steers right, similar to a floor buffer [S3]. A study on pneumatic tool control parallels this: operator input direction on walk-behind equipment is non-intuitive and must be learned cold before any production pass.
Failure Modes, Stop-Work Triggers, and When to Call Service
Stop the pass and re-inspect if any of the following occur: visible oil leak from the gear-box, clutch slip under load (engine RPM rises without rotor speed-up), a hot gearbox housing (too hot to touch, above roughly 70 degrees C surface), or a bent/cracked blade that can throw fragments at high tip speed [S1][S4].
Bent or cracked blades are a replace, not a repair, item because the rotor tip speed on a 36 inch machine at 120 RPM is in the range of 5.7 m/s, fast enough to convert a small crack into a thrown-piece hazard. Clutch slip after break-in is a wear sign pointing to worn shoes, contaminated oil, or a stretched drive belt; do not field-troubleshoot beyond visual inspection, escalate to the OEM service channel or a Multiquip-style technical-support line (Construction & Lighting: 888-661-8992, Mon-Fri 5AM-5PM PST) [S4]. For operators also running adjacent equipment, the same escalation discipline that governs a hydraulic motor install applies: stop on the first symptom, document RPM, load, and ambient conditions, then escalate.
Trackable next nodes for an installation in progress: (1) confirm the OEM blade-fitment PDF matches the machine serial-plate model code before any pan or blade is mounted [S2]; (2) keep the engine break-in log for the first 5 hours (no full-throttle sustained runs, vary RPM every 10-15 minutes) per typical small-engine guidance [S1]; (3) after 25-50 operating hours, re-torque handle-clamp and spider-arm fasteners, a step most operators skip and a common source of handle-vibration complaints on the second pour.
Spec-level background on the components involved: linear guide, and crossed roller guide.