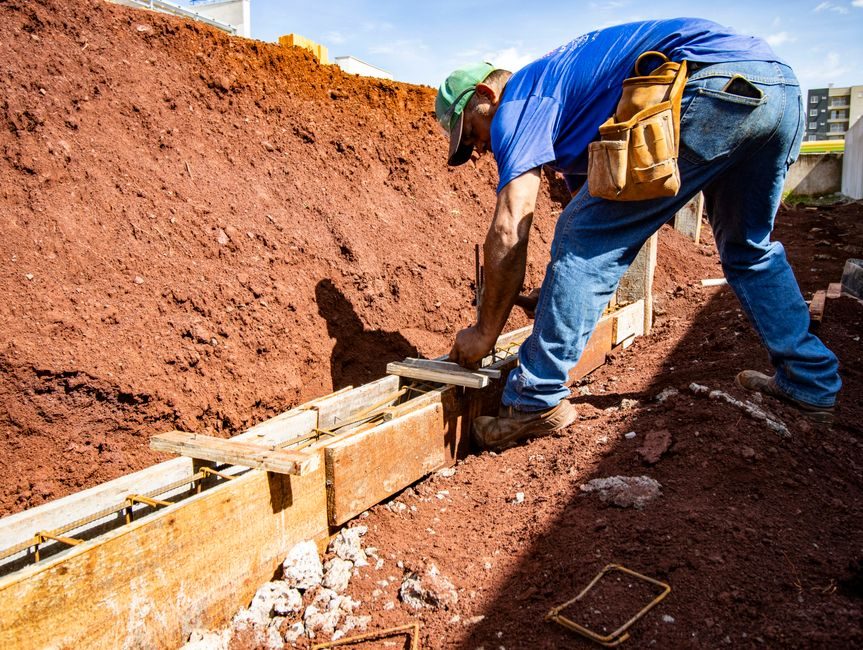
A dry-mix mortar is a pre-blended formulation of cement, graded aggregate, additives and sometimes polymer binder, mixed with water only at the point of use — unlike ready-mix concrete, which arrives wet-batched and ready to pour; EN 998-1 classifies these as factory-made rendering/plastering mortars with declared compressive strength classes from CS I (0.4–2.5 N/mm²) up to CS IV (≥ 6 N/mm²) [S3].
Installation is a four-gate sequence — substrate condition, water-to-powder ratio, open-time control and curing regime — and failing any one of them drops bond strength faster than any spec upgrade can rescue it. For EIFS, tile adhesive, self-levelling underlayment and gypsum plaster variants, those four gates carry different numeric limits but the same logic [S5].
Substrate preparation: the gate that decides pull-off strength
Substrate must be clean, sound, dimensionally stable and free of bond inhibitors; ambient and surface temperatures during application and the first 24 h of curing are normally held between +5 °C and +30 °C, with the substrate wetted to a saturated-surface-dry (SSD) condition for absorbent masonry backgrounds [S5].
For high-absorbency backgrounds (AAC, lightweight block, unfired brick) a primer or spatterdash coat is typically applied first to equalise suction; on dense concrete a bonding bridge slurry — often 1 part polymer-modified mortar to 1 part cement — is scrubbed in before the base coat, otherwise delamination at the interface is the dominant failure mode. A skim coat applied over a dusty or hot substrate without pre-wetting will cure from the surface inwards, leaving a carbonated crust over still-hydrating binder and a guaranteed debond [S5].
Water-to-powder ratio: the single most important knob
Over-watering is the dominant field error: a 1 % over-dose can lift the water/cement ratio past the design value, cut compressive strength by roughly 5–10 %, extend open time past the tack window and raise drying shrinkage — a triple penalty no re-trowelling will fix. Under-watering produces a stiff mix that skins over, breaks the wet-edge and leaves trowel-burnished patches with poor wet transfer to the substrate. Mechanical mixing with a slow-speed (≤ 400 rpm) paddle for 2–3 min, a 3–5 min slake, then a 30-second re-mix gives consistent water distribution in a 25 kg bag [S2].
Application method, layer thickness and open-time control
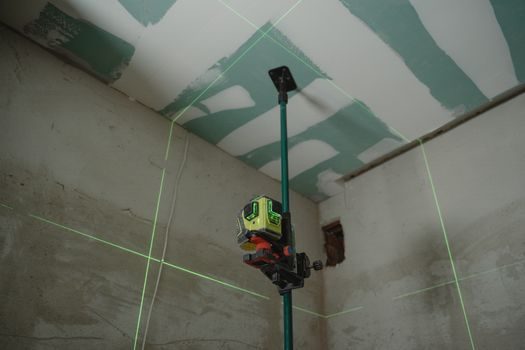
Render is normally applied in two passes: a contact/scratch coat pressed firmly into the SSD substrate at 3–5 mm, followed after partial set by a build-up coat to the total specified thickness (typically 15–25 mm for machine-applied cement render, 10–15 mm for hand-applied gypsum plaster). Each pass must be applied before the previous one has fully dried to keep a wet-on-wet interface. [S1]
Open time is the window after spreading during which tiles or plaster can be embedded with full wet transfer; for C2TE tile adhesive this is commonly 20–30 min at 23 °C/50 % RH and drops to under 10 min above 30 °C, on a windy day, or over a high-suction background. The finger-touch test — paste transfers to the finger — confirms the tile can still be placed; if the skin has formed it must be scraped off and fresh adhesive combed in, never re-wetted [S5].
Curing, protection and time-to-next-trade
Freshly applied render needs protection from direct sun, wind and rain for the first 24–48 h; in hot/dry climates mist-spraying 2–3 times per day for 3 days prevents surface crusting, and in cold weather below +5 °C work should pause or be tent-heated. Cement-bound render typically reaches workable strength after 7 days, with full design strength at 28 days; gypsum plaster dries faster (1–3 days at 20 mm) but must not be force-dried with heaters that drive the surface above 40 °C. [S2]
Time-to-next-trade gates that govern follow-on works: tile fixing after 7–14 days depending on adhesive class and ambient, paint or decorative finish after 14–28 days once residual moisture drops below the coating manufacturer's limit (often 5 % by mass for cementitious backgrounds, 1 % for gypsum). Rushing these gates is the second most common cause of debond — for a full spec map of cement choices behind these mortars, see Special Cement Types and Classifications: A Spec Engineer's Field Map.
Common failure modes and how to avoid them

Three failure modes dominate site call-backs: (1) debond at the substrate interface from dust, laitance or hot-substrate drying — fix with mechanical prep, SSD pre-wetting and a bonding bridge; (2) map-cracking and powdering from over-watering or carbonation — fix by holding the printed water ratio and a 3-day mist cure; (3) efflorescence and lime-bloom from moisture migration through a thin render — fix with adequate thickness (≥ 15 mm external) and a vapour-permeable finish coat, never a non-breathable paint. The full dry-mix material taxonomy sits on the dry mortar encyclopedia page for cross-referencing. [S3]
For plant-side QA, dry-mix producers run automated batching with screw conveyors, bucket elevators, vibrating screens and sand-drying lines — with idler and chute slides aligned on linear guides for belt-tracker accuracy — and the in-line gear driving those conveyors follows the Bucket Elevator Selection Guide: Type, Material and Safety Map when bucket elevators are used for aggregate and binder lift. A second trackable signal: the industrial oven price/cost guide covers the sand-drying ovens that sit upstream of every dry-mix line and determines the moisture band going into the mixer.