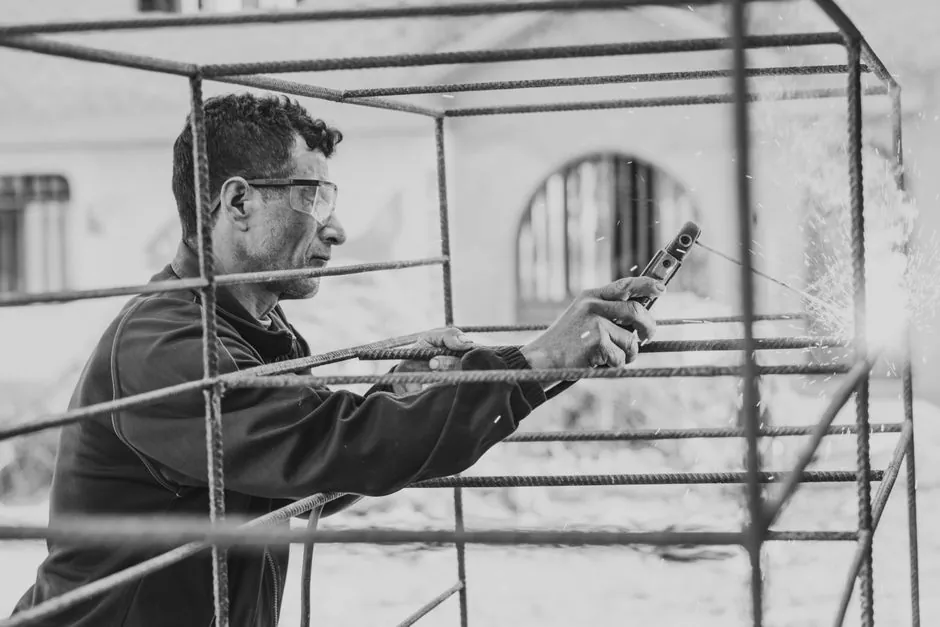
The stud welding trigger does not simply "turn on" the arc; it starts a controlled lift-and-plunge sequence executed by the gun and power source together. In drawn arc welding, that sequence runs 100 to 1500 ms, while capacitor discharge (CD) welding collapses the same logic into roughly 1 to 6 ms [S1].
The mechanics are consistent across processes: contact, lift to draw an arc, hold for programmed weld time, then spring-driven plunge into the molten pool. Mis-setting lift, plunge, or trigger dwell is the dominant cause of incomplete fillets, spatter, and studs popping off under load [S5][S3].
Trigger Sequence Step by Step, Drawn Arc
For drawn arc stud welding with a ceramic ferrule, the standard sequence is: (1) load the stud into the chuck, (2) place a ferrule in the ferrule grip, (3) press the stud against the workpiece to close the electrical circuit, (4) pull the trigger, (5) the gun lifts the stud to draw a low-current pilot arc, (6) the pilot arc ionises a path for full weld current once the stud reaches lift height, (7) weld current runs for the controller-timed interval while both stud and parent metal melt, (8) the gun plunges the stud into the molten pool to complete the weld, (9) after solidification the ferrule is broken away and discarded [S5].
The lift step is non-optional: the air gap raises circuit resistance and creates the heat needed to melt both faces. Without a real gap, the circuit is a direct short and the weld never develops. Typical plunge is set at 1/8 in excluding the flux ball, climbing to 3/16 in for vertical-wall applications to fully form the fillet [S5]. The ceramic ferrule used in this sequence is a single-use consumable that contains the melt, shields the arc, and moulds the fillet.
Trigger Sequence Step by Step, Capacitor Discharge
CD stud welding with tip ignition uses the same trigger logic but compresses every phase. In contact (touch) mode: charging voltage is set, the stud (with ignition tip) is pressed onto the workpiece by the gun's spring, the trigger fires, the rapidly increasing current evaporates the tip and ignites the arc, both faces melt, the stud is driven forward, the arc is cut at contact, and the molten zones join and solidify. Total welding time is at or below 3 ms [S1].
Gap-mode CD, with the stud held at a defined standoff before the trigger, accelerates the stud into the workpiece for a welding time of roughly 1 ms. That shorter, higher-plunging-speed arc is what makes thin-gauge aluminium and brass weldable without shielding gas. Recommended base-material thickness is 1/10 of stud diameter, but never less than 0.5 mm [S1]. Operator technique is minimal: the stud gun is pushed against the spot and the trigger is pressed [S7].
Plunge and Lift: The Two Adjustments That Define Weld Quality
Plunge is the amount of stud protruding past the ferrule in the gun's normal (rest) state, and it controls both fillet volume and the spring pressure that drives the final plunge. Too little plunge yields an incomplete fillet; too much produces spatter, an uneven fillet, and the same incomplete-fillet problem the operator was trying to avoid [S5].
Lift is the gap the gun opens after the trigger, and it sets arc voltage by raising circuit resistance. Lift is set once per tool and not normally readjusted until the tool is disassembled for service [S5]. On a typical stud welding gun the lift mechanism stores energy in a spring during the lift, then releases it for the plunge; a worn spring, a dirty chuck, or a sloppy ferrule grip all change the effective lift and plunge, which is why gun-side preventive maintenance matters as much as power-source settings. For comparison with adjacent fastening and joining processes, the stud welder reference page covers the tool envelope and process options.
Field Symptoms of a Bad Trigger Sequence
The classic CD failure pattern is a stud that welds on one side and shows a gap or unwelded zone on the other, often with the workpiece sticking to the welding table. Root cause is almost always a ground path that is better through the table than through the part being welded, combined with a low-power CD unit (for example a 110 V, 20 A, 60 Hz machine set at 86 V) that cannot tolerate any ground loss [S3]. The same symptoms appear when the stud is not seated normal to the surface, so one side lifts and never makes full contact with the molten pool [S3].
For drawn arc, a short plunge shows up as an under-formed or missing fillet, while an over-set plunge throws metal out of the joint as spatter and leaves the same fillet defect. Cable layout also matters: gun and control cables run in a straight line, not coiled, or poor weld quality follows [S3]. Keeping the gun clean and dry, free of grease, water, and dust, is the standing rule in every arc-gun manual [S4]. On heavier drawn-arc work, the same lift-plunge logic is what an arc welder operator monitors through the controller, not by hand.
Process Selection by Stud Diameter and Sheet Thickness

Use CD (tip ignition) when stud diameter is M3 to M10 (2 to 10 mm) and base sheet is thin, down to 0.5 mm minimum, in mild steel, stainless steel, aluminium, or brass. CD is the lowest thermal-load option and routinely welds to the back side of thin sheet without distortion [S1]. Sheet-metal work, electronics, switchgear cabinets, laboratory and medical equipment, food-industry housings, and white goods are the typical CD application list [S1].
Use drawn arc with a ceramic ferrule for stud diameters from roughly 2 to 25 mm (up to M24) on thicker base material starting at about 2 mm, in mild steel and stainless. Above 12 mm diameter, ceramic ferrule is the standard recommendation; shielding gas is added when the weld pool needs atmospheric protection or when the process is automated [S1]. A short-cycle variant sits between CD and full drawn arc for medium diameters. For applications that cross over into conventional TIG welder territory on thin stainless, the lift-plunge sequence in stud welding is the faster, more repeatable alternative once geometry allows.
Operator Setup and Cable Discipline
Drawn-arc setup starts with square seating of the gun on the workpiece; any tilt misaligns the stud and produces a one-sided weld. Foot pieces and adjustable legs set the relationship between gun, ferrule, stud, and base material, and the chuck must match the stud diameter so the stud cannot shift vertically out of sequence [S2]. Chucks are replaceable wear items; a worn chuck that allows stud movement during lift or plunge is enough to scrap a weld.
For CD, the operator loads the stud, sets charging voltage, presses the stud against the workpiece, and pulls the trigger. Modern CD guns for confined-space work are designed around simplified trigger circuits, and lightweight tools in the 110 V class are common in field repair and small-fab work [S6][S7]. On stainless, polarity reversal (the same rule normally applied to galvanised steel) is a recognised variable worth checking when a stainless weld set looks hot but does not develop [S3]. A 20 GA stainless part sticking to the welding table after every cycle is the diagnostic signature of a better ground path through the table than through the part; moving the work clamp to a freshly cleaned spot on the actual part is the documented fix [S3].
Preventive Maintenance That Protects the Trigger Sequence
Keep the chuck, ferrule grip, foot pieces, and lift spring clean and dry, and inspect the chuck for wear at every shift change [S2][S4]. On CD equipment, power-off checks of capacitor and internal connections are the first step when weld energy starts drifting, since a weak capacitor bank changes the arc length the trigger sequence is designed to produce [S3]. For drawn arc, the lift adjustment is set once and left alone unless the tool has been disassembled, so any drift in lift or plunge behaviour after a teardown is a re-calibration trigger, not a parameter to compensate for in current or time [S5].
Trackable signals to watch on the next shift: (1) any rise in spatter or one-sided fillet defects at unchanged controller settings, which points at chuck or spring wear, not at the power source; (2) stud-to-workpiece sticking on CD, which points at ground-path loss before it points at the gun; (3) ferrule breakage pattern changes, which indicate lift or plunge drift after a tool service. Each of these is a hardware-side fix, not a parameter-side fix.
Related analysis: Push-Back vs Pallet Flow Rack: A Spec-Based Selection Guide for Warehouses.