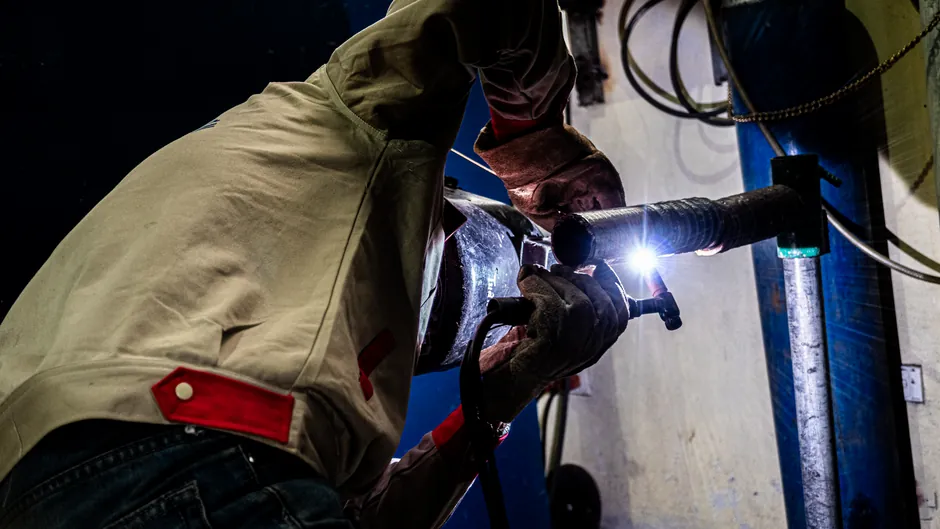
Electrical-installation TIG work splits into three failure-prone tasks: stainless-to-copper dissimilar joints in switchgear, thin-wall aluminum enclosure seams, and corrosion-resistant transformer component welds. Each of those tasks punishes a wrong machine choice differently, and the deciding specs are current type (AC vs DC), arc-start method, peak amperage, and duty cycle [S3][S5].
A mismatched TIG here is not a cosmetic problem: aluminum oxide refuses to bond under DC, scratch start contaminates tungsten and embrittles the joint, and a 20% duty cycle welder will thermal-cutout halfway through a transformer housing seam. Treat the welder as part of the electrical automation toolchain, not a separate purchase.
Current Type: AC/DC Is the First Fork
DC-only TIG welders are limited to steel, stainless steel, and chromoly, while AC output is required for aluminum and magnesium because the alternating waveform breaks the refractory oxide layer that sits on aluminum's surface [S5]. If the installation scope includes aluminum busbars, NEMA 3R/4X aluminum enclosures, or any transformer component made of non-ferrous metal, a DC-only machine is the wrong tool and the joint will be porous.
AC/DC machines are the default for mixed-scope electrical work because they handle both ferrous and non-ferrous metals, and modern AC controls add balance and frequency adjustment that directly affect cleaning action versus penetration on aluminum [S4][S5]. For a crew that only welds copper-to-steel, a DC-only machine is acceptable; for everyone else, AC/DC is the floor, not the upgrade.
Peak Amperage and the Material Thickness Map
Miller's TIG basics recommend high peak amperage to ensure proper penetration, and the practical floor for a 120 V site machine is around 200 A peak to handle 1/4 in (6.35 mm) aluminum and 1/8 in (3.175 mm) steel with a single pass [S1]. Andeli's selection checklist ranks the amperage range as item 3 of 10 buying criteria, confirming that amperage headroom is one of the few non-negotiable specs [S4][S6].
Input power availability is the gate that drives amperage choice: a 120 V/20 A branch tops out around 140-150 A, while 240 V single-phase reaches 200-300 A peak and three-phase industrial service pushes past 350 A [S1][S6]. For a TIG welder on a typical commercial electrical job, plan for 240 V service and 200-300 A peak so the machine is not the bottleneck on thicker copper or aluminum work.
Arc-Start Method: HF, Lift-Arc, and Scratch Start
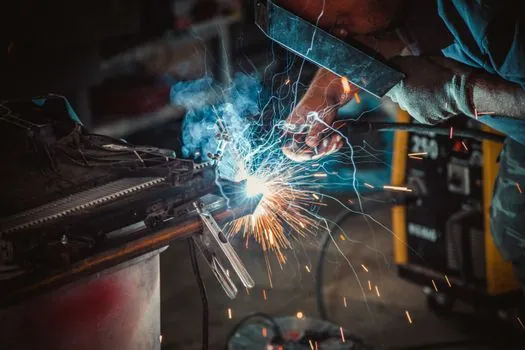
Three arc-start methods are in current production, and they are not interchangeable: high-frequency (HF) start strikes the arc without tungsten contact, lift-arc starts with light contact then lifts, and scratch start drags the tungsten across the workpiece [S5]. HF start is required for clean aluminum work because it keeps the tungsten uncontaminated and the arc stable, while lift-arc is acceptable for DC TIG on steel and stainless but does not work on aluminum due to that oxide layer.
Scratch start is the worst option for electrical-installation work because it contaminates the tungsten and the weld pool, and the resulting inclusions are exactly the porosity that lets moisture into transformer housings and busbar joints [S3][S5]. Treat scratch-start machines as a fallback for occasional repair only, and require HF start for any production TIG in switchgear or transformer shops.
Duty Cycle, Cooling, and Productivity
Duty cycle is the percentage of a 10-minute window a welder can run at its rated output before thermal protection trips, and electrical-installation work is exactly the kind of long-seam, continuous-amperage task that exposes a low duty cycle [S5]. A machine rated 20% duty cycle at 200 A is fine for tacks but will shut down mid-seam on a 36 in (914 mm) enclosure weld.
For shop-based transformer and switchgear fabrication, 60% at rated output is a common industrial baseline; for field service on a generator or breaker retrofit, 40% at working amperage is usually enough as long as you accept multi-pass rest periods [S5].
Control Features That Matter on Real Jobs
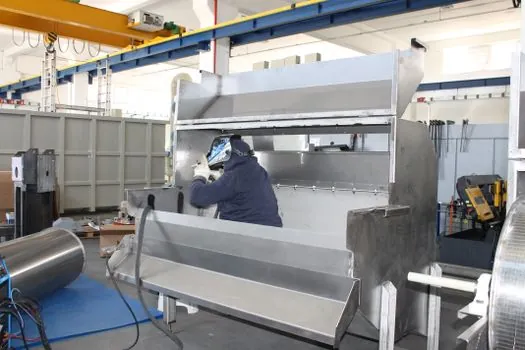
Primary current control via foot pedal or torch-mounted finger control is the baseline for heat management, and the foot pedal remains the most common and easiest option for operators learning TIG [S5]. Advanced controls like slope up/down, pulse, AC balance, and AC frequency are the differentiators that separate a hobby machine from a production machine, and they directly affect crater cracking, puddle size, and aluminum cleaning action [S4][S5].
For electrical-installation work, prioritize pulse and AC balance over decorative features. Pulse cycles heat to control puddle size on thin stainless and copper, which is critical when welding 0.060 in (1.5 mm) copper busbar shim; AC balance adjusts the cleaning-to-penetration ratio on aluminum, which determines whether the oxide layer is actually removed [S5]. A machine without these is not wrong, it just requires a more skilled operator to compensate.
Process Comparison: TIG vs MIG vs Stick for Electrical Work
TIG, MIG, and stick serve different roles in electrical installation, and the comparison below is the working spec map most crews use to choose: TIG produces stronger, narrower-arc welds with minimal spatter but requires two-hand operation and runs slower; MIG runs faster with a consumable wire but delivers lower strength and uses an argon/CO2 mix that is wrong for reactive metals; stick remains the field-repair default because it is portable and tolerant of dirty steel [S4].
The decision criterion is material and joint geometry, not preference: TIG for thin stainless enclosure seams, copper-to-steel dissimilar joints, and any aluminum component; MIG for long ferrous production welds where speed matters; stick for outdoor steel structural work and emergency repairs where shielding gas is impractical. For more on arc-process choices on construction sites, see arc welding machine picks for steel construction sites.
Common Failure Modes and When to Replace, Not Repair

The most common TIG selection failure on electrical jobs is using a DC-only machine on aluminum, which produces porous, oxide-filled welds that fail leak tightness in transformer housings [S3][S5]. The second is under-specifying duty cycle, which forces thermal cutouts and partial welds that the crew patches with sealant instead of re-doing. The third is scratch start on aluminum, which embrittles the joint through tungsten inclusions and is the leading cause of switchgear seam rejects [S5].
Repair-versus-replace thresholds: a contaminated tungsten electrode is replaceable, but a machine without HF start or AC output is not salvageable for aluminum work, and a 20% duty cycle unit on a production seam is the wrong tool. Escalate to an AC/DC machine with HF start and at least 40% duty cycle at working amperage before taking on transformer, switchgear, or aluminum enclosure work [S3][S5]. For a spec-driven view of a different arc process on masonry and structural steel, see arc welding machine selection for masonry.
Sourcing and Standards Reference
The selection criteria above are anchored in manufacturer technical guidance from Miller (TIG basics, peak amperage, input power) [S1], Lincoln Electric (AC/DC TIG capability on aluminum and other metals) [S2], Andeli's 10-point buying checklist (AC/DC capability, amperage range) [S4][S6], and Summit Racing's TIG help center (AC vs DC, arc-start methods, duty cycle, advanced controls) [S5]. Application context for transformers, switchgear, and enclosures comes from Monti Inc.'s electrical distribution welding guide [S3].
Trackable signals for the next buying cycle: confirm the 240 V single-phase service at the work site before sizing the machine [S1]; verify the listed amperage is at the duty cycle you will actually run, not at the marketing peak [S5]; require HF start plus AC balance plus pulse for any machine specified for aluminum or thin stainless enclosure seams [S4][S5].
The underlying component specifications are covered under welding cutting tool.