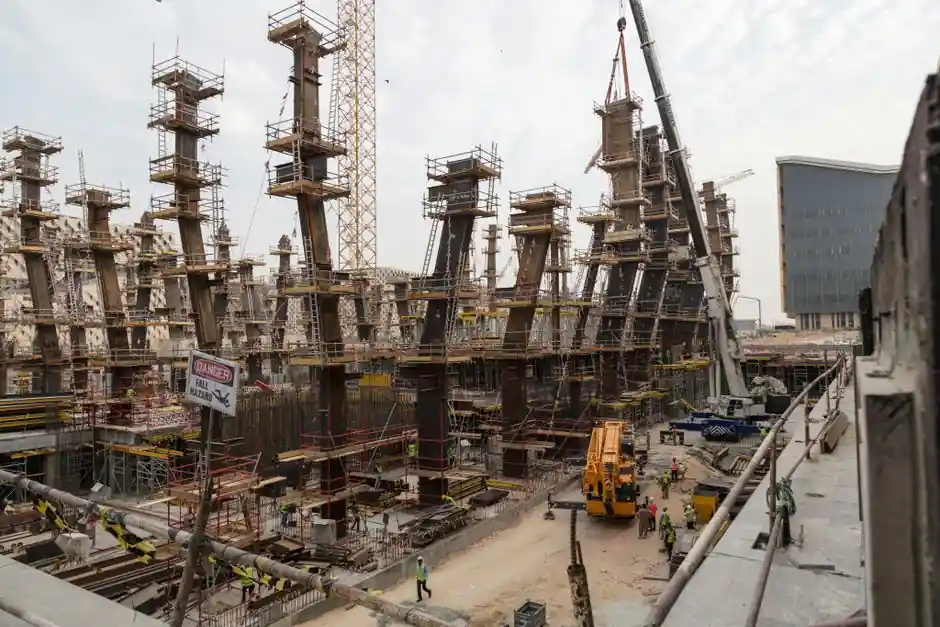
Both systems are self-supporting climb-form rigs, raised by hydraulic rams or electric motors, that hang off the concrete core already cast below them, so neither needs an external scaffold tower [S1][S2]. Jumpform advances in discrete "jumps" of typically 2 m per cycle, waiting for the lift to cure before the form is stripped, lifted, and re-set at the next level [S2][S3]. Slipform advances continuously at about 300 mm per hour in a 24/7 monolithic pour, with a three-platform rig (finishing, pour-top, material storage) carrying rebar placement, concrete supply and final trowelling at the same time [S2][S5].
For tall core walls this translates into two opposing value propositions: jumpform tolerates geometry changes and weather pauses, slipform maximises speed and joint-free finish. A self-climbing jumpform rig can re-set one floor height in 30-60 minutes once concrete strength is reached, while a slipform rig, once started, cannot stop without the fresh concrete bonding to the form panels [S5][S4].
Selection Thresholds: Height, Geometry, and Joint Visibility
Jumpform is generally specified for buildings more than 5 storeys high, with self-climbing variants routinely used on 20-storey-plus cores where joints will be concealed by subsequent floor slabs [S2]. Slipform is regarded as the more economical choice on structures over 7 storeys, and as the preferred option on particularly tall buildings (commonly cited as above 10 storeys) where tapered walls of diminishing thickness must be cast monolithically [S1][S2]. The two thresholds overlap: between roughly 7 and 10 storeys the decision is driven less by height than by whether the core geometry is uniform or changes floor by floor.
Irregular cores (stair shafts that step back, lift banks that change configuration, embed plates at specific levels) generally push the choice toward automatic self-climbing jumpform, because the system can be re-plumbed and re-aligned in all planes between lifts and parked during wind or rain events that would exceed crane wind limits [S4]. Uniform shear walls, bridge pylons, silos and chimneys where the finished face must be joint-free are the natural slipform envelope, with Doka noting that self-lifting slipform is often paired with steel-frame commercial high-rise where the steel follows the concrete core and speed of central shaft completion governs the build programme [S4].
Decision Matrix: Jumpform vs Slipform on Five Criteria
Reading the sources side by side, the comparison lines up as follows: cycle speed, joint result, geometry flexibility, crew profile, and crane dependence. Jumpform trades raw speed for flexibility; slipform trades flexibility for a faster, monolithic result. [S2]
The crane line is often the deciding row on dense urban sites: where crane wind limits are routinely hit on a tall core, automatic self-climbing jumpform is specified precisely so the core can keep moving when the tower crane is grounded, while slipform is the alternative when the programme can support a non-stop slip and the site can deliver concrete and rebar around the clock [S4].
Concrete Mix and Setting Behaviour for Slipform
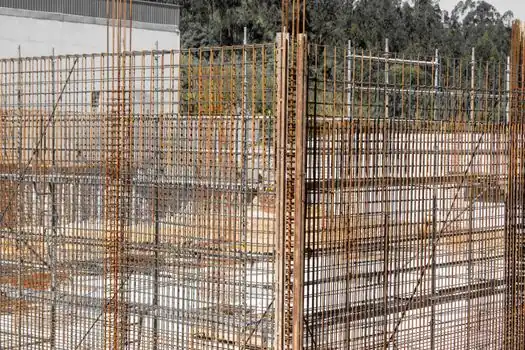
Slipform imposes stricter rules on the concrete itself because the pour never stops. Doka's published guidance is explicit: the approximate optimum concrete temperature at placement is 20°C, and a water-to-cement (w/c) ratio of about 0.5 is ideal [S4]. For lower ambient temperatures CEM I grades 42.5 or 52.5 are recommended to push early strength up; for higher ambient temperatures a higher CEM III content plus after-treatment is advised to slow the set and protect the rising face [S4].
Aggregate size also matters: a maximum aggregate size of around 22 mm with rounded grain preferred over crushed is the cited envelope, because oversized or angular particles disrupt the slip face and increase drag on the rising form [S4]. A "sufficient number of fines" in the mix is called out as the property that lets the wall emerge join-free, which is the entire point of running a slip in the first place [S4].
For a working reference on the broader climbing formwork equipment class (jumpform variants, hydraulic rail-climbers, screen and platform kits) and on the wider construction machinery and equipment context (placing booms, concrete skips, hydraulic power packs), the encyclopedia pages track the same vocabulary used by the sources. Adjacent decisions on the same site, such as glass curtain wall and door, window and curtain wall sequencing, are usually driven by the core's cycle time, so the jumpform-vs-slipform choice feeds directly into the envelope package.
Site-Level Failure Modes and Limits
Each system has a defined failure mode that the other does not share. Slipform's terminal failure is bond: if the rig stops, the fresh concrete sets against the form panels and the entire assembly locks to the wall, which is why slips are planned as 24/7 operations with concrete supply, rebar and crew rotations all sized to that constraint [S4][S5]. Once bonded, recovery is a demolition problem, not a productivity problem.
Jumpform's failure mode is alignment drift over height: each cured lift is a fresh reference plane, so any cumulative plumb error, anchor pull-out, or wind-induced form sway shows up as a step or lean on the next floor [S2]. The published guidance is that jumpform "can be quickly and accurately adjusted in all planes" but depends on a skilled site workforce to do so on every cycle, which is why automatic self-climbing variants are the default on tall, irregular cores [S2][S4]. Crane-climbed jumpform adds a second failure mode: when the tower crane is grounded by wind or by other lifts on the site, the core stops, which is the exact reason Doka recommends self-climbing on sites without spare crane capacity [S4].
Use-Case Recommendations
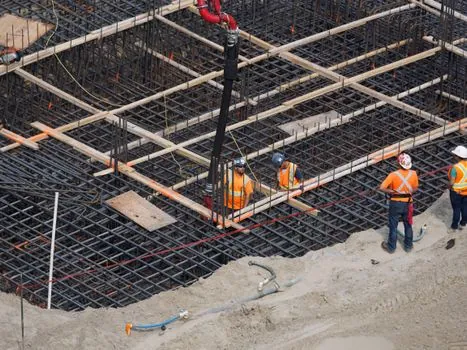
Specify slipform when all of the following are true: the core is geometrically uniform floor-to-floor, the finished wall will be exposed (pylon, chimney, silo, lift-shaft interior where joints would be unacceptable), height is at or above roughly 7-10 storeys, and the site can sustain 24/7 concrete supply, rebar feed and a multi-shift crew [S2][S4]. The continuous-pour result is genuinely faster and the w/c ≈ 0.5, 22 mm rounded-aggregate, CEM I/III mix can be specified with confidence on the slip programme [S4].
Specify self-climbing jumpform when any of the following apply: the core changes shape (stair steps, lift-bank reconfigurations, dropped slabs or transfer levels at specific floors), joints are acceptable because floor slabs will cover them, the tower crane is shared with steel or facade lifts and cannot be relied on for form moves, or the build is below the 7-storey threshold where slipform's mobilisation cost does not amortise [S1][S2][S4]. For an existing reference frame of the construction tools that pair with either rig (placing booms, concrete skips, vibrators, embeds), the encyclopedia entry lists the equipment categories that sit alongside the form on every cycle.
Sourcing and Standards
The dominant sources for this comparison are industry explainers (Eiffel Trading, Designing Buildings Wiki, Construction Cogs) and a Doka UK technical article published in April 2025 on choosing the right high-rise core method, which is the most prescriptive source on concrete temperature, w/c ratio, aggregate size and CEM I/III selection [S4]. Designer-side specifications typically reference the project structural engineer's concrete performance criteria (compressive strength, setting time under site temperature) rather than a single formwork standard; Doka's mix-design figures (20°C optimum, 0.5 w/c, 22 mm max aggregate) are quoted as a working starting point, not as a code-mandated value, and should be tuned to the project's approved mix design and ambient conditions [S4]. Slipform's ~300 mm/hour advance rate is consistently cited across multiple sources as a working rate, not a standard, and is adjusted in practice for concrete setting behaviour, ambient temperature and wall thickness [S2][S5].
Trackable signals for the next planning cycle: published slipform advance rates on completed chimneys and pylons (often in the 1.5-3.0 m/day band once mobilisation is excluded), and Doka or PERI automatic self-climbing jumpform case studies on cores above 40 storeys, where the crane-independence argument becomes decisive. Both are the kind of data points a process engineer should pin to the project brief before committing either rig to a 12-month core programme.
This topic is covered further in Dock leveler perimeter brush seal sizing and selection for under-platform air.