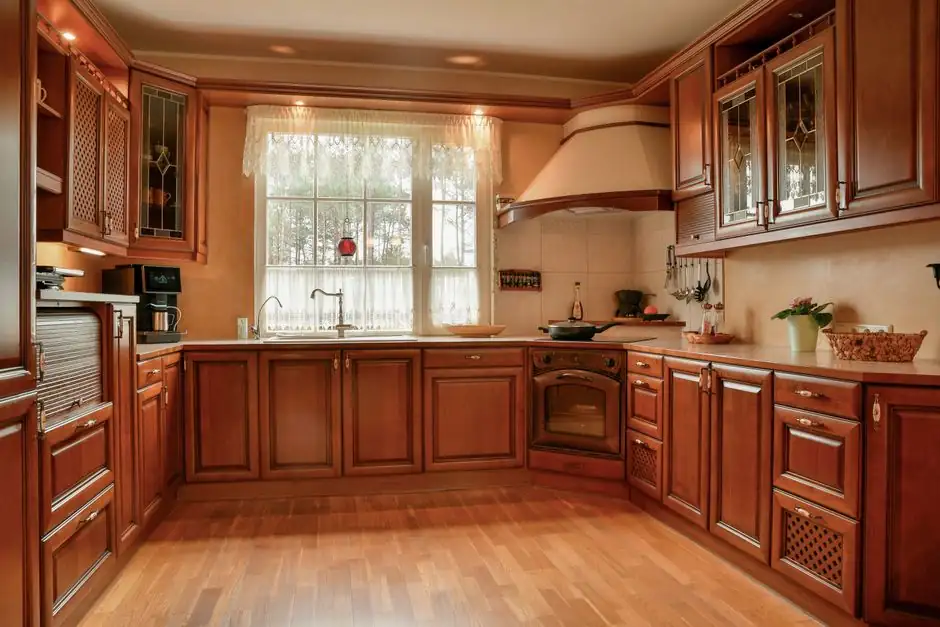
For interior finishing crews, the line laser level (line generator) is the dominant tool class, projecting 180° horizontal and vertical planes useful for chair rails, wainscoting, drop ceilings, and cabinet alignment at indoor working distances of 1 ft to 150 ft [S1][S3].
Selection pivots on four engineering facts: laser wavelength (635 nm red vs 532 nm green), laser class (IIIA, 1–5 mW), stated accuracy (commonly ±1/8 in to ±1/2 in at 50 ft), and working range in feet diameter [S3]. Indoor finishing rarely requires a rotary laser; rotary emitters are reserved for 200 ft+ outdoor or site-grading layouts [S1].
Line, Dot, and Rotary Lasers: Which Class Fits Interior Finishing
Line laser levels project a continuous 180° (single-axis) or 360° (multi-line) reference plane, with the "line" itself being a single laser dot refracted through a beam-spreading prism to mimic a chalk line [S3]. This makes them the natural fit for finishing work that follows a continuous datum around a room, including drop-ceiling grid layouts, chair rails, and upper-cabinet alignment [S1][S4].
Dot (plumb) lasers only emit reference points, so they are useful for transferring floor marks to ceiling marks but cannot replace a continuous plane for trim or tile layout [S4]. Rotary lasers emit a 360° plane but are specced for 200 ft+ ranges and outdoor site grading, making them overkill for a single room and harder to read against finished drywall without a detector [S1]. For most interior finishing, a cross-line or multi-line generator covers the job in one setup.
Red vs Green Beam: Wavelength and Visibility Inside a Finished Room
Most line laser diodes emit at 635 nm (red) or 532 nm (green), both near the center of the visible spectrum and far more visible to the human eye than the 380–750 nm band edges [S3]. GreenBrite-style green systems are rated at least 400% brighter than equivalent red diodes, which is the decisive advantage inside a lit interior where red beams wash out against pale walls and ceilings [S3][S4].
Both colors, however, are functionally invisible in direct outdoor daylight and require a laser detector in that environment, so the red/green question is only relevant indoors [S3]. On a bright residential jobsite with white drywall, expect a 532 nm green cross-line to remain readable at roughly twice the distance of a 635 nm red cross-line at the same output power, which directly drives whether a single-line or multi-line 360° model is needed [S3][S4].
Laser Class, Power, and Jobsite Safety Limits
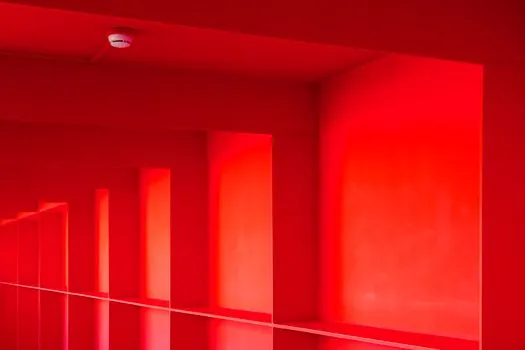
Construction line lasers fall into Class I/II (below 0.4 mW up to 1 mW) and Class IIIA (1–5 mW) categories, with Class IIIA being the typical finishing-tool spec because higher output means a brighter, longer-throwing line [S3]. Class IIIB (5–500 mW) and Class IV (>500 mW) require engineered controls and are not used in leveling tools, so a buyer should refuse any finishing laser labeled above IIIA [S3].
Staring into a IIIA beam is not eye-safe by intent but is generally not hazardous for a brief accidental glance, which is why these tools ship without heavy shielding [S3]. Crew leads should still mandate indirect viewing (catch the beam on the wall, not the eye) and confirm each unit carries the Class 2 or IIIA label and a calibration certificate before site issue.
Accuracy and Working Range: Spec Numbers That Decide the Model
Stated accuracy on a finishing-grade line laser runs from ±1/8 in to ±1/2 in at 50 ft, which is tighter than any spirit or bubble level can hold over the same distance [S3]. For chair rails, picture rails, and upper cabinetry, ±1/8 in at 50 ft is the practical floor; anything looser starts to read as a visible slope on long runs of trim.
Working range is specified in feet in diameter, with the laser at the center, so a 100 ft diameter rating is 50 ft of usable radius in any direction, and premium interior units reach 300 ft diameter when paired with a detector (mainly an outdoor use case) [S3]. The 1–150 ft band that defines finishing work lines up with the "PLUMB or LINE GENERATOR" recommendation, not the rotary class [S1].
Configuration for Ceiling and Drop-Ceiling Work
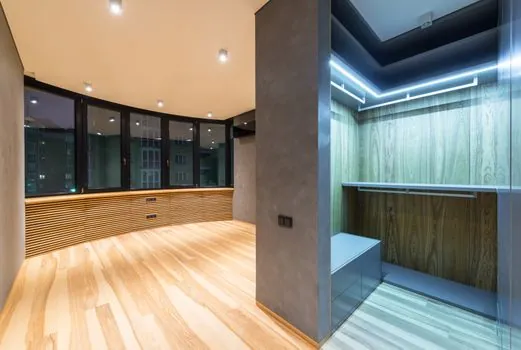
Multi-line lasers in 3×360° or 4×360° configurations are the strongest match for drop-ceiling grids and ceiling fixture alignment, because they wrap continuous horizontal and vertical planes around the room and let the installer index the T-bar without re-positioning the tool [S4]. A basic cross-line (one horizontal + one vertical) covers single-wall tasks like a chair rail, but a full-room drop ceiling needs the 360° model to lay out perimeter angles and main runners in one reference frame.
Mounting drives repeatability more than the laser itself: a tripod suits uneven subfloors, a pole (jamb) mount lets the beam slide between floor and ceiling for fine height changes, and ceiling clips clamp directly to the grid for hands-free drop-ceiling installation [S4]. Pair the unit with a known flat starting point and a tape-measured offset (for example, drop the beam a fixed distance below the joist reference), then mark the grid, which is the workflow that keeps a 4×360° green laser earning its price on a ceiling job [S4].
Decision Map: Matching Tool to Finishing Task
Cross-line (H+V) red or green at ±1/8 in / 50 ft, Class IIIA, 1–50 ft diameter range, fits chair rails, picture rails, single-wall cabinet runs, and basic tiling on a small floor [S1][S3][S4]. Multi-line 3×360° or 4×360° green at the same accuracy class, with 50–100 ft diameter, fits drop-ceiling grids, full-room cabinet layouts, and any task that needs a continuous plane on more than two walls [S4]. Dot/plumb lasers only earn a slot when the job is purely point transfer (floor to ceiling mark) and no continuous reference is needed [S4].
Rotary lasers (>200 ft range) and pipe lasers belong on outdoor site grading, sewer layout, and fence-post alignment, not inside a finished room, and pulling one indoors usually means a detector is required just to see the beam, which defeats the purpose [S1]. For crews that also handle rebar and structural layout, the Rebar Bender Selection for Concrete Work guide covers the heavier-gauged sister tool, and the Laser Distance Meter Spec Map for Interior Finishing Crews article is the natural pairing for the measuring step that follows a laser level on most finish-carpentry jobs.
Limitations and Common Failure Modes
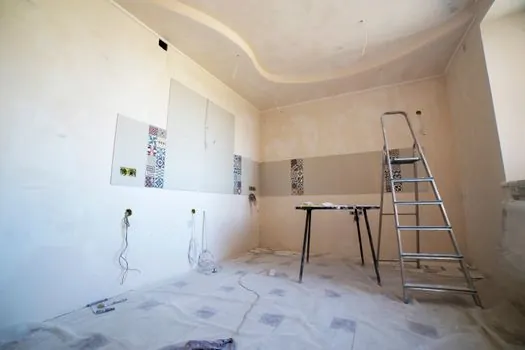
Line lasers lose visibility on dark ceilings, in sun-flooded rooms with uncovered windows, and over distances beyond the rated diameter without a detector, and self-leveling pendulums can be knocked out of calibration by a drop from a ladder, which is the most common cause of a suddenly "inaccurate" beam on a jobsite [S3][S4]. Crews should re-verify against a known benchmark after any impact and before any long trim run.
Mounting stability is the second failure mode: a tripod on a soft subfloor, a pole mount over-torqued against a finished ceiling, or a ceiling clip that slips on a T-bar all produce drift that reads as a layout error in the laser, not the mount [S4]. Verifying the tool after any impact, re-checking plane against a fixed benchmark, and matching the laser class to the room's ambient light are the three controls that keep a line level earning its place on an interior finishing crew [S1][S3][S4].
Trackable signals for the next spec update: the wavelength and class ratings above (532 nm green, 635 nm red, Class IIIA at 1–5 mW) and the ±1/8 in to ±1/2 in at 50 ft accuracy band are stable across the 2026 model year referenced in the testing roundup, and any 2026/2027 line-laser launches should be checked against the same four numbers (wavelength, class, accuracy at 50 ft, diameter range) before substitution [S2][S3].
For the relevant spec sheets and selection criteria, see infrared level, finishing material, and infrared thermometer.