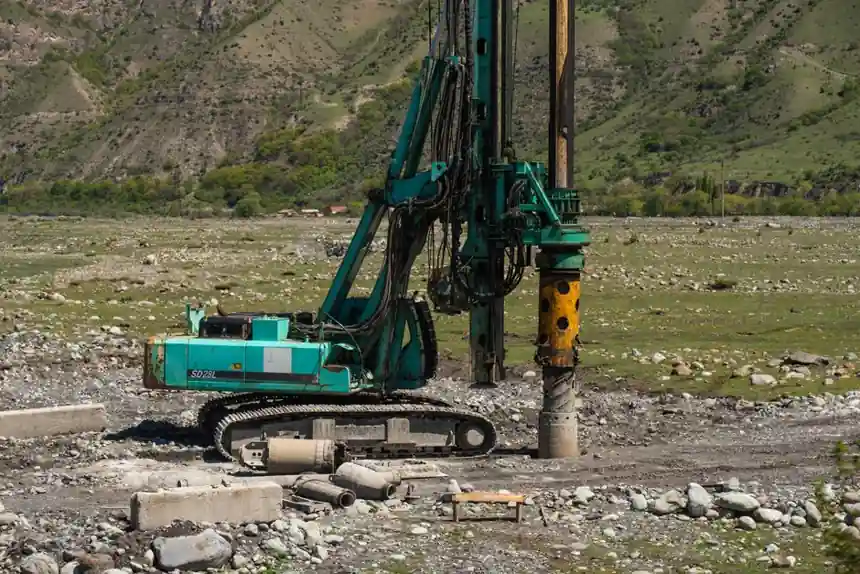
Commissioning a rotary hammer is a four-stage field protocol: visual inspection, electropneumatic function test, SDS chuck and bit verification, and a loaded test cut on a concrete block, with operator PPE, vibration, and silica controls checked and signed off before the tool is released to site [S1][S4].
Most failures on a new or serviced rotary hammer show up inside the first 15 minutes of powered testing, so the commissioning sequence is built around the electropneumatic (EP) mechanism, the SDS-plus or SDS-max tool holder, the vibration-reduction handle, and the active torque control (ATC) clutch [S5]. For context on the tool itself, the rotary hammer entry covers the piston, striker, and guide-tube assembly that these tests are designed to validate.
Stage 1: Pre-Power Visual Inspection
The first commissioning step is a thorough visual inspection of the hammer body, mains cable, and SDS chuck, with the tool isolated from the supply [S2]. Inspectors check the cord jacket for cuts, verify the strain relief at the cable gland, confirm the auxiliary handle clamp is undamaged, and confirm the carbon brush access covers are seated; for cordless platforms the equivalent checks are run on the battery contact strip, trigger lockout, and the battery-pad lanyard point [S4].
Safety stock checks run in parallel: hearing protection rated to at least the operator zone, EN 166 safety goggles, FFP2/FFP3 respiratory protection for silica-bearing concrete dust, and a vibration-dose (A(8)) log card for the commissioning operator [S1]. PPE staging is treated as a prerequisite to energising the tool, not a follow-up item, and is signed off on the same checklist as the functional tests [S1].
Stage 2: Electropneumatic Function Test (No-Load)
With the bit removed, the rotary hammer is run in hammer-only mode for 30-60 seconds to verify piston and striker action, listen for the characteristic EP impact rhythm, and confirm the AVR (active vibration reduction) handle decouples cleanly from the motor housing [S4][S5]. A healthy EP mechanism produces a uniform, evenly-spaced impact cadence; a stuttering, irregular, or metallic-screeching signature points to a worn striker, contaminated guide tube, or low piston seal air, and the tool is removed from service pending strip-down [S5].
Hilti's TE 3000-AVR demolition platform illustrates the size class the EP test is designed for: a 65 lb tool with a 4.9 lb striker, roughly double the striker mass of same-class competitors, achieved by redistributing mass away from the drive train and into the impact group [S5]. On commissioning, the inspector confirms that the rear handle floats on its multi-axis decoupled mount and does not transmit motor-frame vibration to the operator's hand; a rigid handle, or a handle that only moves on one axis, indicates the AVR elastomers or counterweight spring have failed and the tool must not be released [S5].
Stage 3: SDS Chuck and Bit Verification
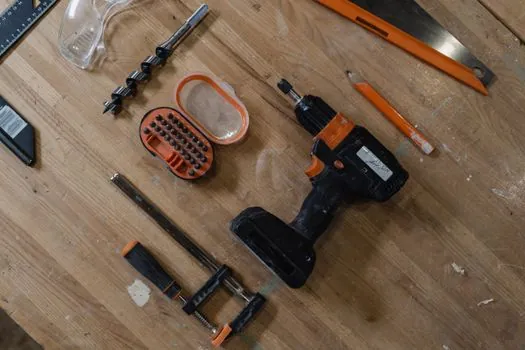
An SDS-plus or SDS-max bit is inserted, the chuck is rotated through its full detent travel, and a pull-out test of roughly 50 N is applied to confirm retention; any axial play above 2-3 mm, or a bit that walks forward under hand pull, fails the chuck and blocks handover [S4]. Concentricity is checked by running the tool against a flat reference and watching for bit wander; a wand
er above roughly 1 mm at the collet indicates a bent shank, worn guide tube, or failed piston bearing and is a reject condition [S5]. Bit selection is matched to the SDS shank class plus the substrate: a 4-cutter SDS-max head for rebar-loaded concrete, a 2-cutter SDS-plus for brick and soft masonry, and a hollow-boring bit only with integrated dust extraction plumbed to an M-class extractor [S3].
Stage 4: Loaded Test Cut and ATC Clutch Test
The functional load test is run on a sacrificial concrete block of at least 150 mm thickness, with the tool set to rotary-hammer mode at full speed and a 10-12 mm bit; a clean, round hole of the nominal diameter within roughly 10 seconds of continuous feed confirms EP output is within spec [S4]. Smoke, smell, or a stalled piston under load points to a starved EP chamber, a clogged vent, or a seized gearbox and triggers an immediate teardown [S4][S5].
Active torque control (ATC) is then tested by deliberately stalling the bit against a piece of rebar or a steel plate embedded in the test block; the clutch must decouple inside roughly one second and the handle must not spin the operator's wrist [S5]. A slow-decoupling clutch, or one that lets the housing rotate through more than a quarter turn, is failed and tagged out, because the same condition on a jobsite rebar strike can throw the operator off a ladder or scaffold anchor point [S5].
Documentation, Operator Sign-Off, and Handover

All four stages are recorded on a single commissioning sheet: serial number, equipment ID, date, inspector name, PPE checks, no-load and load test results, ATC clutch time, and any defects flagged [S1]. The operator introduction section, borrowed directly from piling-hammer commissioning practice, covers the trigger lockout, mode selector (drill / hammer / chisel), auxiliary handle torque, and the AVR decoupled-handle behaviour, with the operator countersigning the same sheet before the tool leaves the store [S1].
For a structured view of how vibration, silica, and PPE are layered into the operator routine after handover, the related piece on rotary hammer safety controls maps the A(8) dose limit, dust class, and hearing-protection thresholds that the commissioning PPE check feeds into. Two trackable signals to watch after release: (1) brush and EP chamber service intervals, typically logged at 50-100 operating hours, and (2) any ATC clutch event report, which is a hard re-test trigger before the tool returns to the rotation [S5].
Spec-level background on the components involved: tensile testing machine, and demolition hammer.