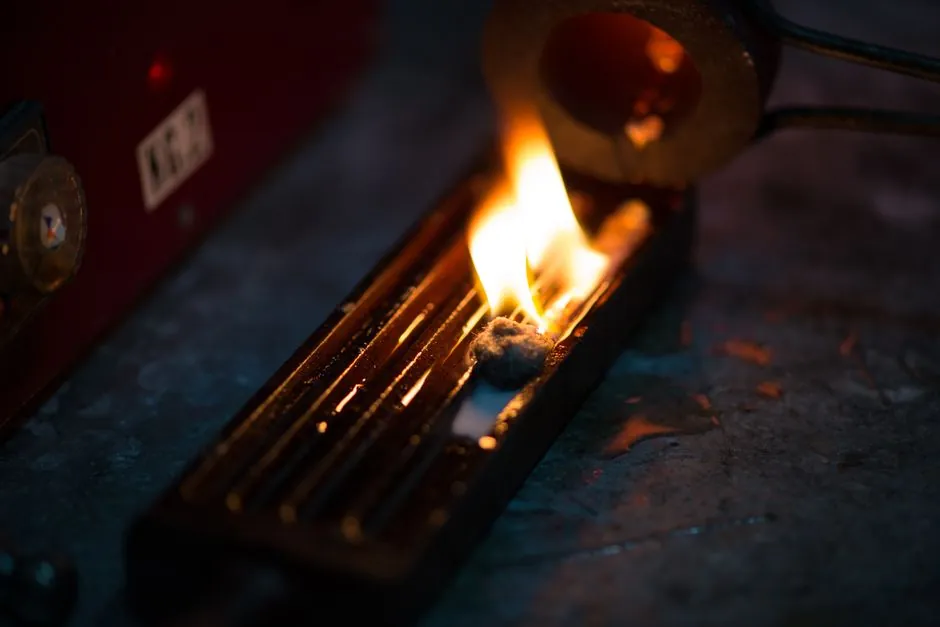
Skin drying of a green sand mold targets the cavity face only, with industry references putting the effective dried layer at roughly 0.5 to 1 inch, and broader textbook practice extending the useful range to about 1 inch (2.5 cm) [S1][S3]. A refractory coating is typically applied first, and the surface is then dried with a gas or oil flame torch, a bank of radiant heating lamps, or electrical heating elements directed at the mold face [S5]. The underlying mold body stays wet and reusable like conventional green sand casting practice, so shakeout remains close to green-sand behavior, not the slower cycle of full dry-sand [S5].
Skin drying is not a universal substitute for dry-sand molds. It is selected where the operator wants dry-sand-class surface quality on the cavity face, while keeping the speed and economics of a green sand line on the rest of the mold. The trade-off is heat-up time on the floor: the dried skin must be cooled back below the moisture-condensation point of the facing before closing, otherwise trapped steam re-wets the surface and reintroduces gas defects [S5][S6].
Drying Depth: What 0.5 to 1 inch Actually Means at the Mold Face
For skin-dried molds, the cavity-face dried layer is set at 0.5 to 1 inch in the foundry reference describing the process, with the broader NDT and casting textbook range cited at up to about 1 inch (2.5 cm) [S1][S3]. That is the depth where moisture is driven off and the bentonite clay bond is effectively converted to a dry, baked skin. Below that layer the green-sand moisture and clay bond remain active, which is what gives skin-dried molds their hybrid character: dry-sand-class surface, green-sand-class backing.
Penetration depth is set by torch or lamp energy, exposure time, and the thermal mass of the sand behind the face. The first 0.5 inch is straightforward on a normal bentonite-bonded silica mix; pushing past 1 inch requires longer dwell times, and the risk shifts from under-drying to over-drying, where the clay bond starts to break down rather than just set. Foundry practice keeps the dried zone shallow on purpose, because each additional fraction of an inch of dried sand adds cooling time before the mold can be closed without re-condensing moisture on the cavity face [S5][S6].
Heat Sources Compared: Torch, Radiant Lamps, Electric Elements
The three practical heat sources for skin drying are torch flames (gas or oil), banks of radiant heating lamps, and electrical heating elements, all directed at the mold surface [S5]. Each maps to a different production environment and a different control problem on the foundry floor.
Gas or oil torches are the most common method and the easiest to deploy on a large cope or drag, but they deliver the least uniform heat, so the operator sweeps the flame to avoid local overheating of the coating. Radiant heating lamps give a more even surface temperature distribution and are commonly used where a refractory coating has just been sprayed and the water in that coating needs to be driven off without flame impingement. Electrical heating elements sit between the two in controllability and are usually built into fixed stations on a sand cooling and handling line for repeatability on higher-mix work [S5].
Where Skin Drying Earns Its Keep: Medium to Heavy Castings
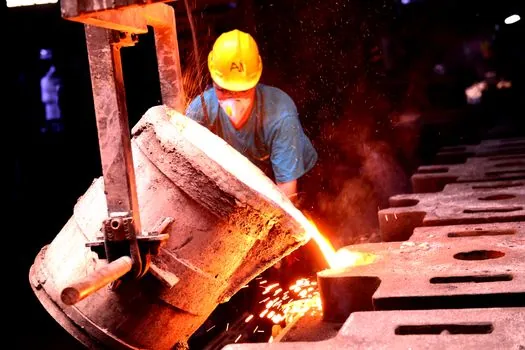
Skin-dried molds are commonly employed in medium-heavy and heavy castings, where the iron or steel pour is large enough that surface moisture on a straight green-sand mold would generate gas-related defects but a full dry-sand cycle is uneconomic [S5]. The process is described as reducing surface moisture and other gas-forming materials from the mold face, which is the underlying reason for specifying it on heavier sections [S5].
Typical use cases include engine blocks, machine tool bases, cylinder heads, pump housings, and large valve bodies, all of which are recurring examples in the sand-casting process literature for parts that combine thick sections with finish-critical machined faces [S1][S2]. On a part weighing several hundred to several thousand pounds, the cavity face is the only zone that contacts molten metal first, so drying just that zone delivers most of the surface-quality benefit of dry sand at a fraction of the cycle time. Sand mix design for these parts still relies on the standard bentonite-and-water bond described for sand mixing operations, with the drying step added at the end of mold makeup.
When Skin Drying Is the Wrong Tool
Skin drying is not a good fit where the entire mold needs dry-sand properties, not just the face. A full dry sand mold is oven-dried, giving uniform strength and rigidity across the whole body, and is the right call for very large castings where a wet backing would slump under metallostatic pressure [S7]. If the casting needs the high tolerance of a dry-sand mold throughout, or the geometry has deep pockets where a torch cannot reach the cavity face evenly, the process breaks down and dry sand or chemically bonded systems take over [S2][S5].
There are also shop-floor constraints. Skin-dried mold sections must be completely dry and cool prior to assembly, which means a measured cool-down between drying and closing rather than an immediate move to the pouring line [S5]. On a high-throughput automated molding line, that cool-down window is the rate-limiting step, and on a small jobbing floor it is rarely the bottleneck. The process also costs more than plain green sand because of the refractory coating, the fuel or lamp energy, and the extra labor to apply and dry it, so foundries tend to reserve it for parts where the surface-quality gain is paid back in reduced cleaning and machining [S5].
Operating Window and Failure Modes at the Mold Face

Green sand mixtures used as the substrate for skin drying are typically in the range of 85% silica sand, 4% water, and 11% bentonite clay by weight, with the moisture content being the key control variable for both green strength and permeability [S4][S6]. During skin drying, that moisture is driven out of the surface layer only; the operator is effectively converting the bond at the cavity face from a wet clay bond to a dry, set clay bond while leaving the backing wet [S5].
The two failure modes to watch are under-drying and over-drying. Under-drying leaves surface moisture in place, which flashes to steam on pour and produces the gas porosity and scabbing that the process is supposed to eliminate [S5][S6]. Over-drying drives the bentonite past its dehydration point, weakening rather than strengthening the surface, and shows up as a friable, dusty face that erodes under the metal stream. Both ends of that window are managed by torch sweep speed and standoff distance on a manual station, or by element temperature profile on a fixed cell, and both are typically checked with a surface moisture reading before the mold is closed [S5][S6].
For shops running skin drying alongside conventional molding and casting equipment on the same floor, the practical signal to track is the pour-to-pour cycle on a part that previously ran green-sand-only. A drop in gas-related defects at the machined faces, with no change in shakeout time, is the cleanest indicator that the dried-skin depth is in the 0.5 to 1 inch window and the cool-down before closing is being respected [S1][S5]. If shakeout starts to stiffen, the dried zone has crept deeper than intended and the backing is no longer behaving as green sand.
This topic is covered further in Cobalt-Based Alloys for Turbine Hot Sections: Supply, Grades, and 2026 Spec Outlook.