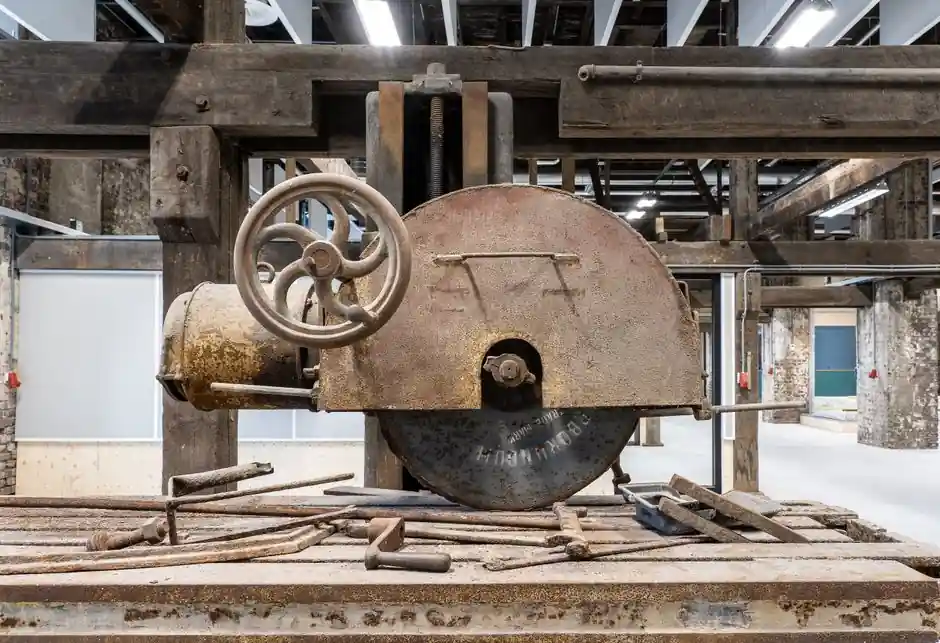
A disciplined commissioning pass on a new or freshly serviced circular saw takes about ten minutes and reduces both kickback events and out-of-square cuts; the CCOHS saw-safety guidance treats the depth-and-lock step, blade condition, and guard function as separate gates, none of which can be skipped [S1].
The procedure applies to corded 7-1/4 in. sidewinders, worm-drive framing saws, cordless 18V/36V dual-battery models, and plunge-cut track saws, since the mechanical interface between blade, shoe, and guard is shared across all four architectures [S4]. For context on the rotary cutting action and the role of the motor-gear pair, see this working-principle primer.
Step 1: pre-power mechanical inspection (bench, tool isolated)
Pull the battery or lock the corded saw's plug out before any check; the saw is treated as live-capable until the energy source is physically removed [S1]. Inspect three points: tooth condition on the blade (no chipped carbide, no glazing on the tooth face), free travel of the lower blade guard (it must snap fully back under spring action and self-return within roughly one second of clearing the cut), and shoe flatness across both the front lip and the rear edge [S3]. A blade with more than two visibly chipped teeth or a guard that hesitates on return is a fail, regardless of how new the tool is.
Verify the depth-adjust lever locks without play: loosen, set, re-tighten, then try to push the shoe downward against the locked position; any rotation means the depth detent is worn and the saw must be tagged out until the clamping block is replaced. Also confirm the bevel-adjust knob holds the chosen angle, typically 0°, 22.5°, and 45°, with no slip when a 5 kg lateral load is applied at the front of the shoe [S2].
Step 2: blade depth set to the 0.3 cm rule
Set the blade so the lowest tooth projects no more than about 0.3 cm (roughly 1/8 in.) below the underside of the workpiece; the deeper the projection, the larger the exposed-tooth arc and the higher the kickback risk in the event of a bind [S1]. Lay the workpiece on a sacrificial backer board, rest the saw shoe flat on the surface, and adjust the depth lever until the tooth tip just clears the bottom face, then lock the lever.
For material thicker than the blade's rated cut, the 0.3 cm rule still applies on a per-pass basis; flip the board and take a second pass from the opposite face rather than cranking the shoe downward. A common field error is setting depth "by eye" against the workpiece edge, which over-projects by 3 to 6 mm and turns a clean cut into a snag hazard. Cross-check the locked depth with a steel rule, not a tape measure, since the tape end-hook tolerance can mask a 2 mm error [S1].
Step 3: 90° and 45° squaring of shoe to blade
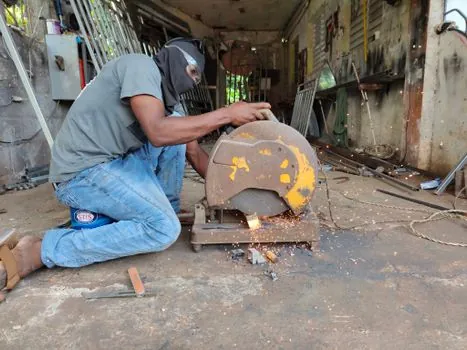
Place a known-good engineer's square on a flat bench, set the saw on the square with the blade retracted, and measure the gap between the blade face and the square's vertical leg; the procedure is identical to what Pro Tool Reviews documents for shop-grade squaring checks and is the same one a commissioning tech should run on every new tool [S2]. Acceptable deviation is within roughly 0.1° at 90° (about 0.4 mm across a 200 mm blade radius); anything wider and the saw needs a bevel-stop adjustment or shim correction before it goes to a job site.
Repeat the check at 45° using a 45° reference block; worm-drive saws in particular drift at 45° because the longer shoe moment arm amplifies any stop-screw backlash. If the saw fails squaring at one angle but passes the other, the problem is in the bevel detent, not the blade. For a broader selection map covering sidewinder, worm-drive, trim, cordless, and plunge-cut saw geometries, the circular saw encyclopedia entry lays out the trade-offs in one place.
Step 4: live test cut and document the pass/fail
With the saw back on cord or a fully charged battery, make a 300 mm test cut in a scrap piece of the same species and thickness as the production stock; a 90° cut should produce a kerf that drops a square cleanly with no daylight along the bottom face, and a 45° miter should mate against a known 45° block within a visible hairline [S2]. Listen for motor bogging: sustained RPM drop under load means a wrong-line blade is fitted (e.g., a 24-tooth framing blade on a clean-plywood cut) or the chip load is too high for the motor class.
Log four data points per saw per commissioning event: serial number, blade part number, measured 90° deviation in mm/m, and the date. The 90° deviation row is the one that catches a slow drift over months, because a 0.5 mm/m creep is invisible to the operator but ruins a cabinet run the day the saw is promoted to finish work. For shops running multiple power tools in parallel, the same form is the audit trail for ISO 9001 clause 7.1.5 monitoring-and-measuring resources.
Common failure modes and what they point to
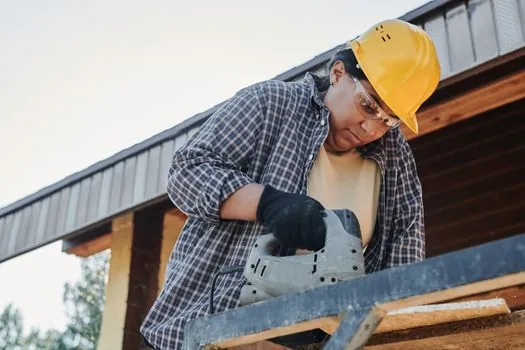
A blade that climbs out of the cut mid-pass usually signals a dull tooth pattern, not a feed-rate error; swap the blade before changing technique. A guard that does not self-return is almost always a broken torsion spring at the pivot, and the saw is unsafe to run in any mode until the spring is replaced; do not tie the guard back as a workaround, that is the single most common OSHA-cited saw violation in framing crews [S1][S3].
A cut that is square at the start but drifts off the line by 2 to 3 mm over 600 mm points to a bent blade plate, typically from a drop onto a concrete floor; a blade that whistles under load is running on a misaligned arbor or has a tooth-side resin buildup that needs a solvent wipe. None of these conditions are visible on a bench-only inspection, which is exactly why the live test cut in Step 4 is non-negotiable.
When to escalate the saw out of service
Tag the saw out and route it to a repair bench if any of the following are observed: shoe flatness gap above 0.5 mm across a 150 mm span, blade runout above roughly 0.15 mm measured at the tooth tip, guard return time above one second, or 90° squaring deviation above 0.5 mm/m after detent adjustment [S2]. A saw that fails two consecutive live test cuts should also be pulled, even if the bench metrics all pass, because the failure is then in the motor or the gear set, not the alignment.
For crews that also run metalworking saws on the same bench, the same commissioning discipline maps across to abrasive and cold-cut saws, with the depth rule replaced by a work-clamp check. A reference walk-through for tensile testing machine setup uses a similar four-gate structure (mechanical, alignment, calibration, live test), which is why the same procedure format scales beyond cutting tools into general machine commissioning.
Next trackable signals: a 90° deviation log trending above 0.3 mm/m across the fleet is the leading indicator that a blade batch is wearing non-uniformly, and a cluster of guard-return failures within a 30-day window typically precedes a batch-related spring defect from the blade-guard supplier. Both are visible in the same commissioning form, which is the point of writing the numbers down in Step 4.