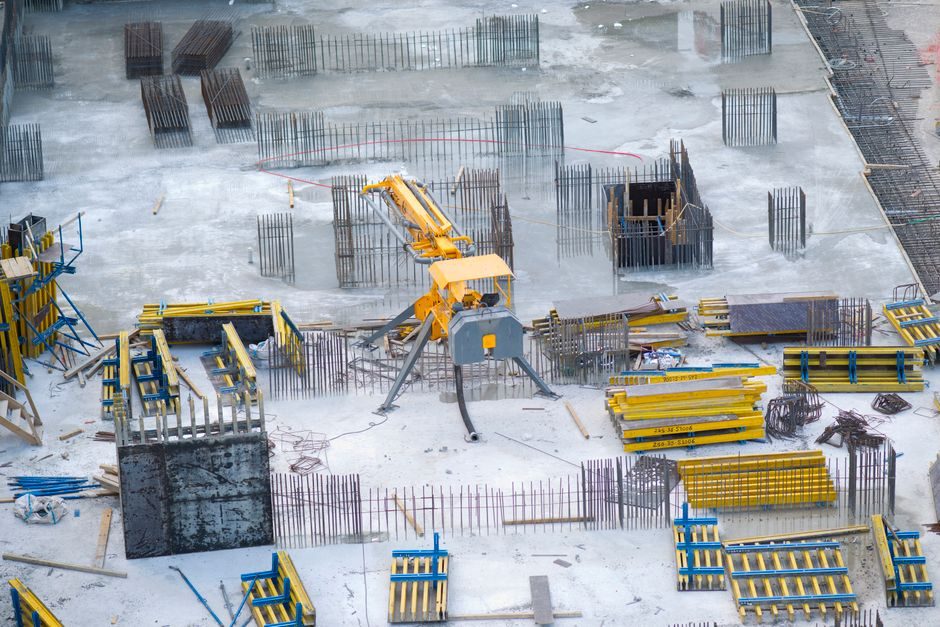
Installation of a stationary rebar straightener (YG-6 to YG-16 frame, 5.5-15 kW motor, 230-550 kg machine mass) is governed by a fixed sequence: site prep, anchor bolt pull-test, frame leveling, electrical termination, oil and grease fill, and a no-load trial before any coil is fed [S3][S4].
Skipping any one of those nodes is the most common root cause of premature bearing failure and crooked output; a 0.5 mm shim error at the base typically shows up as 2-3 mm/m lateral drift at the exit die [S3]. Use this guide as a field checklist, not a marketing brochure.
Definition and Scope: What a Rebar Straightener Actually Does
A rebar straightener feeds coiled or bent bar stock through a high-speed rotor fitted with tungsten-steel or ball-end dies; the rotor's curved-rotation action removes set, scale, and minor bends without cutting the bar's cross-section [S3]. The straightening cylinder also strips surface rust as the wire passes through the die, which is why the same machine doubles as a descaling pass on small-diameter stock [S3].
The output specification that matters most is straightening rate: 30-55 m/min on the YG family, with the 11 kW and 15 kW units (YG-11, YG-15) holding the upper 35-55 m/min band [S3]. For a rebar processing line, see the rebar straightener reference page for the die geometry and reduction-gear train behind that throughput.
Pre-Install Site Prep: Floor, Power, and Clearance
Concrete floor compressive strength should be at least 25 MPa (C25), and the pad must cure a minimum of 7 days before anchor bolts are torqued — early loading on green concrete is the leading cause of pad cracking under 500 kg+ units like the YG-15 [S3]. The YG-15 footprint is 2050 × 650 × 1100 mm; plan at least 800 mm of clearance on the feed side and 1500 mm on the exit side for coil payout and cut-length stacking [S3].
Power supply must match the nameplate exactly: the YG-6 draws 5.5 kW, YG-9 draws 9 kW, and the dual-motor YG-16 combines 9 + 5.5 kW, so a dedicated breaker and a contactor sized at 1.25× full-load current are mandatory [S3]. For the bender that often pairs with this straightener on a fabrication line, the rebar bender reference documents the matching electrical envelope.
Step-by-Step Installation Sequence
The field-proven install order runs in six gates; each gate has a written sign-off before the next begins [S4]. Gate 1: position the unit on the cured pad and check diagonal measurements (must match nameplate within ±5 mm). Gate 2: drill and set M16 × 200 mm anchor bolts (4-bolt pattern on most YG frames), then torque to 110 N·m after the grout reaches design strength. Gate 3: shim and level the base frame to ≤ 0.2 mm/m using a precision spirit level on the die-housing reference surface [S3][S4].
Gate 4: terminate the power cable through the motor junction box with strain relief, verify rotation direction on a no-load jog (the straightening drum must rotate to pull stock forward, not back-feed), and confirm the mode-control lever and switch operation per the owner's manual [S4]. Gate 5: fill the gearbox to the plug level and grease the roller bearings — the manual explicitly calls for an oil-level check before every shift [S4]. Gate 6: run a 10-minute no-load trial, then feed 5 m of known-good scrap bar and inspect exit straightness with a 1 m straightedge; acceptance is ≤ 1 mm bow over 1 m. If any gate fails, do not start production — the failure mode compounds.
Model Selection Matrix: Matching Motor to Bar Diameter
The YG family covers 4-12 mm round bar and 4-10 mm threaded bar; pushing the wrong coil through the wrong model is the fastest way to burn out a 5.5 kW motor [S3]. A simple four-criterion map: motor power (5.5 / 9 / 11 / 15 kW), bar diameter (4-10 vs 4-12 mm), throughput (30-45 / 30-50 / 35-55 m/min), and frame mass (230 / 320 / 500 / 550 kg) [S3].
For 4-8 mm wire at 30-45 m/min, the YG-6 (5.5 kW, 230 kg) is the right pick. For 4-12 mm production at 35-55 m/min, jump to the YG-11 or YG-15. The YG-16 is the dual-motor variant for shops that also straighten and cut in one pass at 0-55 m/min [S3]. This selection logic parallels the broader rebar selection criteria for matching bar grade to processing equipment.
Common Failure Modes and Acceptance Limits
Three failure modes account for the majority of warranty calls: bearing overheating from under-greasing, crooked output from base-frame distortion, and motor stall from feeding oversize bar [S3][S4]. Each has a measurable acceptance criterion. Bearing housing temperature should stabilize below 80 °C after 30 minutes of continuous run; an immediate red flag is any reading above 90 °C in the first 10 minutes.
Exit straightness must be ≤ 1 mm bow per meter of bar, verified with a 1 m straightedge; anything worse points to worn dies or a shifted frame. Motor current at full feed should not exceed nameplate FLA by more than 10% — a higher reading means the die gap is too tight or the bar is work-hardened beyond spec [S4]. When a die is worn beyond adjustment, do not attempt field re-shimming; replace the die set as a matched pair. For the cut-and-thread accessory that often follows, the rebar coupler reference covers the matching thread geometry.
Standards, Sourcing, and Operator Training
No single ISO or EN standard governs the straightener as a whole; instead, the install inherits rules from the driven component (motor to IEC 60034, electrical to IEC 60204-1, guarding to ISO 12100) and from the bar-handling context (rebar grade to local equivalents of ASTM A615 / GB 1499) [S4]. Operator manuals from major OEMs explicitly direct installers to contact an authorized agent when any procedure is in doubt — the DBR-25WH manual lists this as a hard gate, not a courtesy [S4].
Total cost of ownership for a YG-class machine typically amortizes in 6-12 months through labor savings, but only when the install is done right; a botched leveling pass can cost more in scrap bar than the machine's purchase price within a quarter [S5]. For a comparative read on long-horizon equipment spend, the crawler crane total-cost reference walks through the same 20-year accounting logic. Track two signals after commissioning: weekly oil-sample spectrography on the gearbox (Fe wear trend), and exit-straightness audit at month 1, 3, and 6 — any drift is the earliest warning that a re-level or die swap is due.