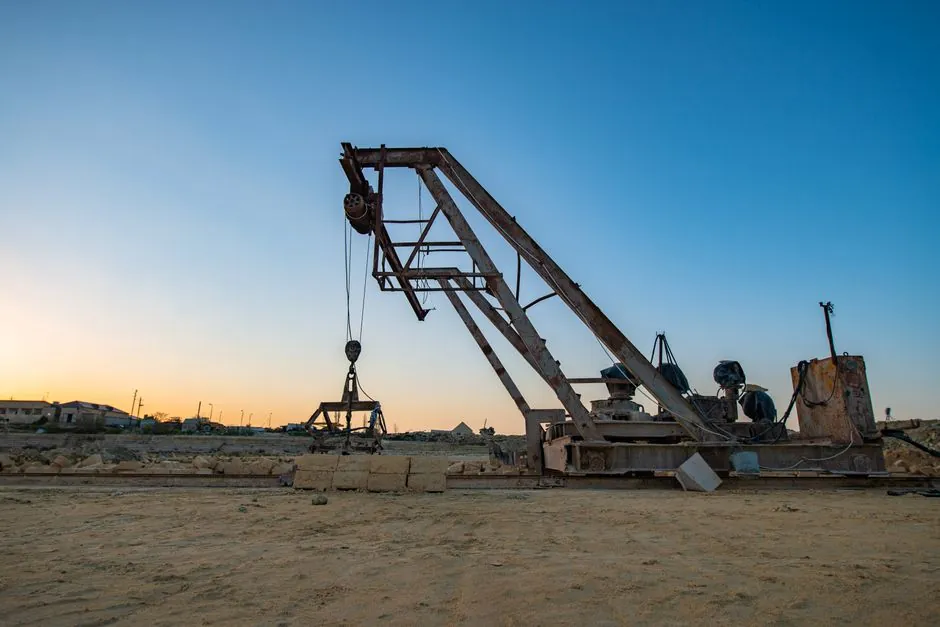
Truck crane load charts plot two physically distinct limit families, structural capacity and stability capacity, and the rated capacity at any operating point is the lower of the two, per OSHA-aligned guidance on [S5].
On a typical rough-terrain or boom-truck chart, the upper-right region of the envelope is bounded by structural strength of the boom sections, jib, and pins, while the lower-left region is bounded by the tipping line about the outrigger pad, and the chart's bold centerline marks the crossover where the governing limit switches [S7]. This dual-boundary model is what makes a load chart a "living" set of numbers, not a single maximum lift value, with maximum capacity varying inversely with radius and dropping sharply as the boom flattens [S2].
Where the Two Limits Come From Physically
Structural capacity is calculated from the actual material strength of the boom, jib, turntable, and outrigger beams; the chart's "structural" region is essentially a moment-vs-stress envelope expressed as allowable hook weight [S1]. For a given boom length and radius, the structural limit is the load that produces the design allowable bending and torsion in the boom lattice or telescopic sections, with no margin for the crane standing on soft ground.
Stability capacity, by contrast, is a static tipping calculation: the moment of the load plus rigging about the tipping edge (typically the edge of the outrigger pad or the tire contact patch when on rubber) must stay below the restoring moment of the crane's weight plus counterweight, with the conventional 75% safety factor applied to the tipping load [S5]. This is why "on outriggers" and "on tires" rows on the same chart differ, and why a crane can lift 20 t near the centerline but only a few tonnes at maximum radius even though the boom itself could mechanically hold more.
How the Chart Is Laid Out
A standard mobile crane load chart is a matrix of boom length (columns) versus operating radius (rows), with each cell showing gross capacity in tonnes or pounds; boom angle is the secondary readout, and the loaded boom angle is measured with the load hanging [S1]. The intersection of the radius row and the boom-length column gives gross capacity, and the operator then subtracts capacity deductions (main load block, headache/overhaul ball, jib weight whether stowed or erected, all rigging, and hanging cable) to arrive at net capacity, which is the number that must never be exceeded [S1].
Visually, the chart is split by a bold line: one side lists capacities limited by structure, the other by stability, so an operator can read at a glance which physics is governing for the planned configuration [S7]. On modern digital chart calculators used by rental houses, the operator plugs in radius and load weight and the tool flags whether the selected point is on the structural or stability side of the bold line.
Decision Matrix: Which Limit Governs When

Short boom, near-vertical angle, small radius: structural limit governs. The boom has high rigidity, the radius is short, the moment arm is small, and the tipping line is far away, so the boom reaches its material stress limit before the crane reaches its tipping moment [S2]. Long boom, low angle, large radius: stability limit governs. The boom is mechanically capable of carrying the load, but the moment about the outrigger edge approaches the restoring moment of the counterweight, and any further radius increase tips the calculation [S5].
Pinned jib or boom extension fitted: structural limit usually governs at short radii because the added cantilever amplifies boom bending, but the chart entries for jib configurations sit in a separate block, and operators must deduct jib weight whether the jib is stowed on the boom base, erected, or not in use [S1]. On rubber (tires only, no outriggers fully deployed): stability limit almost always governs because the tipping fulcrum is the tire contact patch, which sits closer to the load than the outrigger pad, shrinking the available restoring moment.
Operating Misreadings That Cross the Bold Line
The most common operational error is reading gross capacity as the hook limit. Gross capacity is the structural or stability capacity before deductions, so the actual allowable load is gross minus the main load block, jib weight, headache ball, all rigging, and the weight of cable hanging from the boom tip [S1]. Exceeding net capacity is the direct path to either a structural failure (boom buckle, pin shear) or a stability failure (forward or side tip), and OSHA's capacity rule treats both as overcapacity events regardless of which limit was crossed [S5].
A second misreading is swapping charts between machines. Boom-truck load charts are make-and-model specific: a Terex, National, Manitex, Pioneer, or Altec boom truck each publishes its own, and the jib and stowed-jib deduction rows differ between them, so using a Grove chart on a Link-Belt is a known operator error pattern flagged in NCCCO-aligned training material [S1]. Capacity deductions are also manufacturer-defined, so a "stowed jib deduction" listed by one OEM may not appear by name on another's chart.
How Radius, Boom Length, and Angle Drive the Numbers
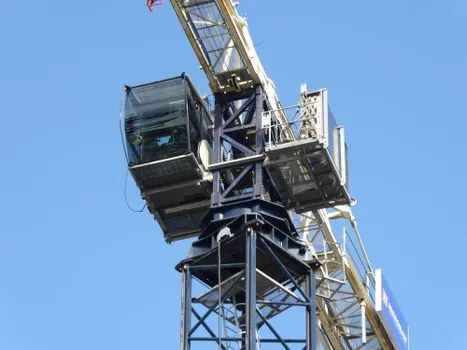
With boom angle held constant, a shorter boom shortens the torque path and increases structural rigidity, so the chart's curve for a shorter boom sits above the curve for a longer boom at the same radius [S2]. With boom length fixed, raising the boom toward vertical reduces the radius, reduces the moment about the slewing center, and raises the allowable load, so the same boom length reads a higher capacity at 70° than at 30° [S2]. This inverse relationship between radius and capacity is the single most important arithmetic on the chart: every additional meter of radius reduces the allowable load non-linearly, and the rate of reduction accelerates as the boom flattens toward horizontal [S2].
For operators working in tight urban sites, the practical consequence is that working at "near max radius" with a long boom is almost always a stability-limited pick, so the margin between the charted capacity and the actual load needs to include allowance for wind, ground slope, and the dynamic factor of the pick. Operators planning lifts on uneven terrain should treat the charted stability number as the starting point and reduce it, because stability margins shrink faster than structural margins when the ground plane tilts [S3].
Selection Checklist Before the Pick
Confirm the exact boom length, boom angle, and radius planned for the pick, and read the matching cell on the correct make-and-model chart, not a similar class chart from a different OEM [S1]. Subtract every capacity deduction listed by that manufacturer: main load block, jib weight in its planned configuration, headache or overhaul ball, all rigging below the hook, and the cable hanging from the boom tip, then compare the resulting net capacity to the actual load plus rigging [S1]. Verify which side of the bold line the selected cell sits on, because that tells the operator whether the governing risk is boom stress or tipping, and which mitigation (shorter boom, additional counterweight, outrigger pads on bearing material) will actually move the number [S7].
For truck-mounted crane classes in the 3-14 tm range, the same structural-versus-stability logic applies but with shorter booms and lower centers of gravity, and operators can use the 3.5 t chassis loader crane sizing reference to bracket the structural envelope before pulling a specific OEM chart. Aggregate-feed and batch-plant sites that pair a loader crane with a skip hoist capacity and cycle time setup typically see the stability limit govern at maximum skip-load radius, so the loader crane's stability row, not its structural row, is the binding constraint on cycle time.
For the relevant spec sheets and selection criteria, see truck mounted crane, electronic load, and load cell.