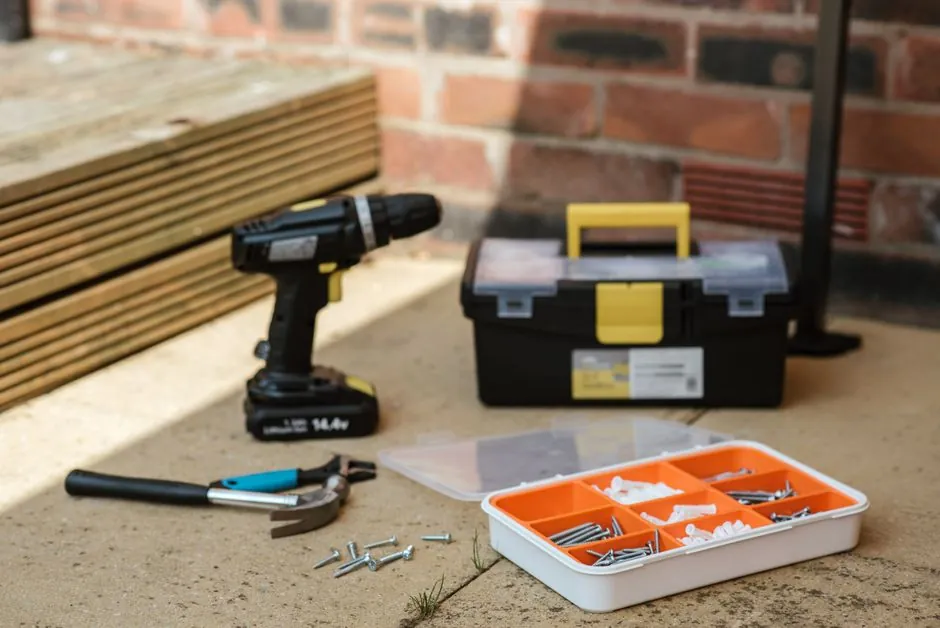
The mode collar on an impact drill routes torque through two completely different mechanical paths: in standard drill/driver mode the cam-and-rack hammer assembly is decoupled and the slip clutch governs torque; in hammer-drill mode that clutch is bypassed and a pair of ratcheting cam discs convert rotation into percussive blows along the bit axis [S1][S4].
Operators who leave a machine in hammer mode and then try to drive screws or bore into wood typically strip fasteners or burn wood fibres, because the percussive action keeps the slip clutch from ever reaching its disengagement threshold. The fix is mechanical: rotate the mode selector back to the drill-only icon until it positively indexes, then verify the chuck turns without axial hammer play before loading a bit [S1][S3].
What the Mode Collar Actually Disengages
An impact drill's mode ring is a sliding cam that physically lifts the hammer assembly out of contact with the spindle, restoring the spring-loaded slip clutch as the sole torque-limiting element [S1]. When the collar is set to the hammer-drill icon, the cam-and-rack (or "Herkules"-style) gear is forced into the rotating train, producing impacts in the 25,000-30,000 bpm band typical of cordless hammer drills, while the slip clutch is taken out of circuit to prevent it from spalling under the percussive load [S4][S5].
Selecting the drill-only icon reverses the cam position, isolating the ratcheting discs and re-engaging the slip clutch so torque is limited by collar position, typically 1-15 or 1-20 numbered detents on consumer-grade 18-20 V drills [S1]. The chuck and gearbox otherwise look identical, which is why users who have never indexed the ring cleanly often believe the hammer function has failed rather than that the collar is mid-detent [S5].
Slip Clutch Versus Hammer Mechanism: Two Torque-Governing Systems
Comparison of the two systems actually at work inside one tool: [S4]
Slip clutch (drill/driver mode): a pair of friction plates under spring preload slip once the preset torque is exceeded, producing the audible "ratcheting" or "clicking" sound, and protecting the fastener head from cam-out and the workpiece from being over-driven [S1][S4]. Adjustment is via the numbered collar, where position 1 is typically 1-3 Nm and the highest detent before the drill icon is often 25-40 Nm on a typical 18 V brushless drill/driver [S4].
Hammer mechanism (hammer-drill mode): two cam discs with mating V-teeth convert rotational input into reciprocating impact; the bit receives both rotary drive and axial impulse, with the impact energy typically 1-2 J per blow on 18 V cordless models, allowing 6-10 mm masonry bits to penetrate concrete without a separate SDS-Plus tool [S5]. There is no torque-limiting slip clutch in this mode, so the slip clutch is physically unclamped to avoid being destroyed by the reciprocating load [S5].
You can read the broader operating principles of these drills in the impact drill encyclopedia entry, and the mechanical foundation of the cam-disc percussive train in the rotary drilling rig reference.
Correct Switching Procedure on a Cordless Hammer Drill/Driver
Step one: stop the spindle. Most manufacturer manuals, including the DEWALT 20V MAX* XR Brushless 3-Speed Hammer Drill/Driver walkthrough, specify that mode changes must be made only with the motor at rest, because the cam-and-rack is not synchronized and forcing the collar under load damages the indexing tabs [S3].
Step two: rotate the mode collar fully to the drill-only icon (usually a plain drill-bit pictogram, distinct from the hammer-drill pictogram that combines a drill bit with a hammer) until you feel and hear a positive detent click [S1][S3]. On a 3-speed brushless hammer drill/driver, the collar typically rotates through three positions: screw/clutch, drill-only, hammer-drill; selecting the centre position restores the slip clutch as the active torque governor [S3].
Step three: verify. Before applying a fastener, hold the chuck in one hand and pull the trigger; the chuck should rotate smoothly with no axial thump. If the hammer function has not decoupled, the operator will feel a percussive kick on every revolution and may see the bit walk across the workpiece, both signs the mode ring is not fully seated [S5]. For more on how the slip clutch behaves as a mechanical fuse in this configuration, see the clutch-brake reference.
Failure Modes When Switching Will Not Stick
On a Ridgid R86034-type tool that will not lock into hammer mode despite the selector being moved, the typical root cause is mechanical: the mode-switch detent spring has lost preload, the indexing tab on the mode ring has fractured, or the wing disc inside the gearbox has seized against the hammer cam [S5]. In the R86034 case, the unit is in fact a pure impact driver with no drill-only mode, so the user's expectation that it should switch is the diagnostic clue, not a defect [S5].
On genuine switchable hammer drill/drivers, three failure modes recur in the field: (1) the mode ring rotates freely without detenting, usually a broken internal tab; (2) the mode ring detents but the hammer still activates, indicating the cam has not lifted off the ratchet disc; (3) the hammer works intermittently and the chuck feels gritty, a sign the wing disc and gear are worn or broken and need replacement as a matched pair [S5].
It is worth distinguishing this from the coupling-clutch behaviour found in larger rotary hammer SDS-Plus chucks, where mode engagement is achieved by axial sliding of the bit rather than a radial mode ring, and where a failure to switch generally points to a worn SDS shank slot rather than a collar problem.
Clutch Calibration After the Mode Change
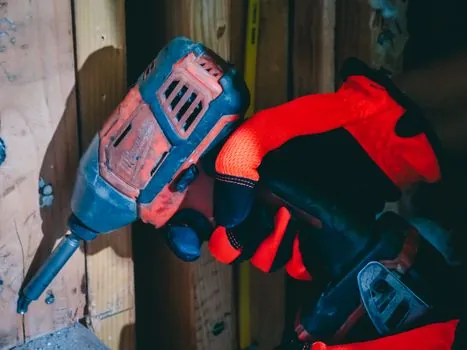
Once the tool is back in drill/driver mode, recalibrate the slip clutch to the workpiece: start two detents below where you expect to land, drive a test screw, and increment the collar by one position until the screw seats flush without cam-out [S1][S4]. For softwood and self-tapping drywall screws, the practical range is detents 1-5; for medium-density softwood, 6-10; for hardwood or small metal assembly, 11-15 on a typical 15-position collar [S4].
Operating-mode comparison, expressed as the decision an operator must make before each task:
Material and bit: concrete or masonry with a 5-10 mm carbide-tipped bit, choose hammer-drill mode, slip clutch bypassed, expect 25,000-30,000 bpm impact rate and 1-2 J per blow [S5].
Material and bit: softwood or plywood with a twist bit or screwdriver bit, choose drill/driver mode, slip clutch active, select detent 1-5 for small screws, 6-10 for medium screws, 11-15 for hardwood or Tapcon-class fasteners, drill icon for holes where slip is undesirable [S1][S4].
Material and bit: metal sheet with a 3-6 mm HSS bit, choose drill/driver mode, drill icon (clutch bypassed) or highest detent, low gear, variable-speed trigger feathered to start the cut, since the slip clutch would trip the instant the bit engages and stall the cut [S1].
When You Should Not Switch Out of Hammer Mode
Concrete, brick, mortar, and stone require hammer mode even with small bit diameters; a 4 mm carbide bit in hammer mode will out-perform a 6 mm bit in pure rotary mode on the same material, because the percussive energy is what fractures the aggregate, not the rotary cutting force [S5]. Switching out of hammer mode on a hole larger than about 4 mm in masonry will stall the motor and overheat the gearbox, even if the slip clutch is bypassed by selecting the drill icon [S3][S5].
For fastener-driving work in soft materials, leaving the tool in hammer mode and relying on the variable-speed trigger will burn wood fibres, deform the fastener head, and never trip the slip clutch, so the operator has no torque protection at all [S1][S4]. The correct workflow on any job that mixes drilling and driving is to switch mode between every step, not to leave the collar in one position for the whole task.
Two trackable signals to watch going into the next quarter: (1) cordless hammer drill/driver releases shifting to brushless 18 V platforms with electronically selected modes rather than mechanical collars, which would obsolete the indexing-tab failure mode described above; (2) tighter integration of the slip clutch with the motor controller, so that the tool's electronics can interpret a sustained slip-clutch trip as a kickback event and cut power within 100-200 ms, addressing the long-standing user concern that clutch mode is not a substitute for a real anti-kickback clutch on large fasteners [S2].
For related coverage, see Hot-Air Welded Seam vs Adhesive Seam for Sheet Waterproofing Membrane.