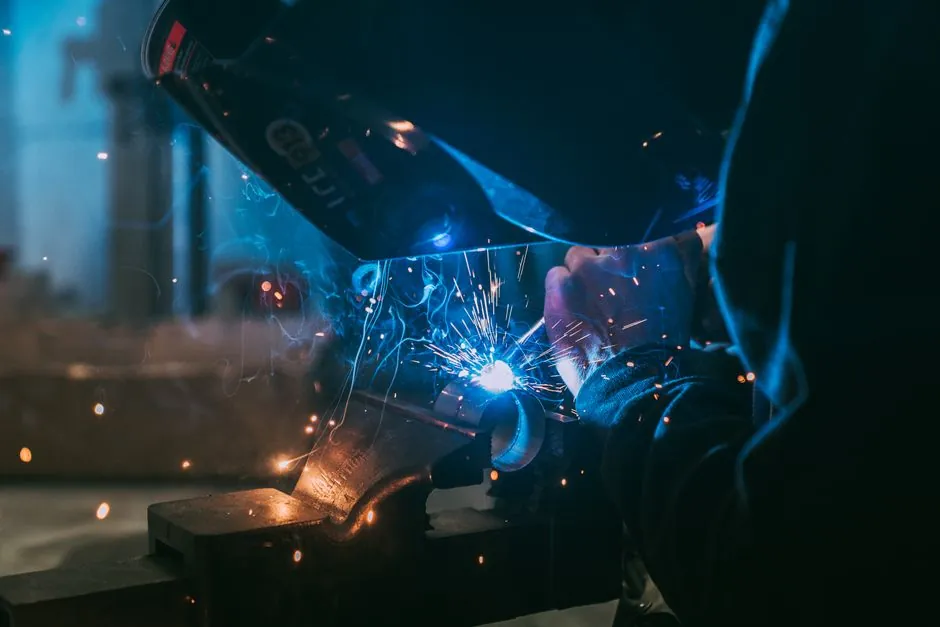
Excessive spatter is the most common visible symptom of a mis-tuned stud weld and almost always traces back to one of four root causes: wrong current or voltage, dirty or coated base material, a misaligned or worn ceramic ferrule, and poor grounding path [S1][S3][S4].
Spatter itself is molten metal expelled from the arc zone, and once it accumulates it lifts the stud off the weld axis, blocks ceramic-ferrule shielding, and creates a feedback loop where the next stud misaligns and throws more spatter [S1][S2].
Current, voltage, and timing: the parameter bucket
Running too little current on a stud welder fails to melt enough base material to form a closed bead, and the arc becomes unstable and spits metal [S4]. Running too much current has the opposite failure mode: the arc becomes erratic, the pool boils, and metal is thrown clear of the joint in a spatter halo [S2].
Voltage follows the same logic. A voltage that is too low leaves gaps in the weld zone; a voltage that is too high melts the surrounding parent material and produces excess spatter, even when the current looks correct on the meter [S3]. Lift height, plunge depth, and weld time are the three timing parameters that interact with current, and every stud diameter and base-material combination needs its own validated table, not a "set and forget" knob [S1][S4].
Base-material prep: surface contamination and coatings
A base surface covered with dust, oil, rust, paint, a non-spatter film, or magic-marker layout ink will fail to fuse, and the arc will throw molten metal sideways instead of pooling it under the stud [S3]. Coatings as thin as a marker line are enough to break the arc and produce a spatter ring around an unfused stud.
For painted or zinc-coated sheet, the correct polarity also matters. Mild steel and SUS304 typically weld on straight polarity; thin-gauge zinc-coated sheet, painted surfaces, and bonded steel sheet require reverse polarity, and reversing that selection will produce a spatter-heavy, under-fused weld [S3]. The fix is mechanical: scrape or sand the coating back to bright metal, then weld within the working window before flash rust reforms.
Ceramic ferrule, footplate, and gun mechanics
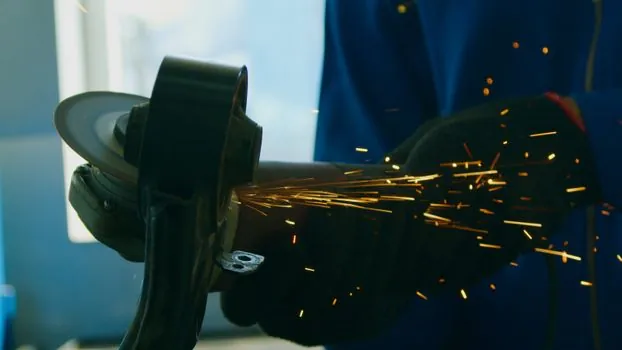
The ceramic ferrule does three jobs at once: it shields the arc, contains the molten pool, and vents ferro vapour; once it cracks, absorbs moisture, or gets clogged with spatter, it stops doing all three [S1]. A ferrule that has absorbed moisture will allow atmosphere into the pool, cause porosity, and visibly spatter as the steam boils off.
Footplate alignment and ferrule seating are the next two failure points. A misaligned footplate lets the stud rub the ferrule wall on the way down, throwing off the plunge axis and generating spatter from friction; the same feedback loop appears when a previous weld left heavy spatter on the ferrule face [S1]. Inside the gun, a worn chuck, a stiff shaft, a gun held by the cable instead of the housing, or a damping setting that is too high will all slow or stop full stud plunge, leaving the stud riding on top of a half-melted pool [S1][S3].
Grounding, arc blow, and cable routing
Poor grounding is the most common cause of arc blow, which shows up as a lopsided weld lens and a spatter trail on one side of the stud [S1]. When welding near a workpiece edge, magnetic forces pull the arc outward, and the standard fix is to add balancing grounds opposite the blow direction and to route the welding cable as far from the weld zone as the layout allows [S1].
Chuck burn-out is a quieter grounding-related failure. Once a chuck has been re-gripped a few times with pliers, the contact area shrinks, resistance rises, and the next weld will overheat the chuck and the stud together; the visible result is a blackened stud, a charred ferrule, and a spatter ring [S3]. Replacing the chuck before it burns through is cheaper than replacing the stud and the parent plate.
Operator errors that compound into spatter

Operator-level mistakes are the most common category of stud-weld failure, not machine faults [S4]. The top five are: wrong machine parameters, contaminated base material, incorrect stud alignment, worn or mismatched ferrules, and skipping the test-weld step on a new stud or material combination [S4].
Each one on its own will produce some spatter; two of them together will produce a stud that looks welded but fails a bend test. The diagnostic habit is to change one variable at a time: clean the plate, reset the current from the published table, swap the ferrule, then re-aim the ground clamp, in that order. A quick macro-section on a scrap coupon is the only reliable way to see whether the fusion zone is fully closed, because visual inspection alone will pass a stud that has porosity or a cold lap hidden under the bead [S1].
Comparison: spatter cause vs first fix
Spatter pattern points to a different first fix: a spatter ring on an otherwise shiny bead points to excessive current or voltage, and the fix is to drop both by 5 to 10 percent and re-test [S2][S3]. Black spatter with porosity points to a wet or cracked ferrule or a contaminated surface, and the fix is to replace the ferrule and grind back to bright metal [S1][S3]. Spatter on one side of the stud with a lopsided weld lens points to arc blow, and the fix is a second ground clamp opposite the blow and a re-routed welding cable [S1]. Spatter plus a stud that does not reach nominal plunge depth points to a footplate misalignment, a worn chuck, or a damping setting that is too high, and the fix is mechanical, not electrical [S1][S3].
Prevention habits that cut spatter on repeat work
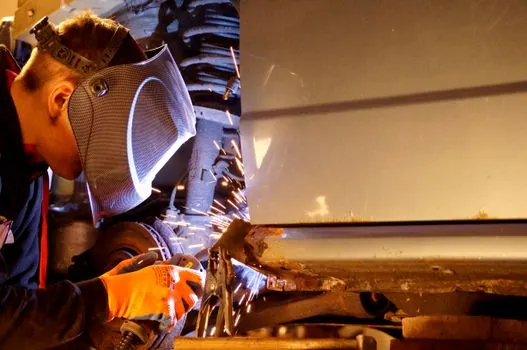
Three habits cut spatter on repeat production: verify correct voltage and current settings before production runs [S2][S3]; position ground clamps opposite the arc blow direction and attach balancing grounds to the base material [S1]; and route welding cables as far away from the weld area as possible so a future spatter outbreak can be traced to a setup change [S1]. For more on how process variables and signal noise interact in industrial measurement, see this guide to how a dial indicator converts plunger travel into a needle reading.
Trackable signal: AWS D1.1 Chapter 7 stud-welding clauses, ANSI/AWS C5.4 recommended practice, and the equipment-maker parameter table for each stud diameter are the three reference documents to keep on the bench; any of them changing is a leading indicator that parameter drift, not operator skill, is the next spatter event.
Spec-level background on the components involved: pressure transmitter, and flow meter.