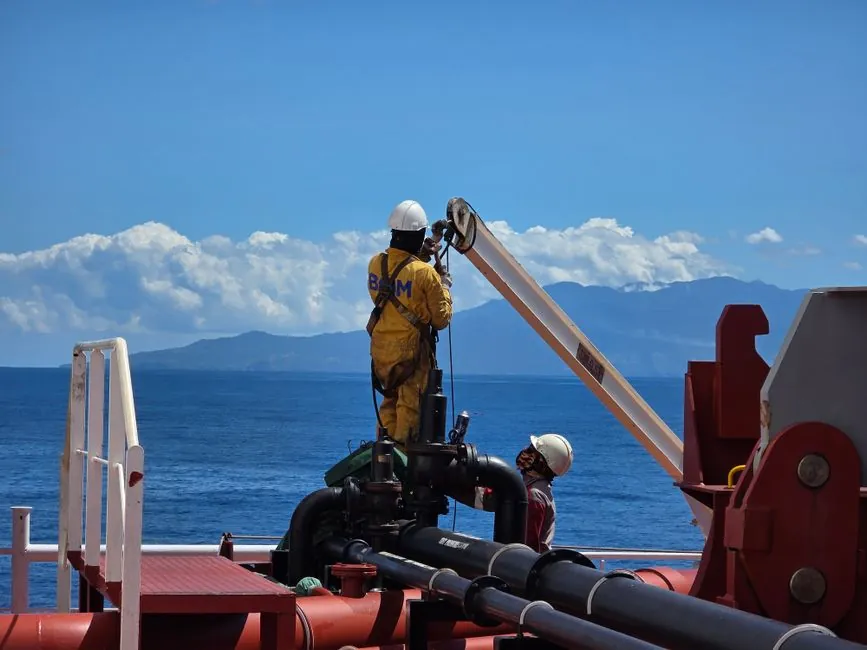
Field experience and aggregated installer data converge on a single number: up to 80% of premature centrifugal pump failures trace back to incorrect installation or poor piping design, not manufacturing defects [S7], and a separate long-form review places the figure as high as 90% when suction-line, alignment, and foundation work are all counted [S6].
The centrifugal pump install sequence breaks into eight stages: site and foundation preparation, baseplate mounting and grouting, pump and motor positioning, shaft alignment, piping connections, electrical connections, priming, and startup checks [S9]. Each carries a quantified acceptance criterion, and the numbers below come directly from vendor and installer guidance updated 2025-2026.
Foundation and Baseplate: Levelness ≤0.1 mm/m, Cure 48 h
Concrete foundation levelness must be controlled to ≤0.1 mm/m using a precision level gauge, with no more than 3 shim plates stacked at any one set point [S2]. The pump body is then positioned so the pump-shaft centerline aligns with the foundation centerline, anchor bolts are pre-tightened with a deliberate 2-3 mm adjustment gap left for final correction, and only then is high-strength cement mortar poured for secondary grouting, which is left to cure for a minimum of 48 hours before alignment work proceeds [S2].
The site itself must be clean, dry, and elevated above grade to prevent floodwater ingress into the pump base, a common failure mode in outdoor industrial yards [S3]. Anchor-bolt torque must be re-checked after the grout cures because grout shrinkage commonly relaxes pre-load by 5-10% in the first week; this is a routine field step, not an optional one [S1].
Shaft Alignment: Radial ≤0.05 mm, Axial Skew ≤0.1 mm
Coupling concentricity between motor and pump shafts is measured with a dial indicator and controlled to a radial offset of ≤0.05 mm and an axial (face) skew of ≤0.1 mm/m across standard industrial installations [S2]. Laser alignment tools are the practical choice once the pump base exceeds roughly 30 kW, since dial-indicator methods compound operator error over larger spans [S1].
Misalignment is the dominant driver of premature bearing and coupling wear, and field service reports place misalignment behind a majority of coupling-related failures in the first 18 months of service [S4]. The alignment must be re-checked after the first 50-100 operating hours once thermal growth has settled the pump frame, because hot alignment and cold alignment can differ by 0.05-0.15 mm on a typical end-suction pump.
Suction Piping: Short, Straight, Air-Tight to Stop Cavitation
The suction line should be as short and straight as possible, with the suction pipe diameter at minimum one size larger than the pump nozzle when the run exceeds roughly 5 m, to keep velocity below 1.5 m/s and stay out of the cavitation zone [S3]. Every flange must be gasket-sealed and the pump suction flooded before start; air ingress through a single loose suction flange is the most common root cause of impeller erosion in the field [S4].
For readers also selecting a positive-displacement alternative for viscous or shear-sensitive fluids, the engineering trade-offs are laid out in the diaphragm pump reference page, which covers how suction-lift behaviour differs from centrifugal designs.
Discharge Piping and Independent Support
Discharge piping must be independently supported so that no pipe load transfers into the pump casing; a single mis-routed support that loads the pump nozzle by even a few hundred newtons will skew the shaft alignment set in the previous step [S2]. Flexible joints are specified at the pump discharge to isolate vibration from the upstream system, and a check valve is mandatory on vertical-lift or long-run discharges to prevent back-rotation on shutdown [S1].
Discharge pipe diameter is sized so flow velocity stays in the 1.5-3.0 m/s window for clean water service, which keeps specific speed within the pump's stable operating envelope and avoids the deep right-hand side of the H-Q curve where radial-thrust load on the impeller roughly doubles [S4].
Electrical: Insulation ≥1 MΩ, Rotation Checked Dry
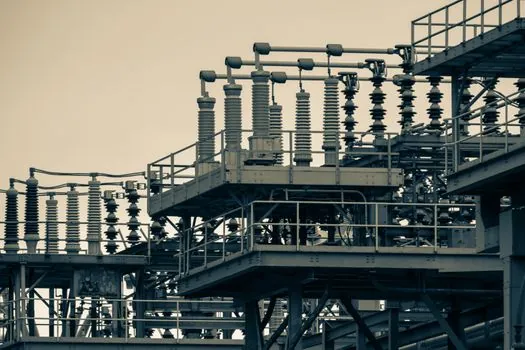
Motor insulation resistance must test at ≥1 MΩ before energising, and the motor's rotation direction must be confirmed by a dry jog before the pump is coupled to the line; a 3-phase motor wired in reverse on a centrifugal pump simply spins the wrong way and pushes zero flow, which looks identical to a blocked impeller at the suction flange [S2]. The supply voltage and frequency must match the nameplate, the protective earth must be bonded to the motor frame and the pump base, and an appropriately rated circuit breaker or fuse sized at roughly 125% of motor full-load current is standard [S3].
For duty cycles that swing widely between high and low flow, the hydraulic pump encyclopedia page covers the contrast in control response when you move from a centrifugal H-Q curve to a positive-displacement flow characteristic.
Priming and Commissioning: No Dry Run, Bearing Temp ≤75°C
Dry running is strictly prohibited: the pump casing must be fully flooded and vented through the air-bleed valve before the motor is started, otherwise the mechanical seal will score within minutes on most ANSI process pumps [S2]. The first run sequence is a 30-minute no-load trial, followed by a gradual ramp to rated duty while the operator logs bearing temperature (must hold ≤75°C), vibration velocity, and seal leakage [S2].
Bearing housing temperature stabilising above 75°C within the first hour is a hard reject criterion; typical stabilised values on a healthy end-suction pump at rated duty sit in the 50-65°C range with oil-mist or grease lubrication [S2]. Any abnormal noise, vibration step-change above 4.5 mm/s RMS, or visible leakage at the mechanical seal during commissioning should trigger a stop and a return to the alignment step.
Failure Modes, Acceptance Criteria, and When to Escalate
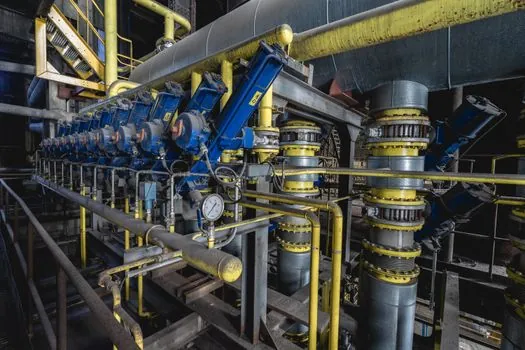
The four dominant install-related failure modes, in order of field frequency, are: (1) cavitation from under-sized or air-leaking suction piping, (2) premature bearing failure from alignment outside the 0.05/0.1 mm envelope, (3) baseplate cracking from grout voids or bolt relaxation, and (4) mechanical-seal damage from dry run or shaft skew [S4][S6].
Acceptance criteria on a completed install are: shaft alignment within the limits above, insulation resistance ≥1 MΩ, bearing temperature ≤75°C after one hour at rated duty, no audible cavitation, and zero visible leakage at the mechanical seal after a 4-hour soak [S2]. If any one of these is missed, do not attempt to "run it in", because the cost of a mechanical seal replacement plus downtime after a 30-day warranty window expires typically runs 3-5x the cost of the original alignment work [S7].
For installations where flow will be metered downstream and pressure-instrument selection matters as much as the pump itself, the centrifugal pump reference and adjacent gear pump page both touch on instrumentation placement, which is typically within 5-10 pipe diameters of the pump discharge flange to avoid swirl-induced meter error. Trackable signal for the next install review cycle: revised ISO 5198 mechanical-end suction tolerance bands expected in industry guidance updates through end-2026, and continued vendor moves toward laser-alignment-as-standard on any pump above 30 kW.
For related coverage, see China Liquid Cooling Sourcing 2026: Vendor Tiers, Spec Gates, Buyer's Map.