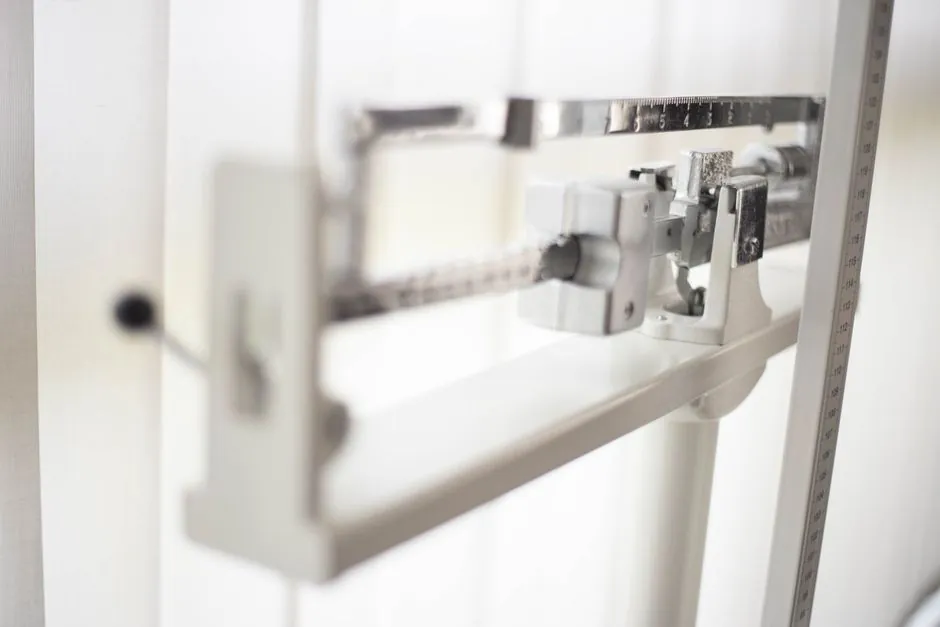
A correctly commissioned checkweigher line has the weigh station, infeed/outfeed conveyors and reject mechanism each isolated from structure-borne vibration, with the controller reading stable weight in the milligram range before the first pack crosses the scale. The installation sequence is fixed by every OEM manual: define the legal-for-trade tolerance band first, mount the conveyor island on a level, isolated base, wire the I/O, then run a two-step calibration (static zero/span, then dynamic with known masses at line speed) [S2][S3][S4].
The data that actually decides whether an install passes acceptance is the legal metrology tolerance, the conveyor speed in packs per minute, and the controller's I/O count for upstream and downstream handshakes. Most field failures trace back to skipping one of those three, not to the load cell itself [S2][S4].
Define the weight tolerance before the platform arrives
Set the acceptable weight window first, in writing, on a per-SKU basis, because the tolerance drives the scale resolution, the load cell capacity, and the number of weighings the controller must average per decision [S4]. Morrison's installation guidance uses a worked example: a 20-pack of fruit must weigh between 9.5 lb and 10.5 lb, so any reading outside that ±0.5 lb band is rejected [S4]. The same document emphasises that an in-motion checkweigher is a quality-control and giveaway-reduction tool, not just a rejector, and the tolerance band is where both economics are decided [S4].
For pharmaceutical and food lines the window is typically set against a legal-for-trade reference such as NTEP or OIML R76, with the target weight (T) and T1/T2 single-limits keyed into the controller as T, T1, T2 rather than a single ± figure [S4]. Document the chosen T, T1 and T2 values per SKU in the validation file so that the calibration and statistical-process-control (SPC) dashboards downstream read the same numbers the controller enforces.
Site preparation and conveyor mounting
The weigh station conveyor must be installed on a stand-alone, level, vibration-isolated base plate, never bolted directly to a structural I-beam or the floor slab that also carries the upstream filler [S2]. Thompson Scale's 4693 manual keeps the weigh station and the infeed/outfeed conveyors mechanically separate so the load cell sees only the product on the weigh table, not the motor vibration of adjacent conveyors [S2]. The same isolation rule applies to the TSC 350 chain-style small-package unit, which adds an overload-protection screw on the weigh table and chain-guide alignment to keep side loads off the cell [S5].
For belt-driven and chain-driven systems, level the conveyor to within 0.5°/m in the running direction and 0.2°/m transverse, then shim under the base feet, not under the weigh table itself. The General Measure CW-100G manual calls out the same separation: place the checkweigher at the installation site, remove transit locks, and confirm the weigh table floats free of the conveyor frame before any electrical work begins [S3]. A common install defect is the infeed belt being too short, which forces product to be pushed onto the weigh table and biases every reading high.
Electrical supply, I/O cards and grounding

Use the OEM-specified supply voltage, conductor gauge and conduit routing; the 4693 and TSC 350 manuals both list a 110 VAC I/O card and a 24 VDC I/O card as the two factory options for input/output handshakes, and the choice must match the plant PLC voltage before the cabinet is wired [S2][S5]. Industrial practice on a packaging line is to land 24 VDC for sensors and reject solenoids and 110 VAC for the conveyor motor starters, with a dedicated circuit breaker and an isolation transformer on the controller side. The CW-100G manual dedicates a section to the electrical interface and power supply, and warns that wiring convenience (pin-plug terminal blocks) does not replace the requirement to land the protective earth at the controller chassis first [S3].
Plan the I/O count before the cabinet is built: at minimum, a fill-line checkweigher needs one photo-eye trigger input, one reject confirmation input, one reject output, one upstream line-ready input, and one downstream divert output. Under-spec the I/O and the line will hand-pack off-spec product to a manual table; over-spec the I/O and the controller price jumps without functional benefit. Industrial weighing controllers such as the IND700, IND400 and IND360 family carry the same dual-protocol, multi-I/O architecture that the checkweigher controller inherits, so the I/O plan should mirror what the upstream filler and downstream case packer actually expose [S1].
Calibration: static first, dynamic second, audit trail always
Run the static calibration with the conveyor stopped, the weigh table empty, and the ambient temperature within the controller's published operating window, then verify a manual scale-zero before any span mass is applied [S2][S5]. The Thompson 4693 calibration procedure is the textbook sequence: zero, span with a Class 1 or Class 2 mass at 50% of capacity, then linearity check at 25% and 75%, with each step written to the audit trail [S2]. Calibration errors are not retried blindly; the manual enumerates them (over-capacity, unstable reading, mass value out of expected span) and prescribes the corrective action per error code [S2].
Dynamic calibration is a separate, mandatory step on every in-motion checkweigher, and it must be done at the production line speed with known test masses conveyed across the weigh table at the same spacing as live product [S2][S3]. The CW-100G splits calibration into a static weight calibration and a dynamic calibration of the scale, in that order, and the dynamic step is the only one that exposes the real in-flight error caused by belt speed, product spacing and the controller's averaging algorithm [S3]. Lock the audit trail on the controller, not on the plant SCADA, so the record is tamper-evident and survives an FDA, FSMA or customer audit [S2].
Acceptance criteria and common rejection causes
Acceptance on a properly installed checkweigher is: a minimum of 10 consecutive dynamic readings of a Class 1 test mass at line speed, all within the published repeatability (typically ±0.05% of full scale for mid-range units), and a zero drift of less than one display division over 30 minutes of empty-belt running [S2][S5]. The first three shifts after handover are the real commissioning window: out-of-tolerance rejects caused by the controller almost always trace to one of four causes, namely uneven product spacing on the infeed belt, weigh-table contact with a frame member, electrical noise on the load cell cable, or an incorrectly entered T1/T2 value [S2][S3][S4]. Each of these has a specific corrective action: re-time the infeed photo-eye, re-shim the weigh table, re-route the load cell cable through shielded conduit bonded at the controller end only, and re-enter the tolerance band against the validated spec sheet [S3].
Do not attempt to "tune out" a structural vibration by adjusting the controller's digital filter, because that masks a real mechanical defect and shows up as a calibration failure at the next audit. Replace any load cell that fails a static repeatability check, and escalate to the OEM if the dynamic repeatability fails with the weigh table demonstrably isolated, since the fault is then in the controller or the analogue front end, not in the mechanics [S2]. Treat the audit trail printout as the install's birth certificate: it is the only document that proves the unit was in a known good state on the day the line was released to production.
Two trackable signals after install: (1) the 30-day SPC chart of giveaway weight on the most-produced SKU, which should drop by the value predicted from the chosen T1/T2 band, and (2) the false-reject rate at the reject mechanism, which a correctly tuned line holds below 0.1% of throughput. A persistent giveaway above the spec band is a calibration drift signal, not a process signal, and the corrective action is a static re-cal followed by a dynamic re-check, not a controller firmware change. For new plants comparing conveyor and weigh-frame layouts, the selection map for tapered-bush drivetrains covers the conveyor-drive side in similar decision-table form, and the pipe-clamp selection map covers the pneumatic reject line that typically follows the weigh station.
Spec-level background on the components involved: linear guide, and crossed roller guide.