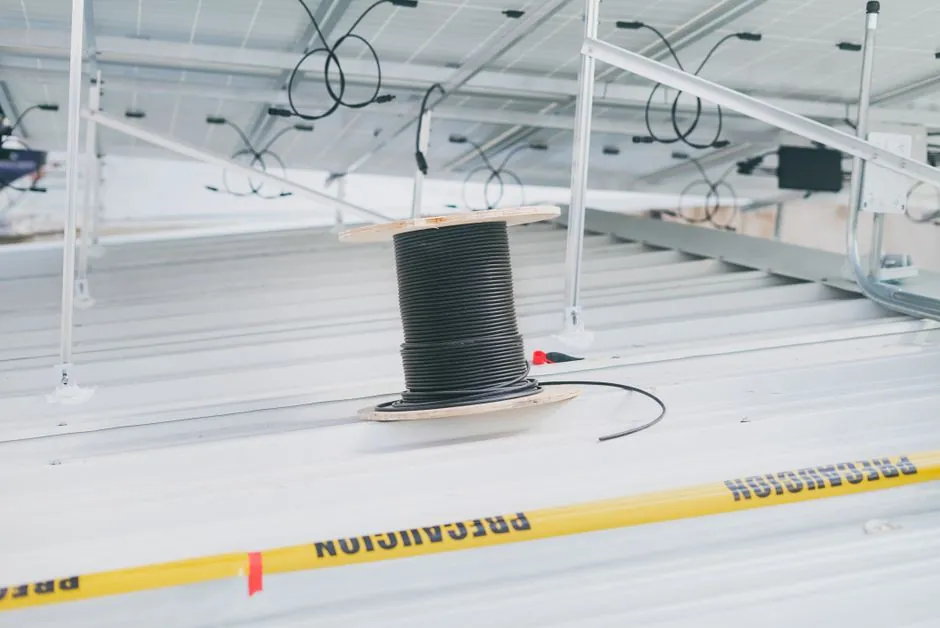
Infrared line level selection for electrical work is a two-instrument problem: a self-leveling line laser (fan angle +/- 60° to >180°, working range ~4° of self-leveling) sets conduit, box, and tray elevations, while a thermal imager verifies the same circuits post-energizing, typically at >=40% of typical load and with the panel covers removed [S1][S4].
For typical LV switchgear rooms and small-commercial fit-outs, contractors standardize on a 180° line laser for switch box and trim heights, plus a thermal camera with IR-Fusion-style visual/IR overlay so an anomaly on one phase of a three-phase feed can be triaged against the other two legs in a single image [S4]. The line tool covers geometry; the camera covers in-service health. Skipping either leaves a blind spot: a perfectly plumb conduit run that hides a loose lug about to fail.
Line Laser Geometry: Fan Angle, Working Range, and Class
Line lasers emit a planar fan that spans +/- 60° to more than 180° in the horizontal or vertical axis, allowing a single setup in a corner to project reference lines around a full room for switch boxes, cable tray centers, and upper cabinet heights [S1]. Self-leveling instruments are usable as long as the rough set-up is within ~4° of true level; if the tripod is bumped outside that working range the laser switches off or blinks to flag the error, which is the correct fail-safe behavior on a busy site [S1].
Multiline (multi-plane) lasers are specified by their horizontal and vertical plane count, e.g. an L2P5 emits 2 lines and 5 points; the planes intersect to form a single plumb-down point, which is the one "true point" reference most multiline tools offer [S1]. For LV room fit-out, the L2P5 class is the practical sweet spot: enough planes for ceiling tray alignment and wall box heights without the size and cost jump to 3x360° multiline units.
Point lasers (2, 3, or 5 perpendicular beams) are not the right primary tool for electrical layout, because they transfer points but do not project a continuous reference line along a wall. Reach for a point laser only for plumb transfer of a single hole pattern across floors.
Thermal Imager Sizing: Resolution, NETD, and Target Size
Thermal imaging cameras detect radiated energy on the IR portion of the electromagnetic spectrum and convert it to apparent surface temperature, with the fundamental physics described by Ohm's law P = I²R: any unwanted resistance at a termination converts current into heat, and the camera sees that heat long before a failure [S3][S4].
For distribution work, the smallest target a tech must resolve is typically a single-pole breaker lug, which sets the minimum spatial resolution (IFOV) requirement. Compare three-phase thermal images side by side to flag leg-to-leg unbalance, defined by NEMA as %unbalance = (100 × maximum deviation from average voltage) / average voltage; even a small unbalance forces motors to draw excessive current and fail prematurely [S4].
Perform inspections only when the equipment is fully warmed up at steady state, ideally with at least 40% of typical load applied, and with the panel cover removed; without those conditions, a hot loose connection can mask as ambient and a healthy one can flag as anomalous [S4]. Line voltage should be within 10% of nameplate rating during the scan, and the neutral-to-ground voltage reading helps gauge how heavily the system is loaded [S4].
Selection Criteria Compared
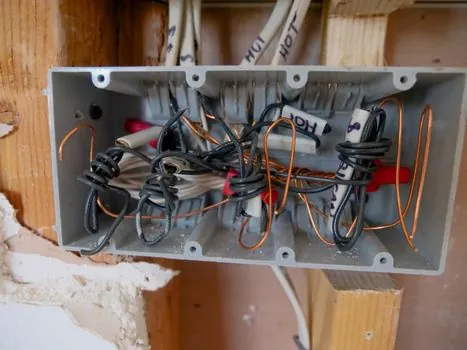
For an electrical contractor buying one of each instrument, the decision is criteria-driven: [S3]
Point laser vs line laser vs multiline laser: point units (2/3/5 beams) win on plumb transfer of a single pattern, but lose on continuous reference for switch-box and tray runs; line lasers (fan angle +/- 60° to >180°) cover most interior electrical layout; multiline units (e.g. L2P5) add multiple planes and a true plumb-down point, at higher cost and larger housing [S1].
Manual vs self-leveling: manual leveling is acceptable for occasional trim heights; for daily conduit and tray work, self-leveling within ~4° is the standard, because setup time collapses from minutes to seconds and the auto shut-off / blink warning catches tripod bumps before they produce a misalignment [S1].
Thermal imager resolution tiers: entry-level units are adequate for substation bus scans from a distance, mid-range 320×240 sensors are the practical floor for indoor LV panel work where the target is a single breaker lug, and high-resolution 640×480 imagers are reserved for early fault detection on small components where the cost of a missed hot spot exceeds the camera premium [S2][S4].
Workflow: Layout with Laser, Verify with Camera
The standard sequence on a switchgear room fit-out is: set the self-leveling line laser in a corner, project the reference plane, snap conduit and box heights to the line, then after energizing scan each panel with the thermal camera starting from floor level, working up the bus, and noting any anomalies in bus-mounted equipment before opening individual compartments [S1][S5].
A practical anomaly triage rule: a single-phase hot spot in an otherwise balanced panel almost always points to a loose or corroded lug on that leg; a uniform three-phase rise across a feed indicates overload upstream; a localized hot spot on a breaker body, with the bus cool, points to an internal breaker resistance problem requiring replacement rather than re-torque [S3][S4].
Compare the captured thermal image to a known-good baseline image of the same panel under similar load; even an image that the operator cannot fully interpret is useful as a flag for further testing, because the thermographic signal of high resistance precedes the failure by weeks to months in most cases [S3].
Failure Modes, Limits, and When to Stop
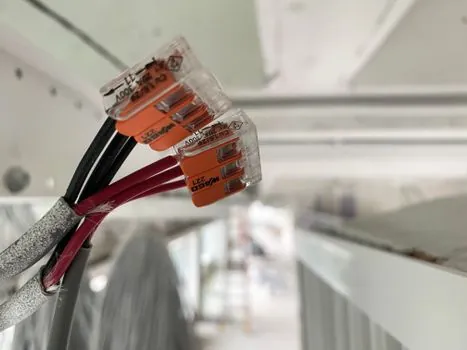
Line laser failure modes are mostly mechanical: a tripod bump outside the ~4° working range produces a blink or shut-off, which is a feature, not a defect; a shifted tripod that stays within range produces a silent re-level and a shifted reference line, so the crew must re-check the reference height periodically [S1].
Thermal imager failure modes are diagnostic: reflective metallic bus surfaces can give false-low temperature readings because the camera sees reflected ambient IR, not emitted IR; emissivity correction or a matte target patch is required for accurate absolute temperature on shiny copper or aluminum [S3]. Do not rely on the camera as the sole evidence for repair: a flagged hot connection should be re-torqued to spec, re-scanned, and only left in service when the thermal signature returns to the baseline of the adjacent phases [S3][S4].
Do not use a compact indoor line laser as the primary exterior reference for outdoor conduit trenches; the working range falls off rapidly in sunlight, and a rotating laser with a detector is the correct tool for outdoor runs beyond roughly 100 ft, even though some line lasers can be pushed to that distance with a line-laser detector [S1].
Standards, Training, and Sourcing
There is no single IEC or ISO standard that pins a specific line-laser fan angle or a specific thermal imager sensor resolution to a class of electrical installation work; instead, the relevant practice is NEMA's definition of voltage unbalance for three-phase systems, which gives the numerical baseline a thermographer compares against [S4]. Infrared electrical inspection should be performed with thermal imaging cameras specified for the temperature differences expected in distribution gear, and operators should hold a Level 2 thermography qualification or equivalent [S2].
For broader background on the instruments themselves, the infrared level, infrared thermometer, and electrical measurement reference pages cover sensor physics and field-of-view math; for the layout side, the LV electrical page covers the equipment the laser is aligning. For a related site tool discussion that pairs interior-finishing layout with the same accuracy-and-range trade-offs, see Total Station Selection for Interior Finishing: Accuracy, Range, and Crew Fit; for the embedment step that often follows conduit layout, the Shotcrete Machine Spec Map for Electrical Installation Embedment is a useful downstream reference.
Track two signals in 2026: (1) thermal imager vendors pushing higher-resolution 640×480 sensors into the mid-price tier that today sits at 320×240, which would shift the cost calculus for small-panel LV work; (2) line laser vendors adding green-beam diodes as a default on self-leveling units, which improves visibility in bright interior conditions without changing the underlying +/- 60° to >180° fan-angle geometry [S1][S2].