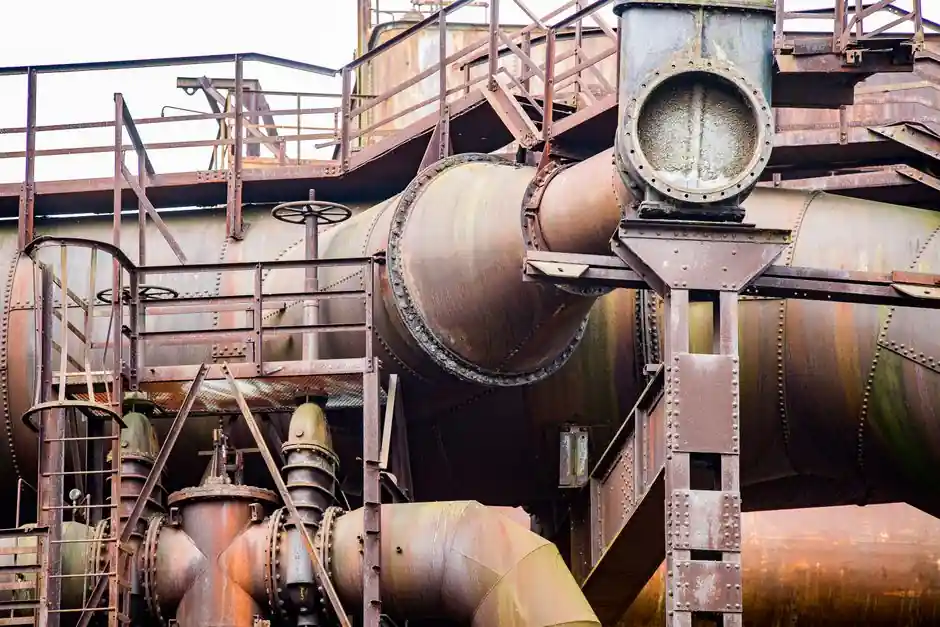
Pneumatic valve actuator installation is governed by two mechanical boundaries, the valve-side flange pattern (ISO 5211 with F05/F07 dimensions) and the accessory-side NAMUR interface for solenoid valves and limit switch boxes, and the supply medium must be clean, dry compressed air or nitrogen filtered to ISO 8573-1 class 5:3:4 before any torque or stroke check [S2][S4].
The typical working envelope is 0.4–0.8 MPa (≈4–8 bar) supply pressure, 2.5–8 bar operating range for rack-and-pinion units with 90° rotation, 5 µm filtration, and an operating temperature window generally held above −20 °C and below 80 °C unless nameplate data say otherwise [S1][S5].
Pre-Installation Checks: Air Supply, Media, and Flange Verification
The single highest-leverage step is confirming the supply envelope before the actuator is unbolted from its crate: nameplate maximum supply pressure, ISO 8573-1 class 5:3:4 air quality, and matching of the actuator flange code (F05/F07) to the valve yoke pattern, since Metso Neles N1 documentation explicitly requires "no leaks of the supply media" and operation "not to be exposed to pressure in excess to the maximum rating as indicated on the actuator nameplate" before any stroke test [S4]. Filter and pressure-regulator sizing follows the same logic, with 5 µm filtration and a regulator set to 0.4–0.6 MPa being the common industrial default for ball- and butterfly-valve service [S1].
For actuators mounted in hazardous-area service, the gas group and temperature class on the nameplate must match the area classification, and the assembly must be ATEX-certified for zones where flammable gas or dust is present, while the environment should not impose impact, vibration, or ambient swings that exceed nameplate limits [S1][S4]. Seal selection follows the process media: EPDM, FKM, or PTFE for corrosive or abrasive service, with seal compatibility documented before the actuator is coupled to the valve stem [S1].
Mechanical fit is checked in two directions. The valve-side interface follows ISO 5211, with F05 and F07 as the most common flange codes and a square drive that must match the valve stem, while the accessory-side interface follows NAMUR so that solenoid valves and limit switch boxes bolt on without custom brackets [S2]. A supplier-specific bracket or adapter is only justified when the installed valve is nonstandard, and even then the bridge component must be documented for torque, alignment, and air inlet size (commonly G1/4) [S2].
Mechanical Mounting: Torque Sequence, Coaxiality, and Fail-Safe Alignment
Bolt-up pattern matters as much as bolt torque: M8 cap screws at roughly 20 N·m should be torqued diagonally in a star sequence to prevent cocking the actuator on the valve flange, and the spring direction on a single-acting (spring-return) unit must be aligned with the documented fail-safe position before the air supply is connected [S1]. Coaxiality between the actuator drive and the valve stem is non-negotiable, because rack-and-pinion units like the WUXI XINMING series are explicitly designed for "the axis of the pneumatic actuator and the valve stem" to share a common centerline, and any angular offset shows up as stuck or crawling motion on the first stroke [S5].
Manual override testing should be done with the supply media isolated, then the actuator stroked slowly on regulated air to confirm smooth, continuous rotation through 90° without binding at the end stops. The Metso N1 manual adds that the centerline of the pneumatic cylinder module should be aligned with the pipeline "as recommended," and the stopper bolt must be adjusted to the desired open and close positions before the unit is handed over to operations [S4].
For a typical double-acting 240 mm bore rack-and-pinion unit with 3/8 inch air supply port, 2.5–8 bar operating pressure and 10 bar maximum, the acceptance benchmark is rated-pressure stroke within the cycle time listed on the torque table, with no audible piston slap or stiction at end-of-travel [S6]. Where the valve is a high-viscosity media service, the actuator itself is usually upgraded to a high-thrust gear-type design and paired with a bypass line, while precision modulating duty calls for a V-port ball valve with a positioner accurate to ≤0.1 % of stroke [S1].
Air Piping, Filtration, and Pneumatic Plumbing
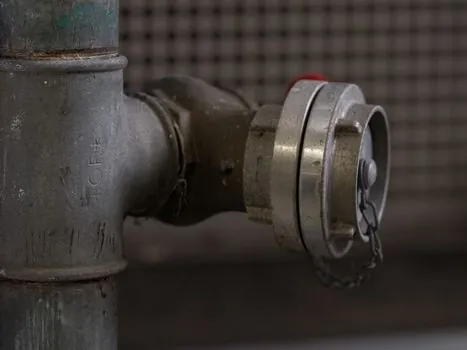
Air quality is the leading cause of slow response and internal leakage, and the corrective action is rarely the actuator itself: install a 5 µm filter, a pressure regulator, and a lubricator (FRL set) within 1–2 m of the actuator, drain the filter bowl on a defined schedule, and add an air dryer in humid environments so the supply stays inside ISO 8573-1 class 5:3:4 [S1][S4]. Supply pressure is then set to 0.4–0.6 MPa for typical modulating service, with a ±5 % stability tolerance monitored at the regulator, and flexible tubing with proper supports used to avoid side-load on the actuator ports [S1].
Material selection for seals, hoses, and fittings depends on the surrounding process area: NPT or compression fittings are common in general industrial service, while stainless or PTFE-lined components are specified for corrosive media, and the tubing layout should keep actuator strain off the air ports, since Metso's N1 IMO explicitly requires "all the tubing, fitting and actuation media... free from contamination and filtered to the desired level" [S1][S4]. For a wider primer on how compressed air becomes controlled rotary motion, the pneumatic actuator working principle primer covers the upstream control components.
Where modulating control is required, the standard pneumatic plumbing chain is filter → regulator → lubricator → solenoid valve → positioner → actuator, with the solenoid valve selected as 2-position 3-way (single-acting) or 2-position 5-way (double-acting) depending on the actuator's air-port count, and the positioner handling the 4–20 mA or 3–15 psi control signal [S10]. A positioner is mandatory for any modulating service that needs better than on/off accuracy, and on simple isolation duty it is often omitted in favor of a limit switch box for position feedback [S1][S10].
Electrical Hookup, Calibration, and Position Feedback
Before any wire is landed, the line must be locked out and tagged out (LOTO), the pipeline depressurized and confirmed empty, and the manufacturer's model-specific manual opened to the calibration section, because a 4–20 mA signal on a positioner behaves nothing like a solenoid coil on an on/off valve [S1][S8]. For 4–20 mA positioners, shielded cable is run in a separate conduit from power lines, and the loop is calibrated so 4 mA = 0 % stroke, 12 mA = 50 % stroke, and 20 mA = 100 % stroke, matching the positioner's zero and span to the actuator's mechanical limits [S1].
For on/off duty with a solenoid valve and a limit switch box, the wiring is normally two discrete outputs (one for open, one for closed) plus a common, and the limit-switch cams are adjusted at 5° before the mechanical end stop so that the box trips before the actuator slams into the stopper bolt [S8]. After wiring, the positioner or limit switch must be stroked electrically and pneumatically several times, and the pneumatic valve actuator type map is the right place to check whether the chosen model supports the signal protocol in your DCS or PLC.
Calibration is a good time to verify that the fail-safe direction matches the process safety requirement, meaning a single-acting spring-return unit on a heating coil should fail closed on air loss, while one on a cooling-water bypass should fail open, and that verification is best done with the air supply deliberately disconnected, not with the override handle [S1][S5].
Acceptance Tests, Commissioning, and Common Failure Modes
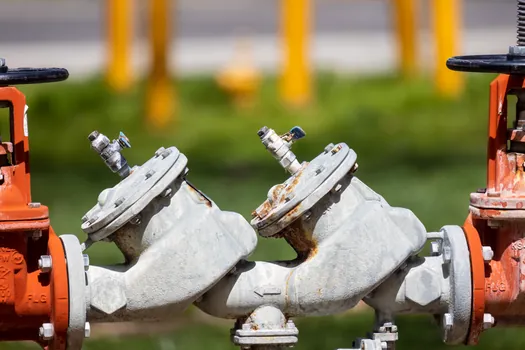
Acceptance is a checklist, not a single event: visual inspection of mounting and alignment, leak test on pneumatic fittings (soap bubble or equivalent), full stroke on regulated air at 0.4–0.6 MPa, full stroke on the control signal (4 mA, 12 mA, 20 mA, or 0 %, 50 %, 100 %), and a 6-month periodic pressure test at 1.5× rated pressure held for 3 minutes on the diaphragm if the unit is diaphragm-actuated [S1]. Any deviation from rated stroke time, audible piston sticking, or hunting at setpoint should be corrected before handover, and a written commissioning record signed before the line is energized [S1][S4].
The most common field failure modes are mechanical, not electronic, and they are almost always traceable to air prep or alignment. A "no movement" symptom with air pressure at the regulator usually points to filter clogging or a stuck solenoid; slow response points to air leaks at fittings or starved lubrication; internal leakage through the closed valve usually means seat wear, not actuator failure [S1]. For deeper background on how the actuator interfaces with the broader pneumatic control system, that page walks through the upstream supply side.
For comparison with electric and electro-hydraulic alternatives where stroke rate, air availability, or explosion-proofing is a constraint, the electric actuator installation acceptance guide lays out the parallel checklist. Routine maintenance intervals from the same OEM manuals are monthly internal cleaning and ISO VG32 piston-rod lubrication, quarterly seat-seal inspection, semi-annual diaphragm pressure test, and annual bearing and seal replacement [S1].
In the commissioning file, record the stabilized supply pressure at the actuator inlet and verify it lies within the regulator setpoint range of 0.4–0.6 MPa specified in the pneumatic valve installation manual, and confirm the air supply pressure range (typically 0.4–0.8 MPa) is met at start-up [S1].
Detailed specification references: pneumatic valve actuator.